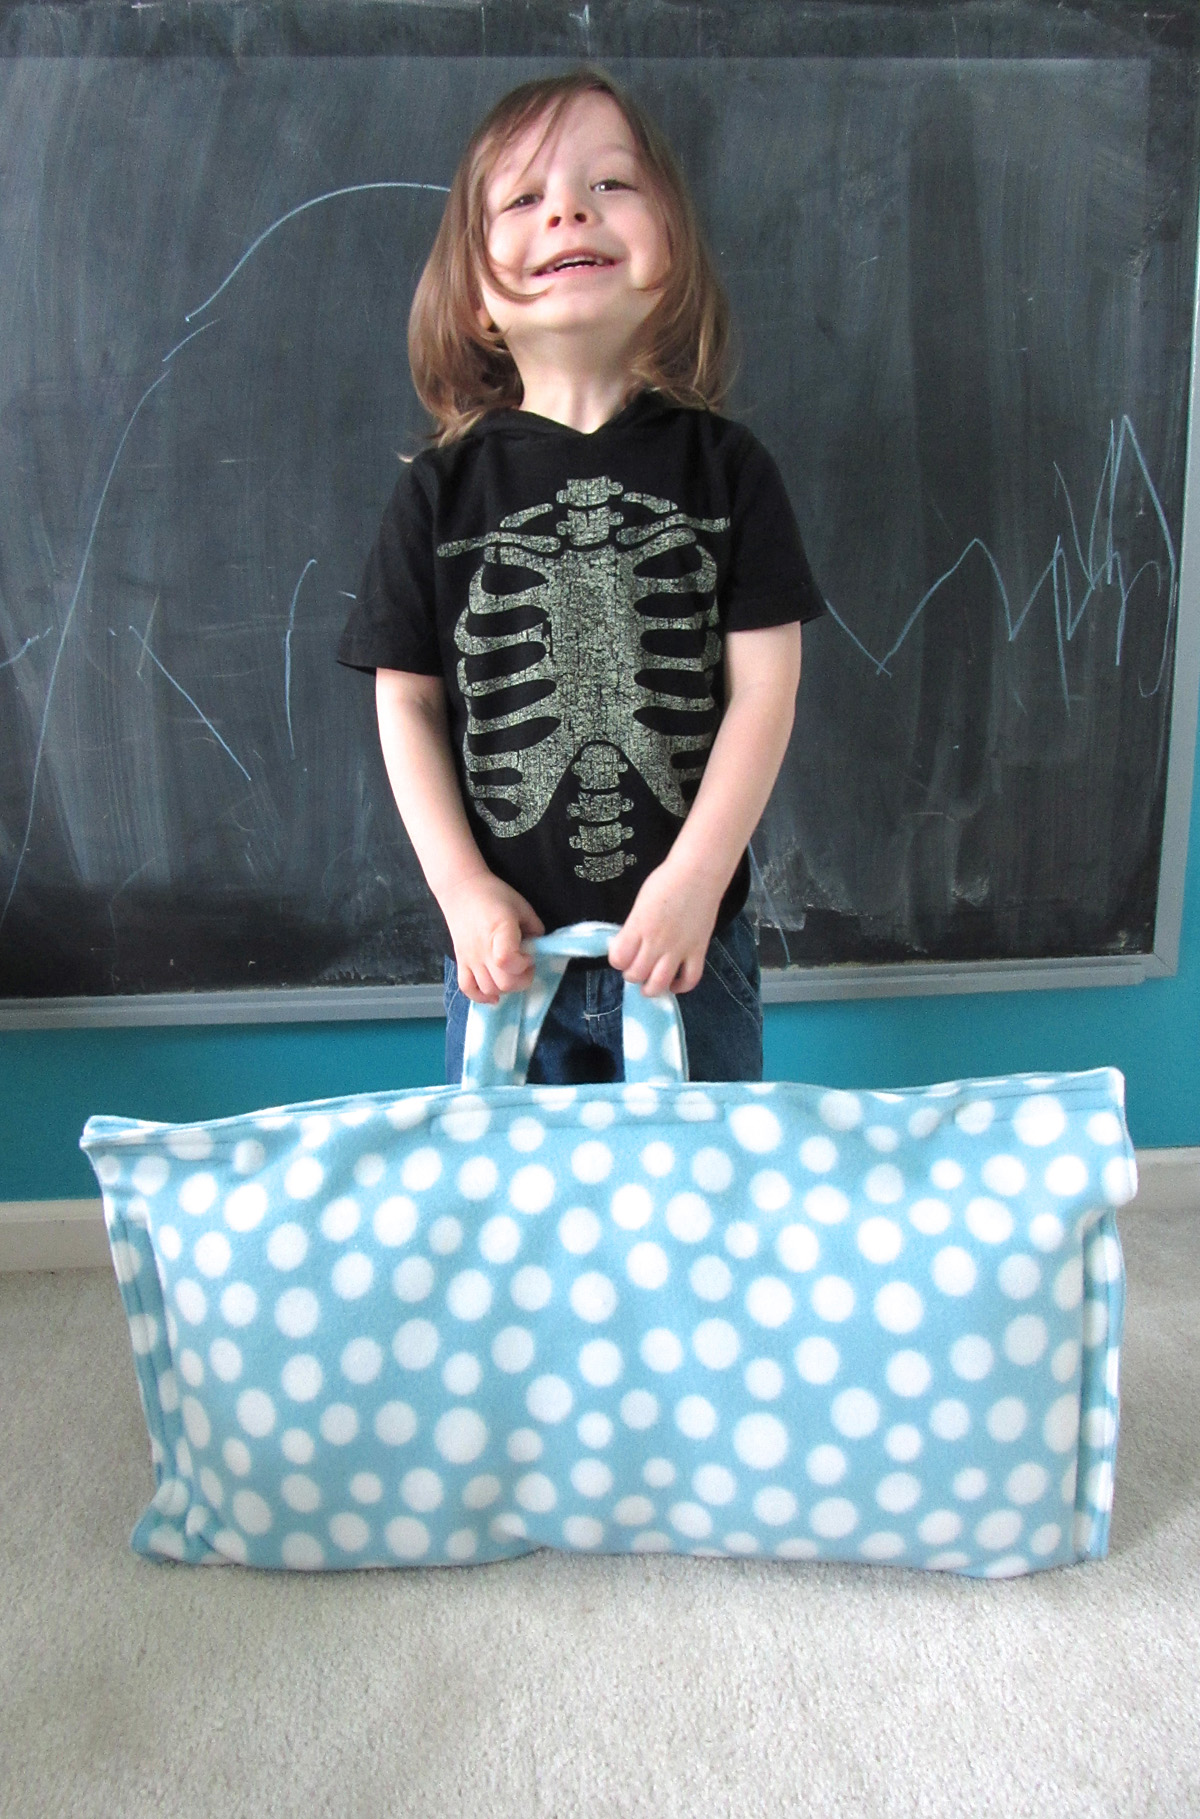
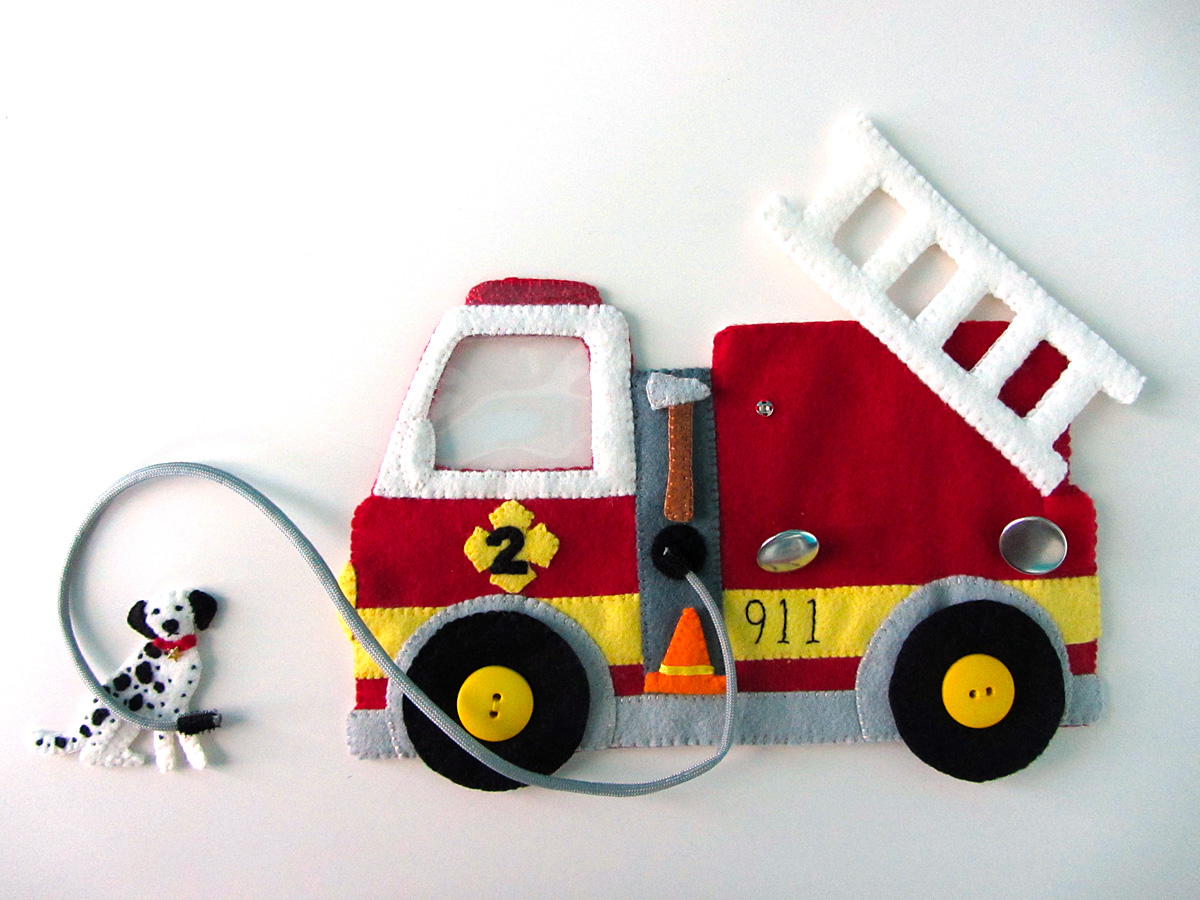
I am so excited to introduce you to make latest big project! Those of you who follow along on Facebook or Instagram have already seen a lot of fun sneak peeks. Plus, it was YOU who voted on the Facebook page to make a world map the next quietbook project!
This project will be presented a little different than normal. Because it is SO BIG, I’ll be giving you a chance to sew along with me by posting a great deal of the patterns today. I am creating each piece by hand and then drawing up patterns from the finished product, so some elements will be provided in later posts.
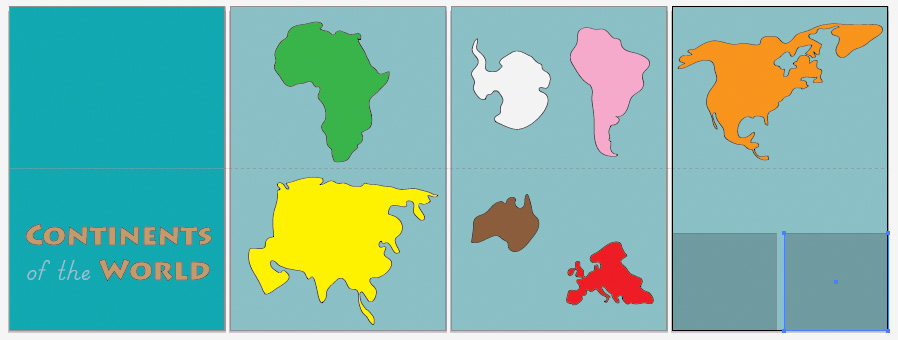
Overview and Map Patterns • Africa • Antarctica • Asia • Europe
North America • Oceans • South America
The Plan
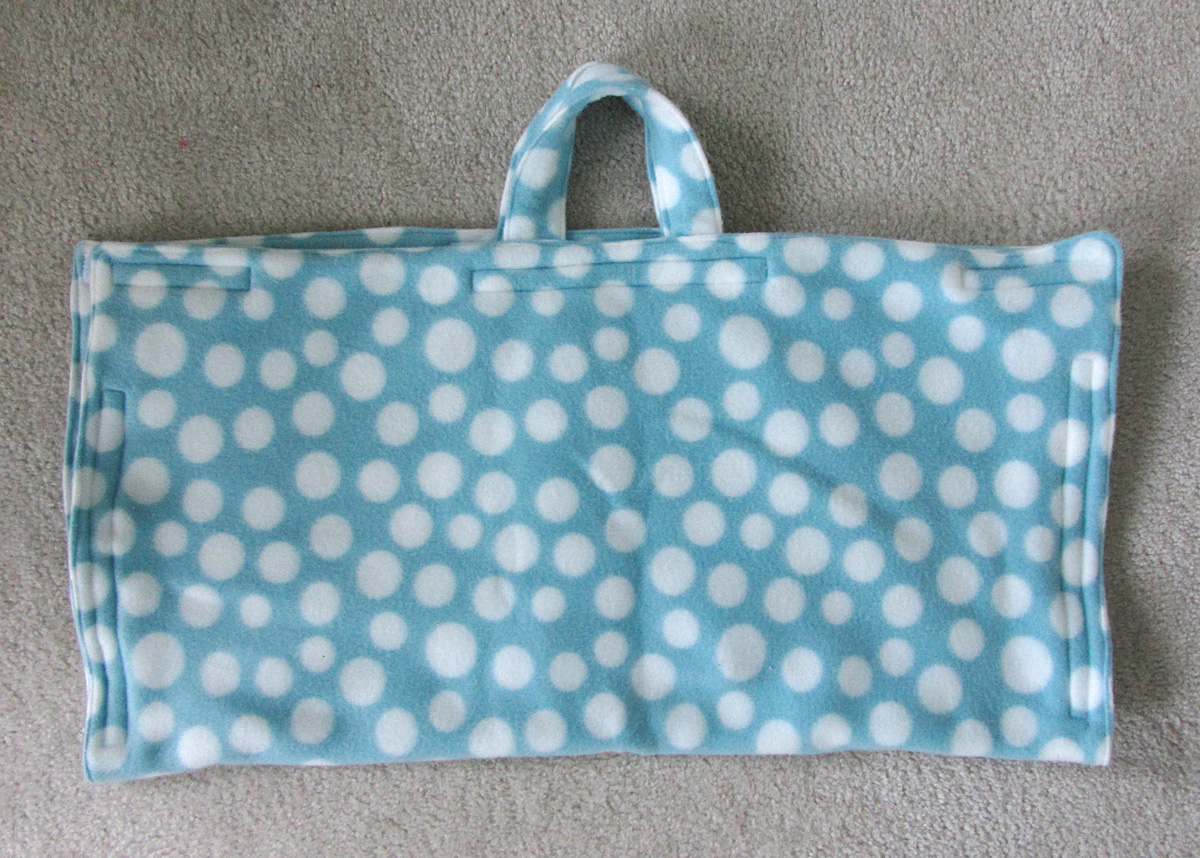
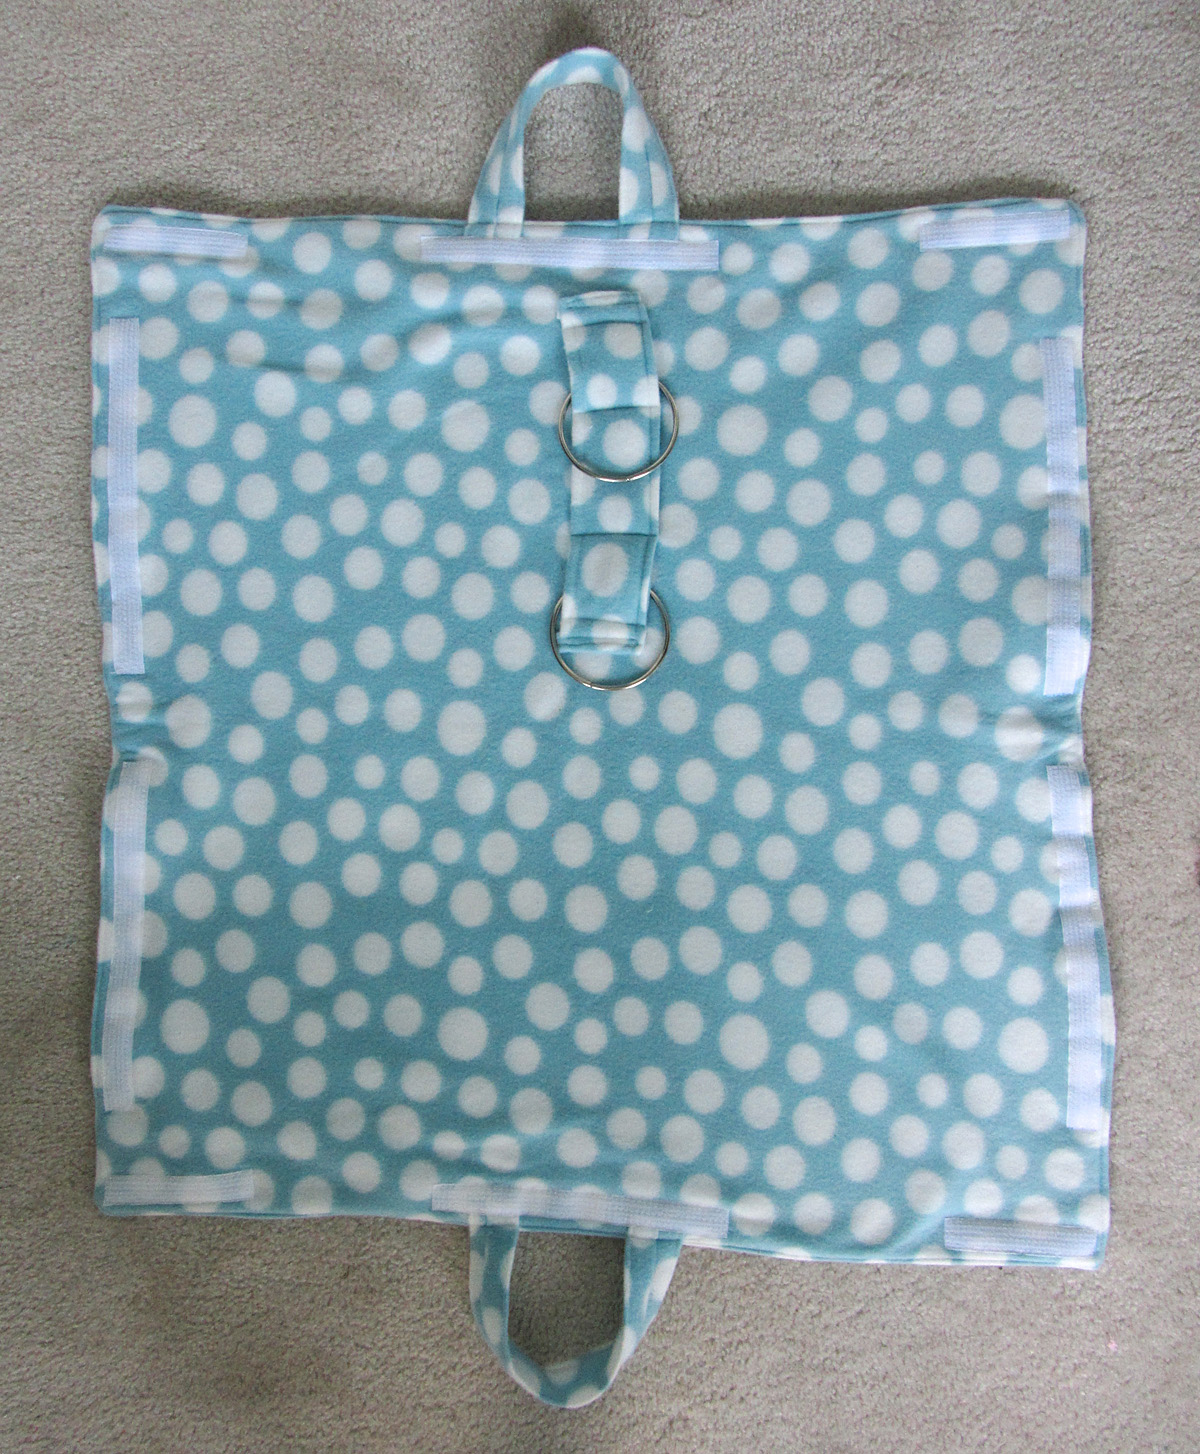
Today I am giving you the massive pattern for the world wall map and the continent puzzle pieces that can be attached to it. I also included the cover text for quietbook stores all the pieces. Here is pattern. [The pattern was updated 07/24/13 to add the water beside Baja California on North America. Sorry I forgot it!] And here is a pdf with the continent and ocean labels that get printed onto printer fabric. There will be additional posts for the other continents that will include patterns for regional animals and landmarks.
Materials
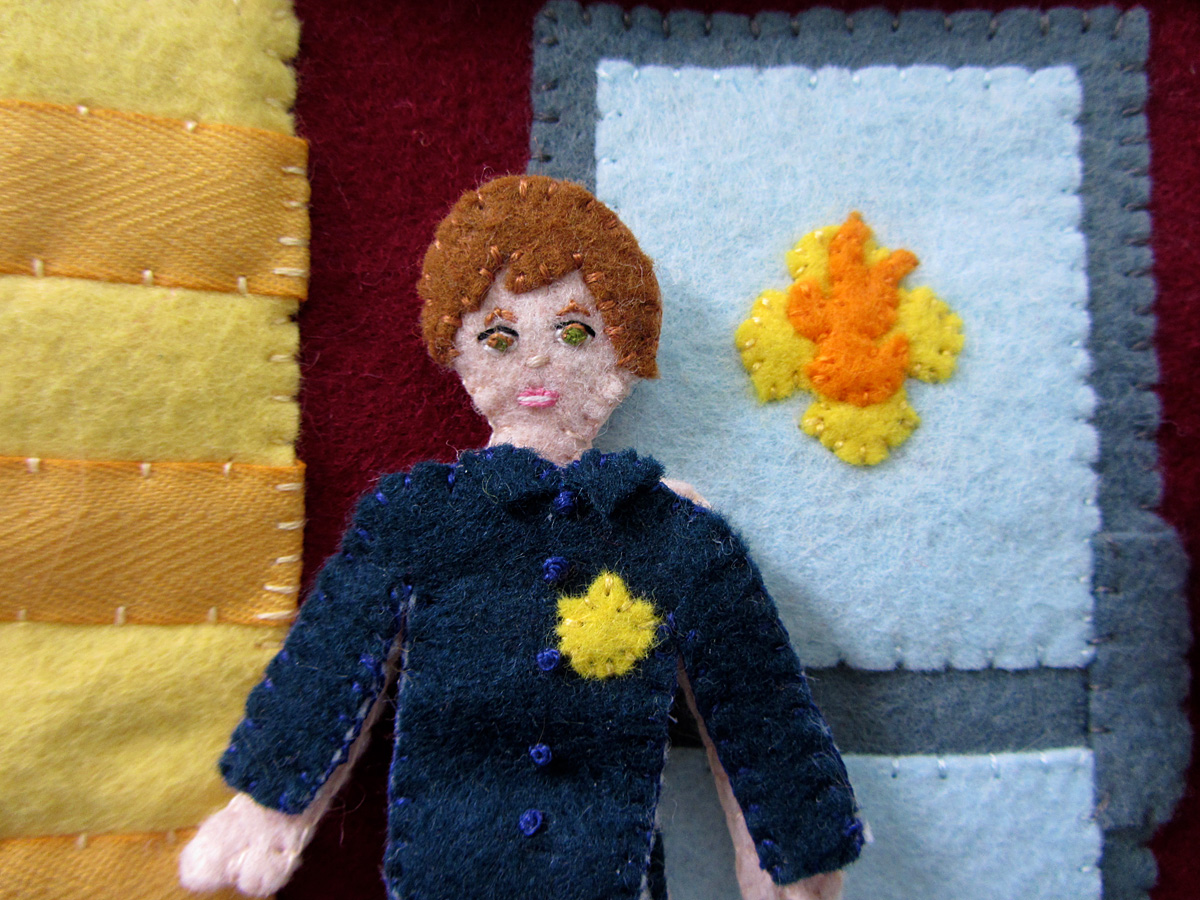
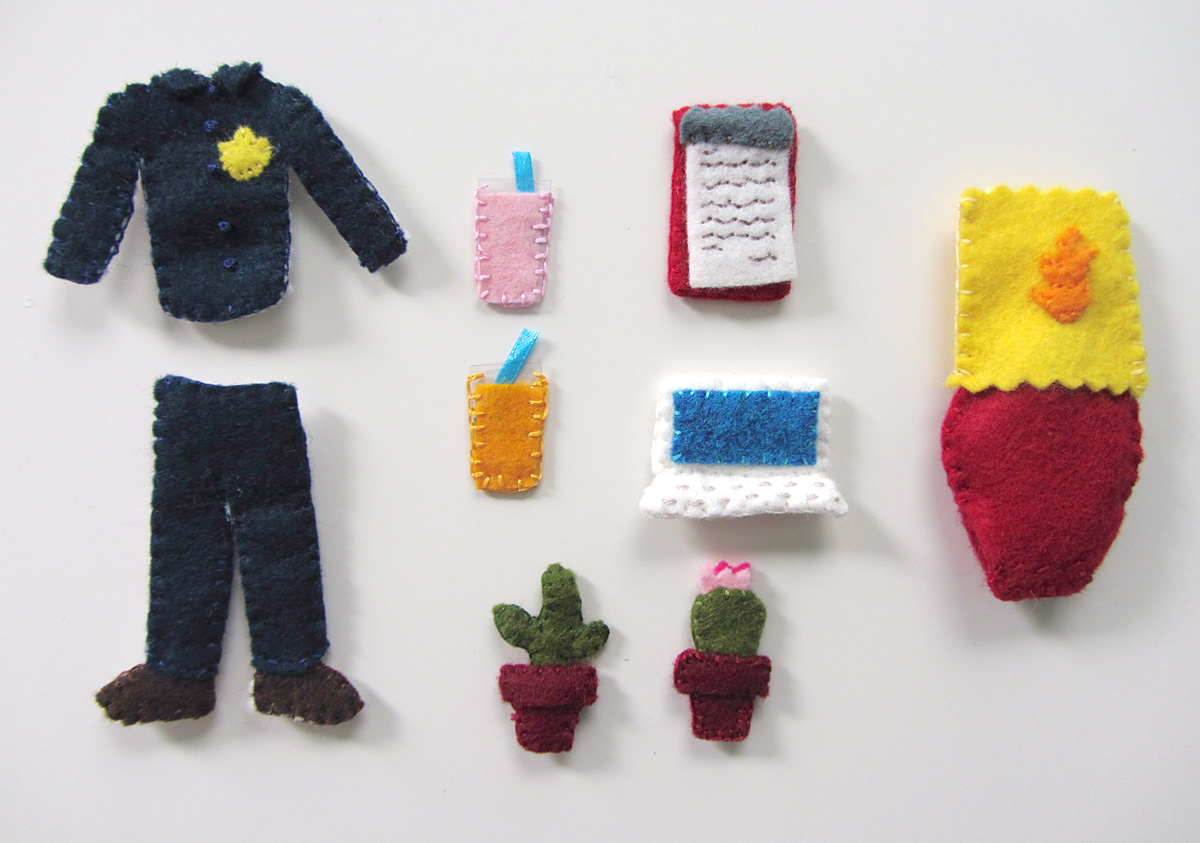
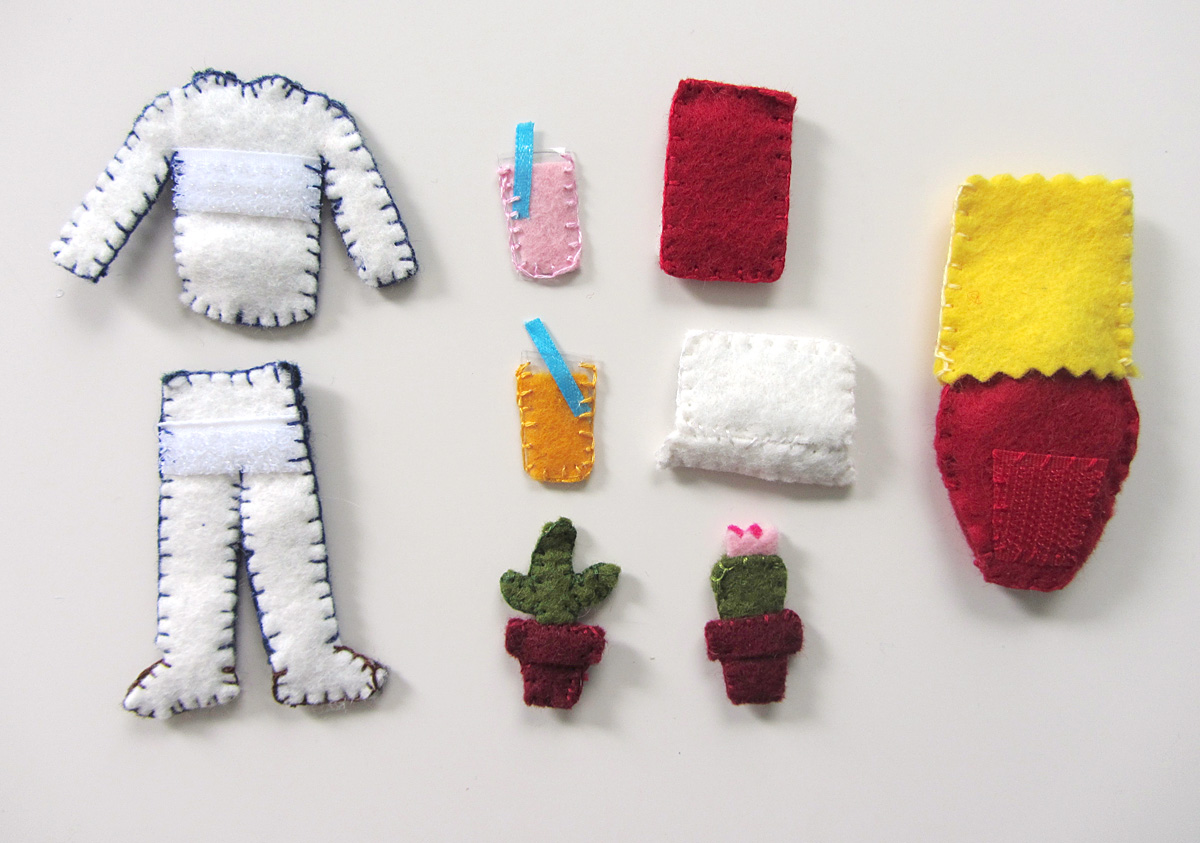
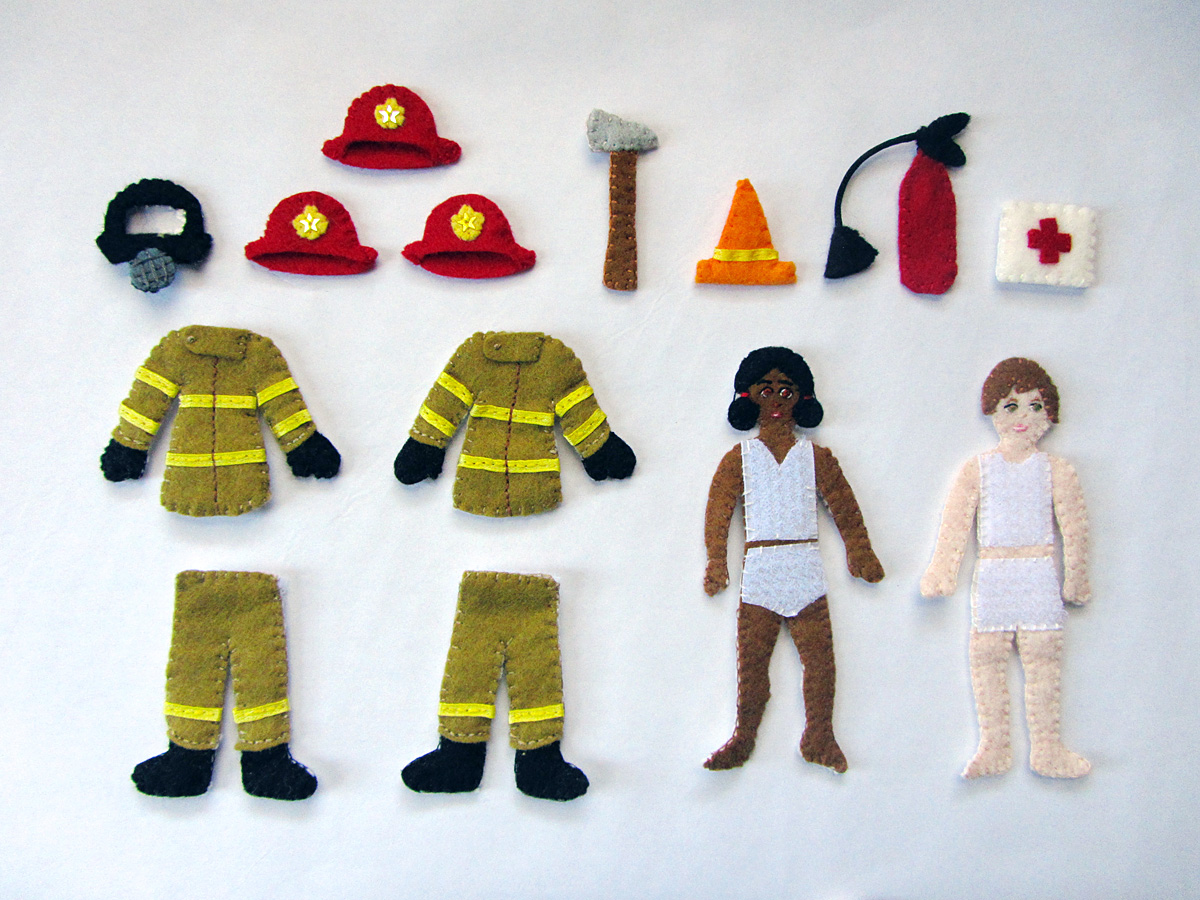
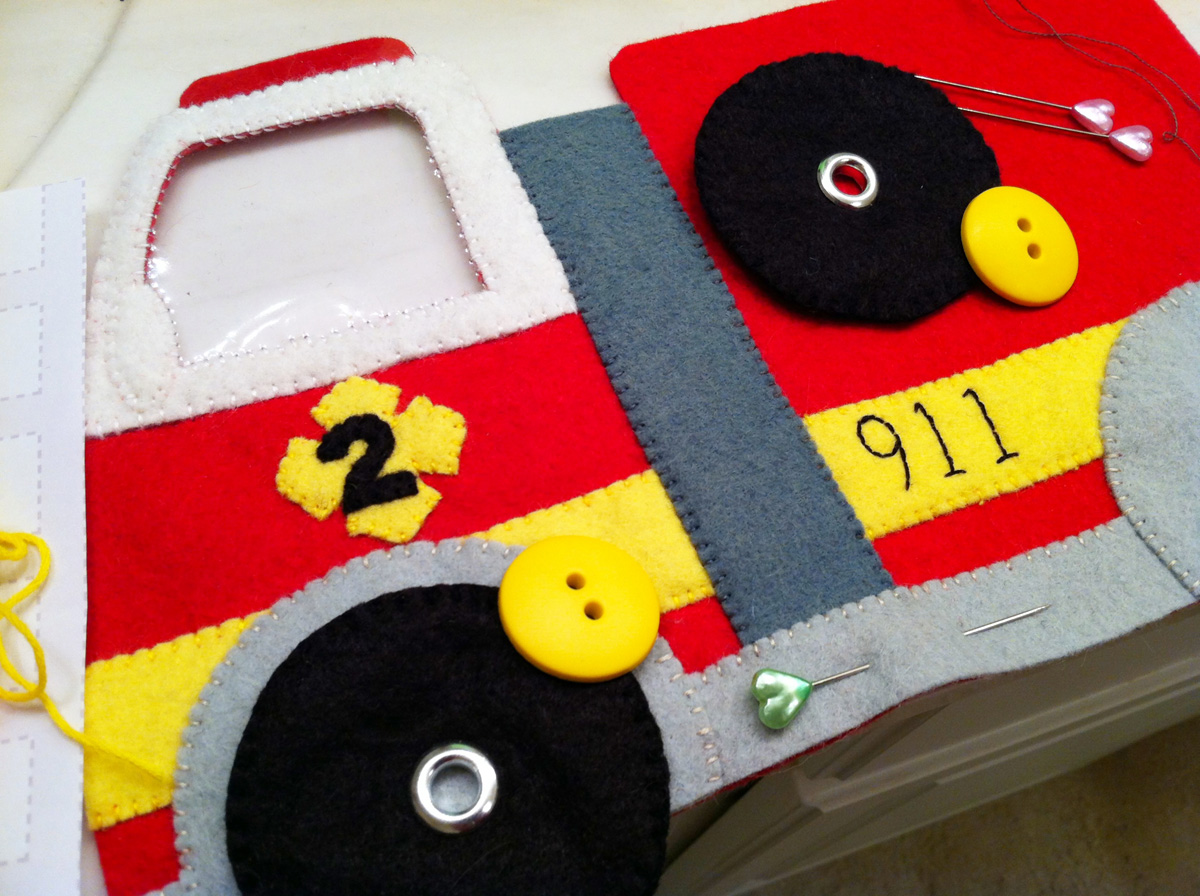
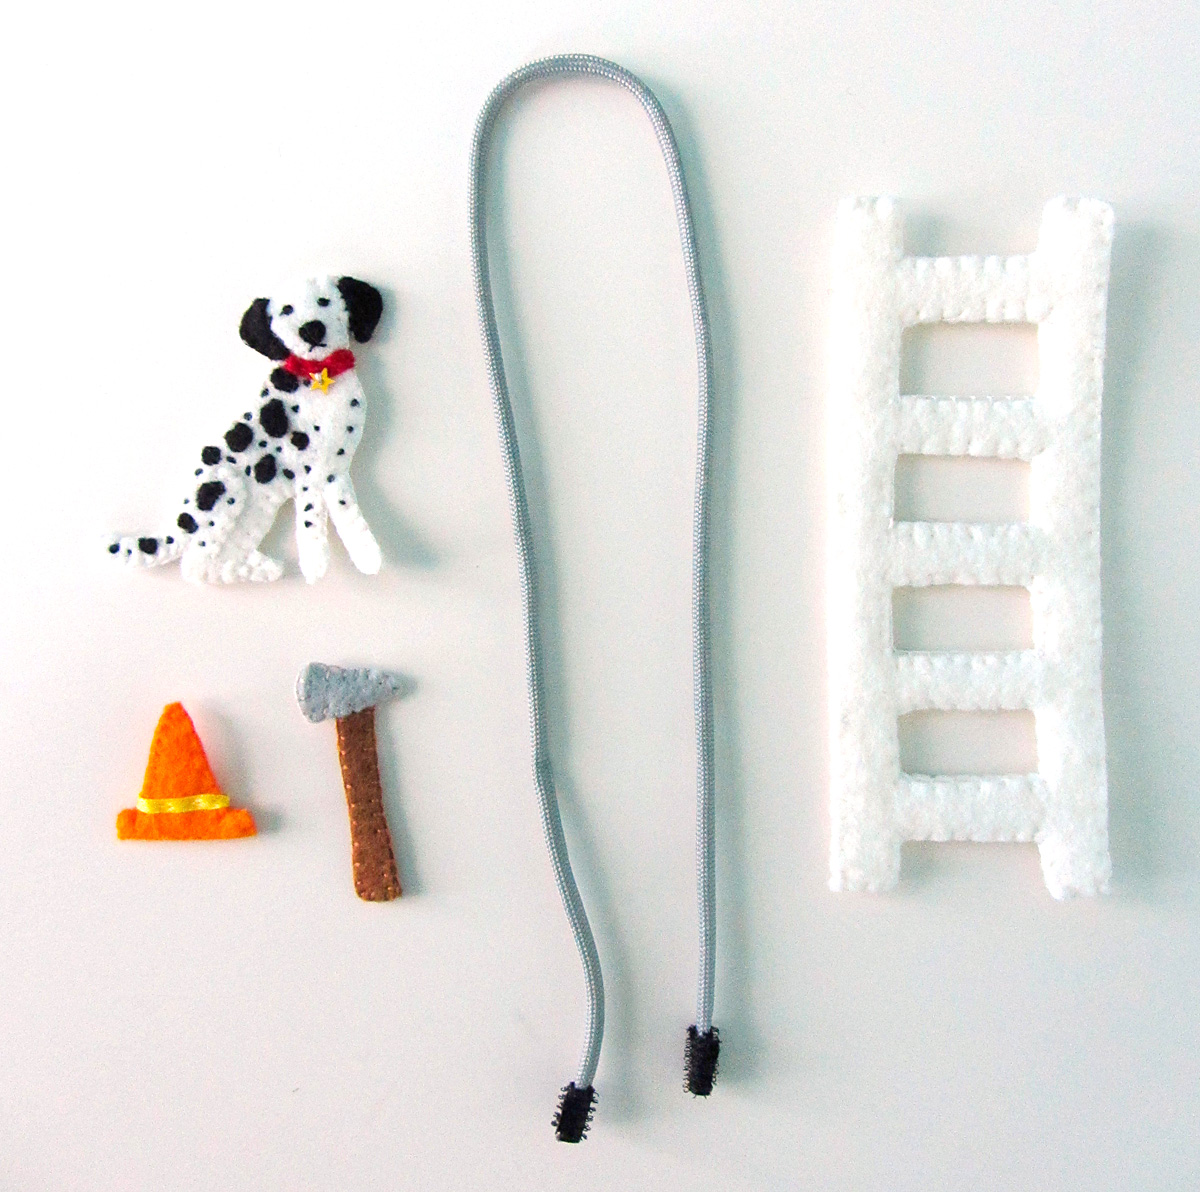
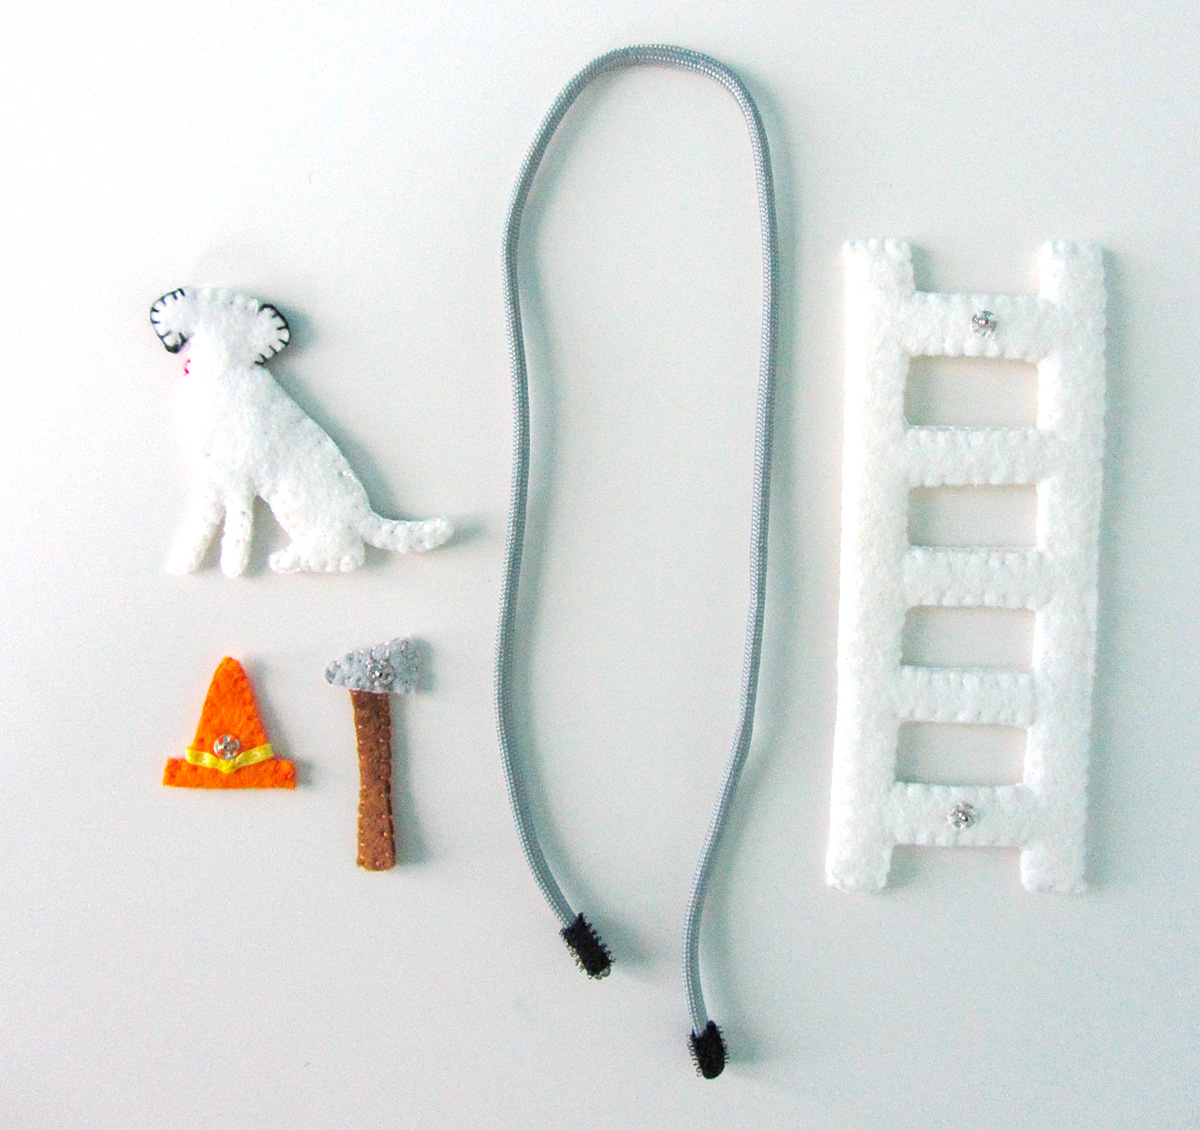
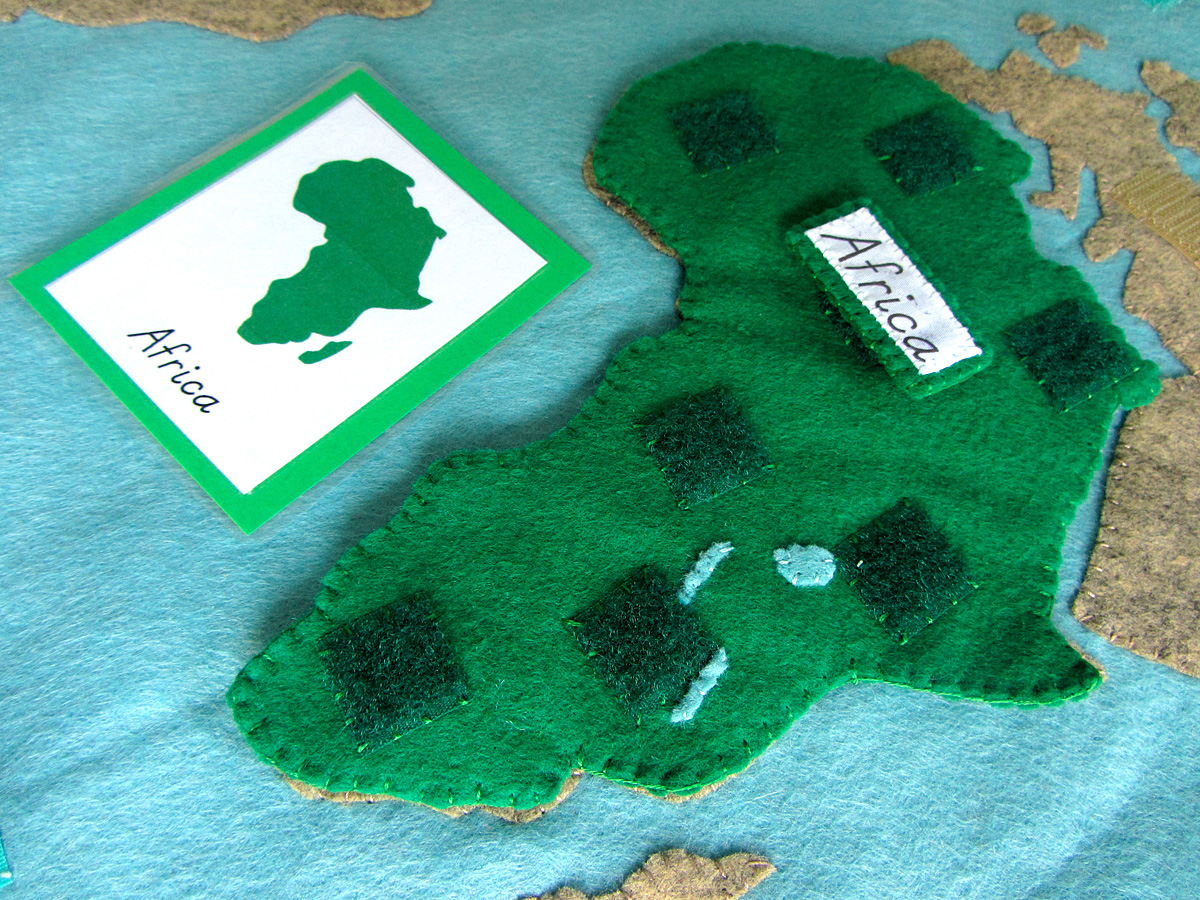
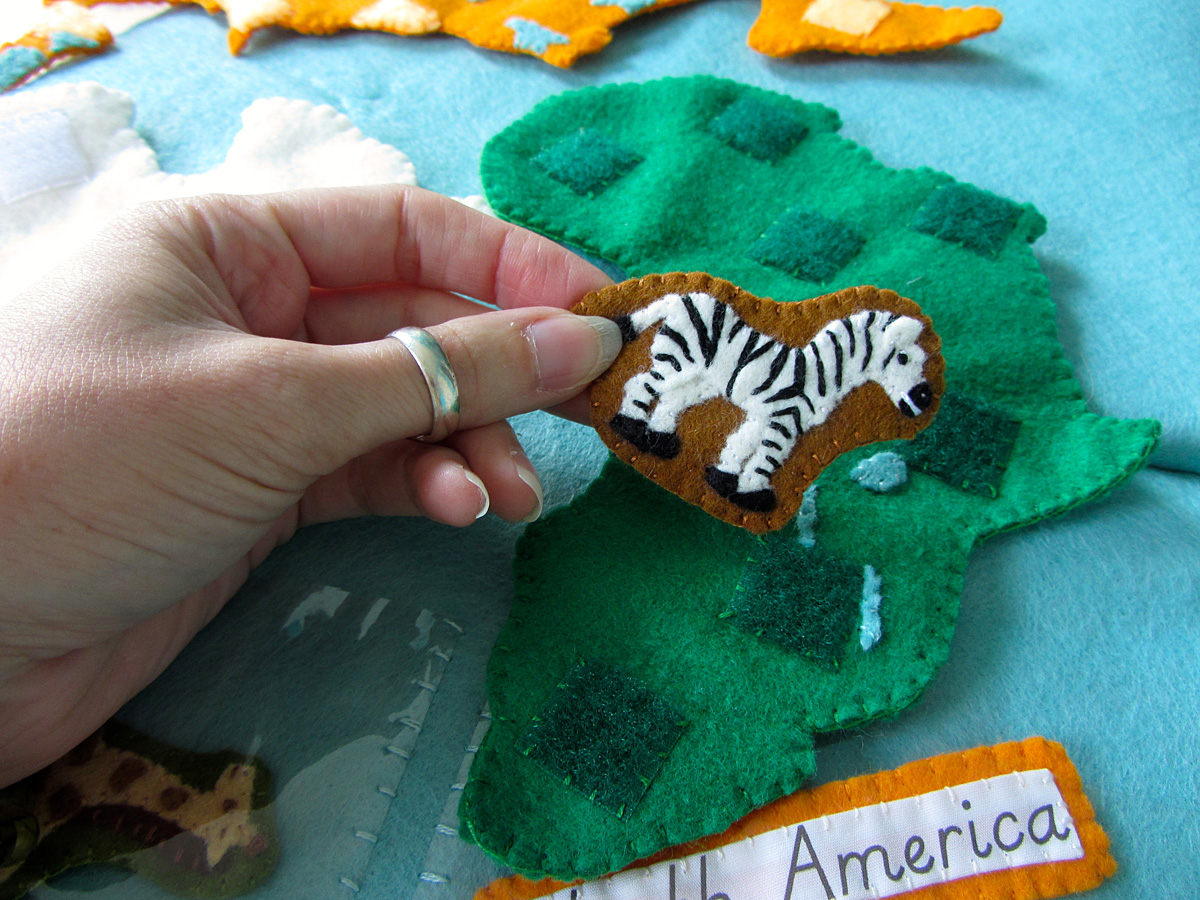
Felt: I am mainly using scrap felt to create the continents and smaller pieces of this project. The beautiful wool blend felt I get from American Felt and Crafts is just too good to waste! So I am digging into my scrap basket and using all I can. However, this project does require some larger cuts of felt. I ordered 1 yard of “Swan” blue felt from Benzie Designs. This was used to make the 34″ x 18″ wall map and then three 12″ x 18″ pages for the quietbook. I also ordered a 12″ x 18″ sheet of “Peacock” aqua blue felt for the cover, 2/3 yard of white (you only need enough for the long strip version of Antarctica, but I bough extra for other projects) and 1/3 yard of “Peppercorn” tan for the wall map continents. The continents are in traditional Montessori colors including: white, orange, pink, red, green, yellow and brown. I will eventually buy some backing felt or fleece for the back of the map to finish it off, but I have a few little bits to finish sewing first. Note – Antarctica is sewn down to the wall map due to the map projection. But I did also make a continent piece in its actual shape. You just can’t place it on the map.
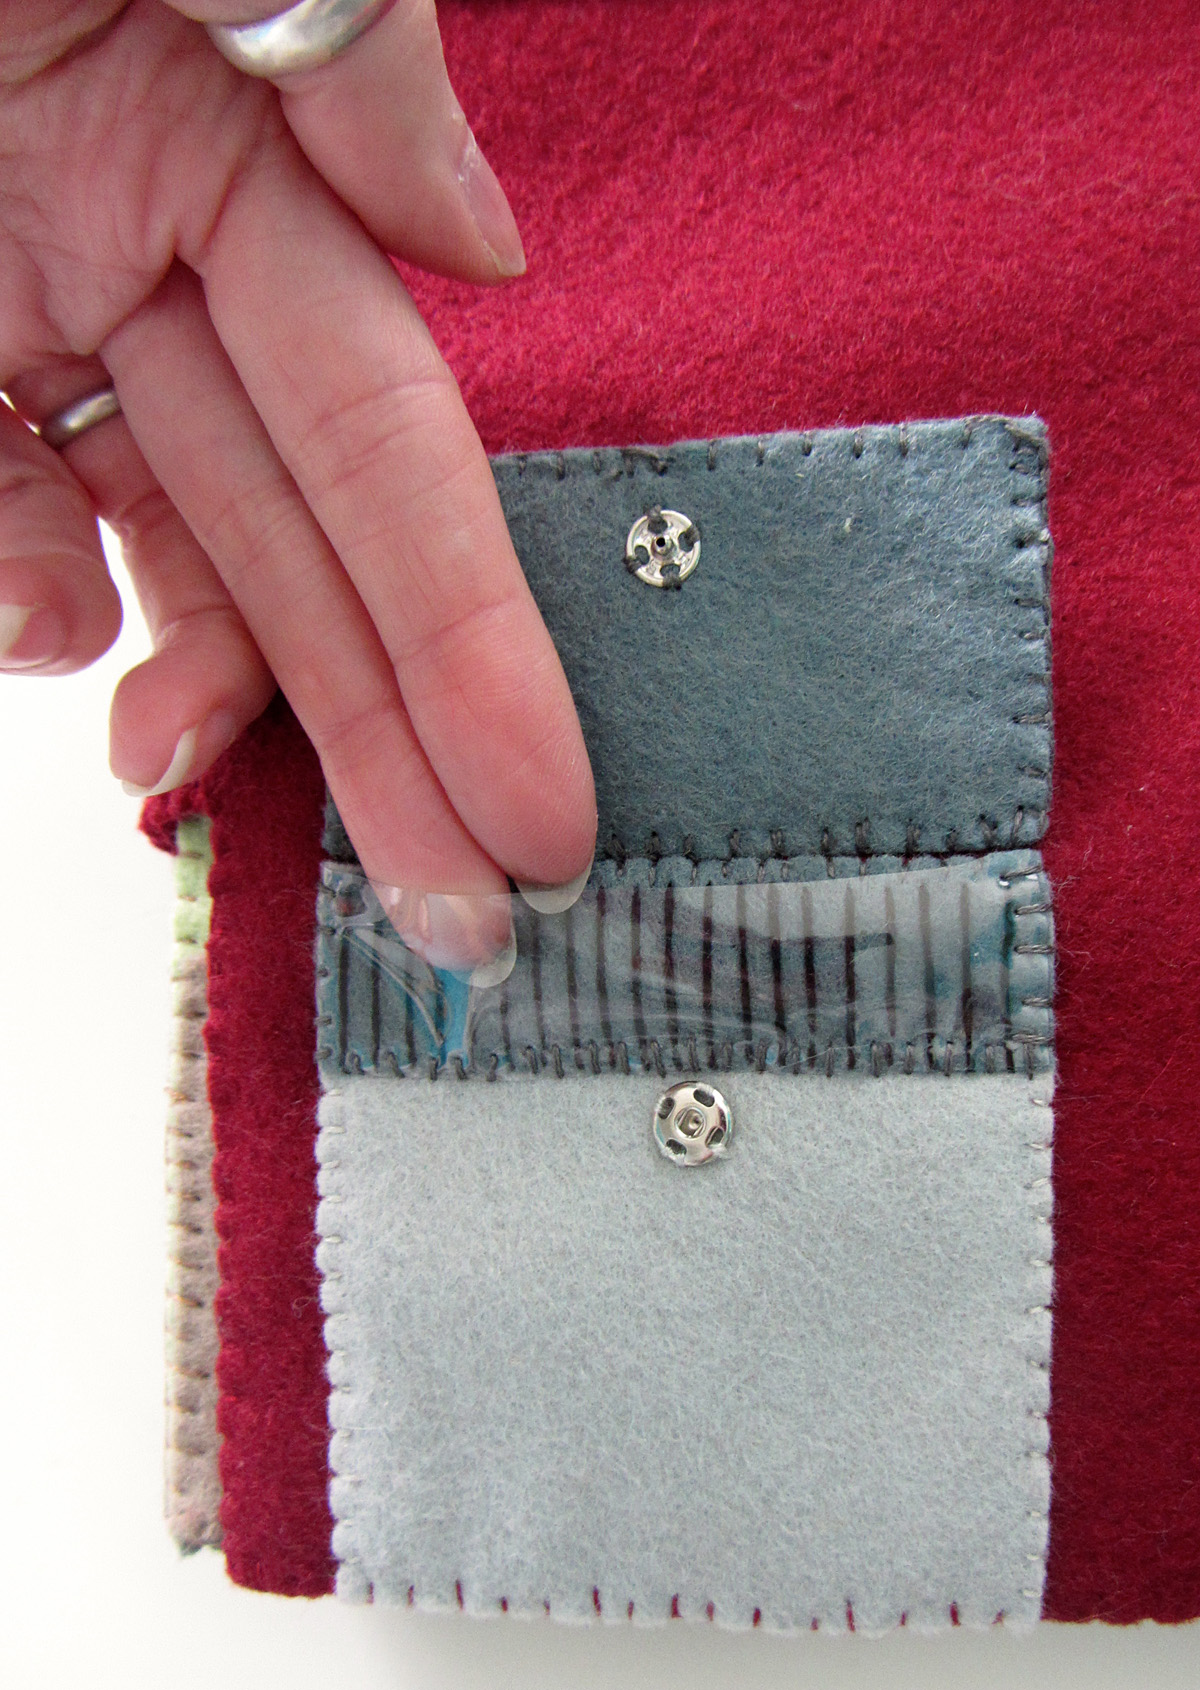
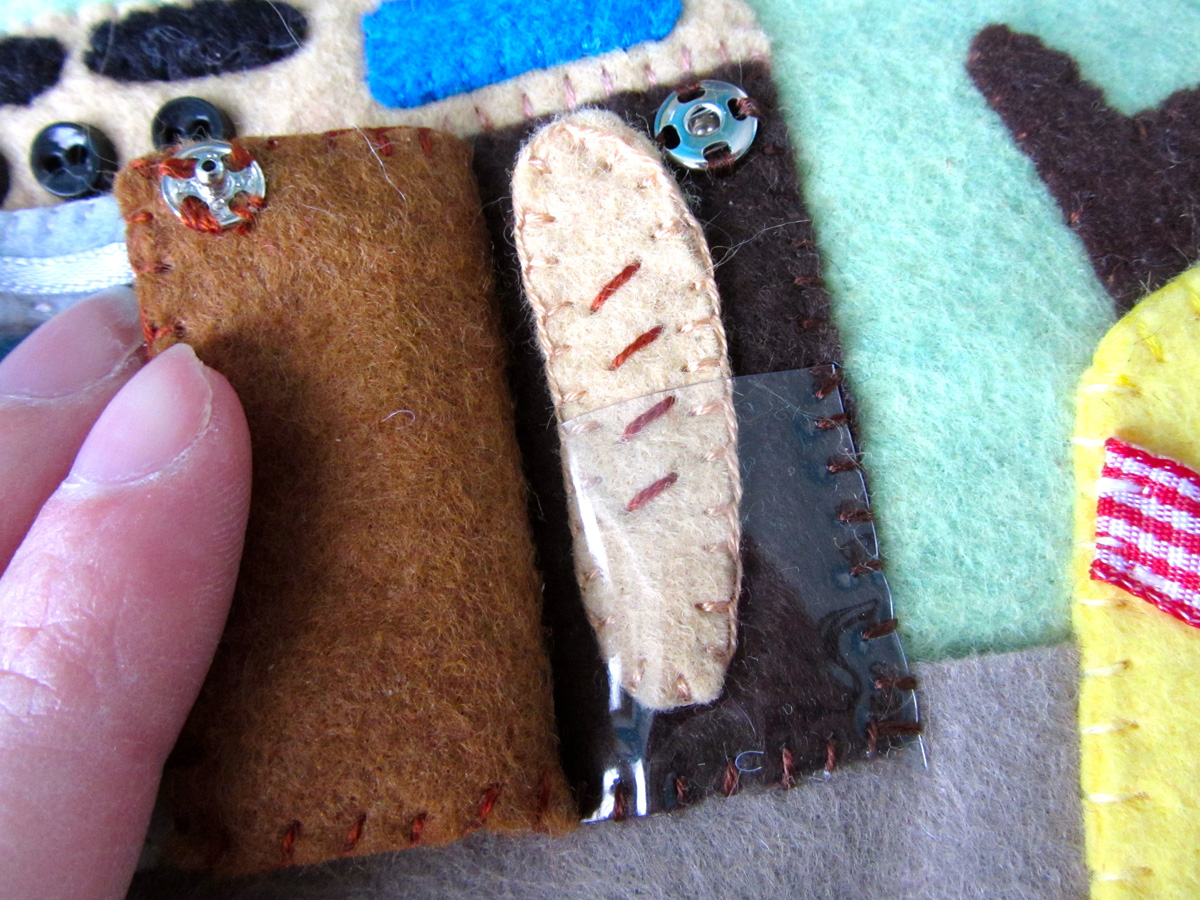
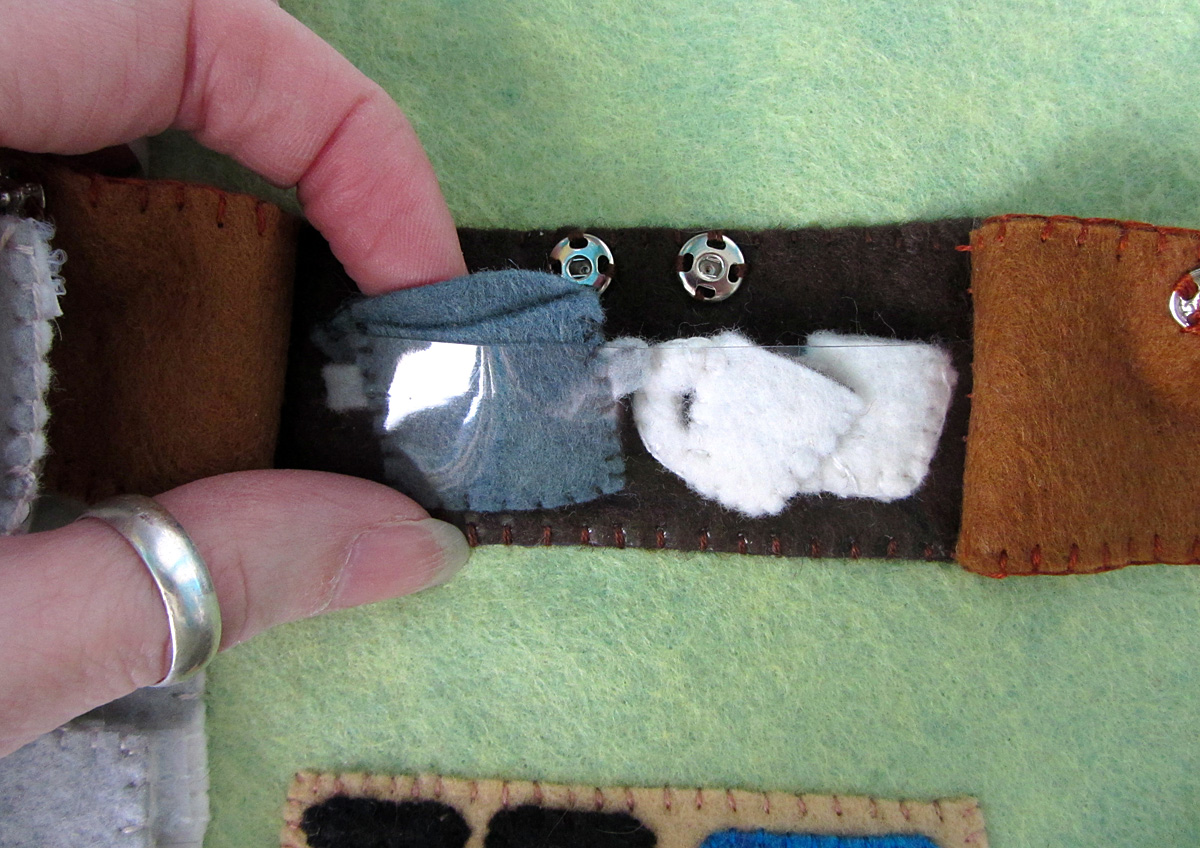
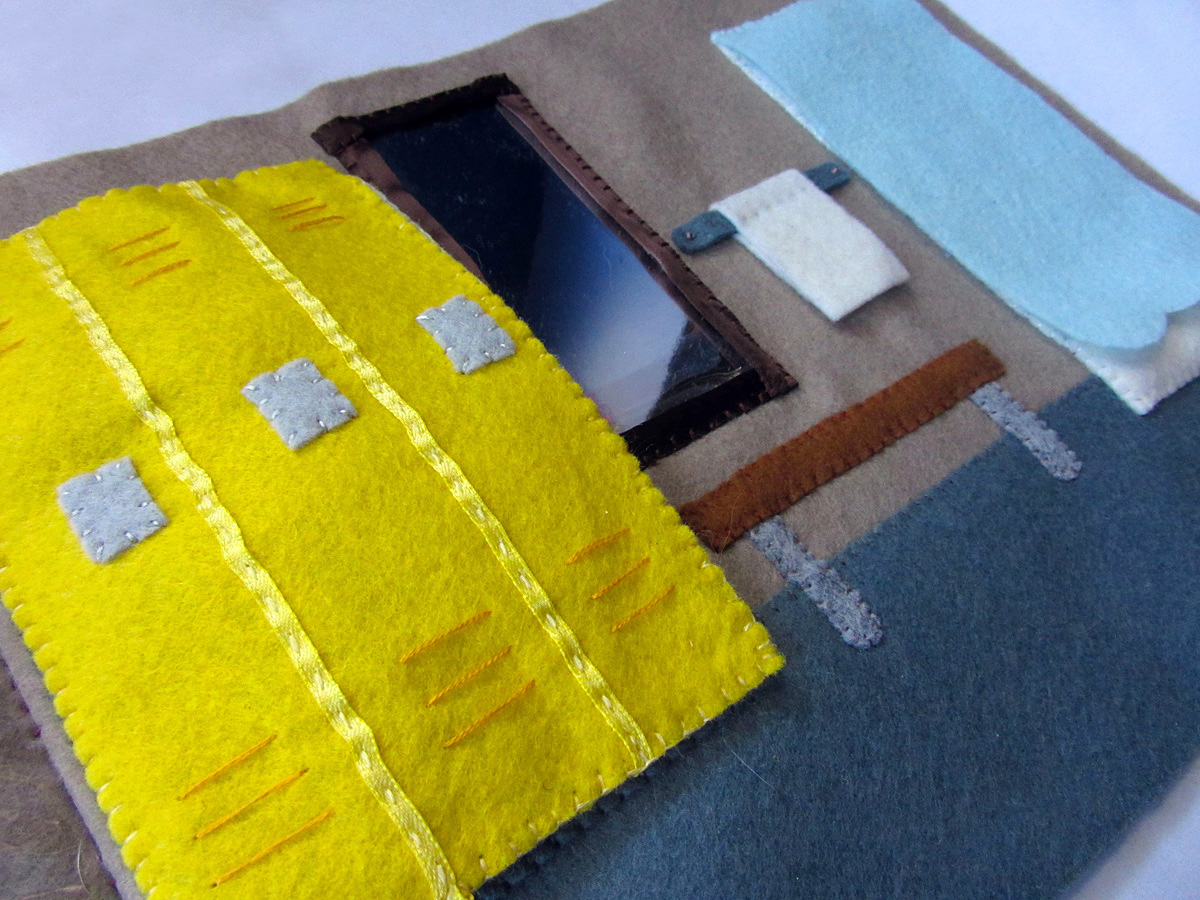
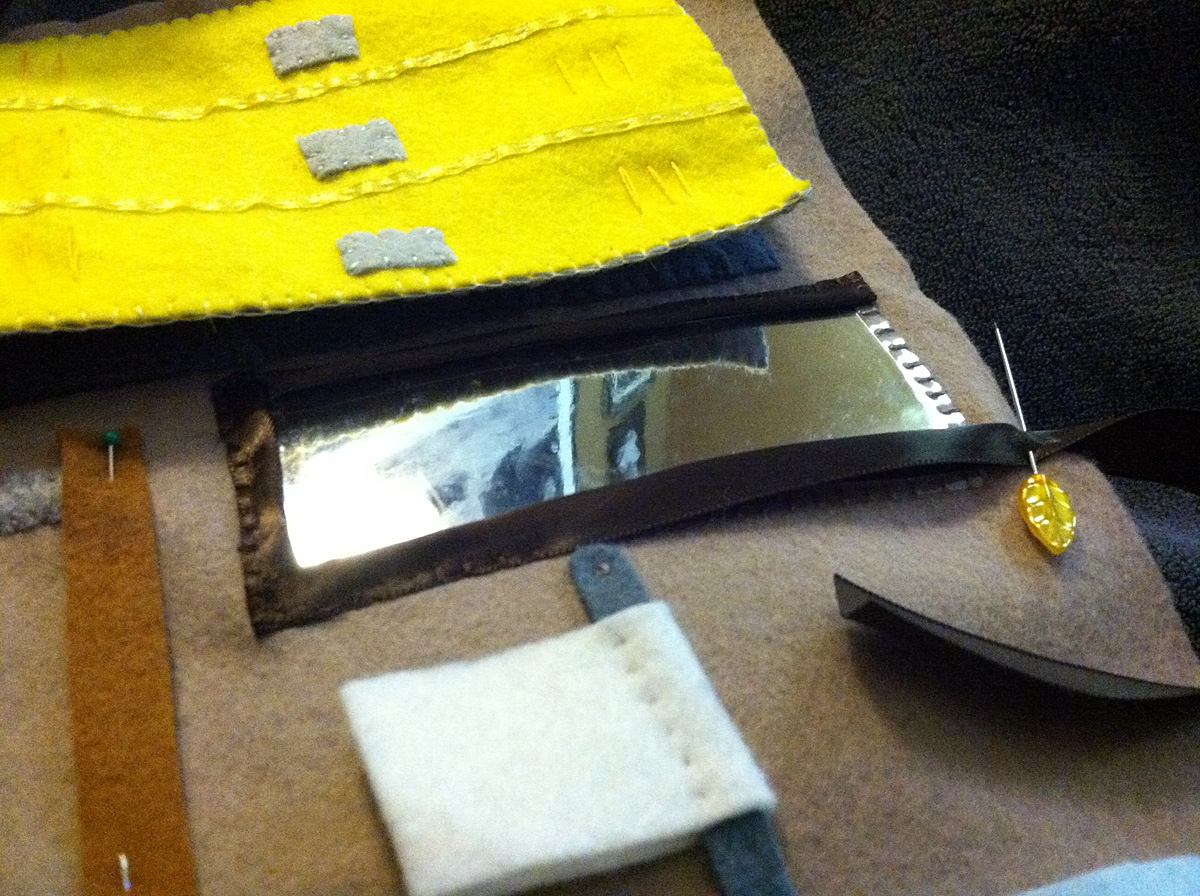
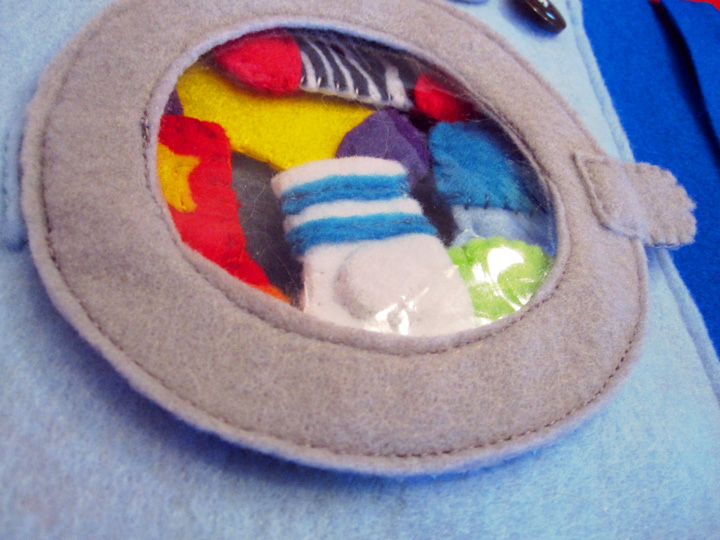
Other: If you plan to print out the continent and ocean labels, you’ll need printer fabric. I use a roll that I can cut down to use in my 4″ x 6″ photo printer when I just have a little bit to print. I’ve also seen sheets for sale. For the pockets in the back of the book, you’ll need clear vinyl. I get mine in the home decor department of the fabric store. I am using felt glue
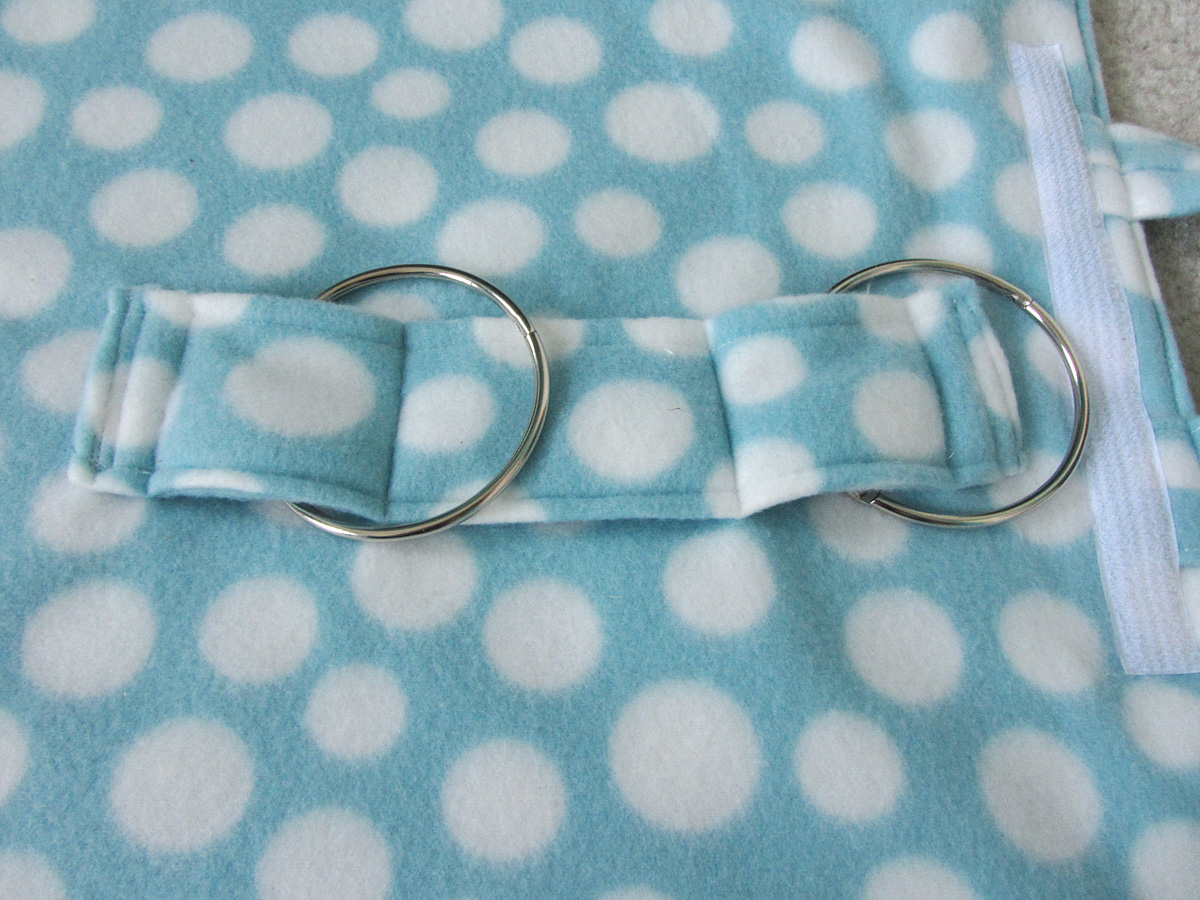
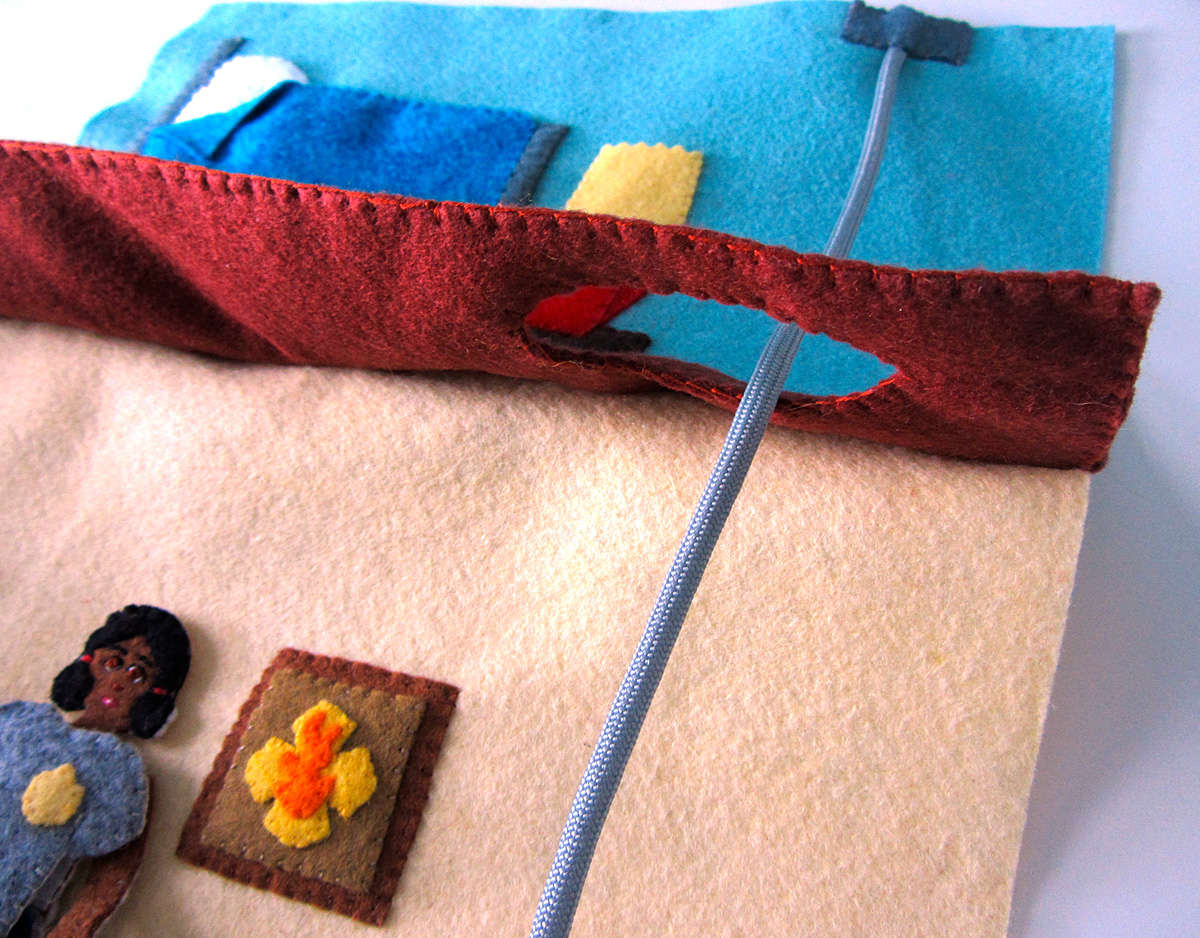
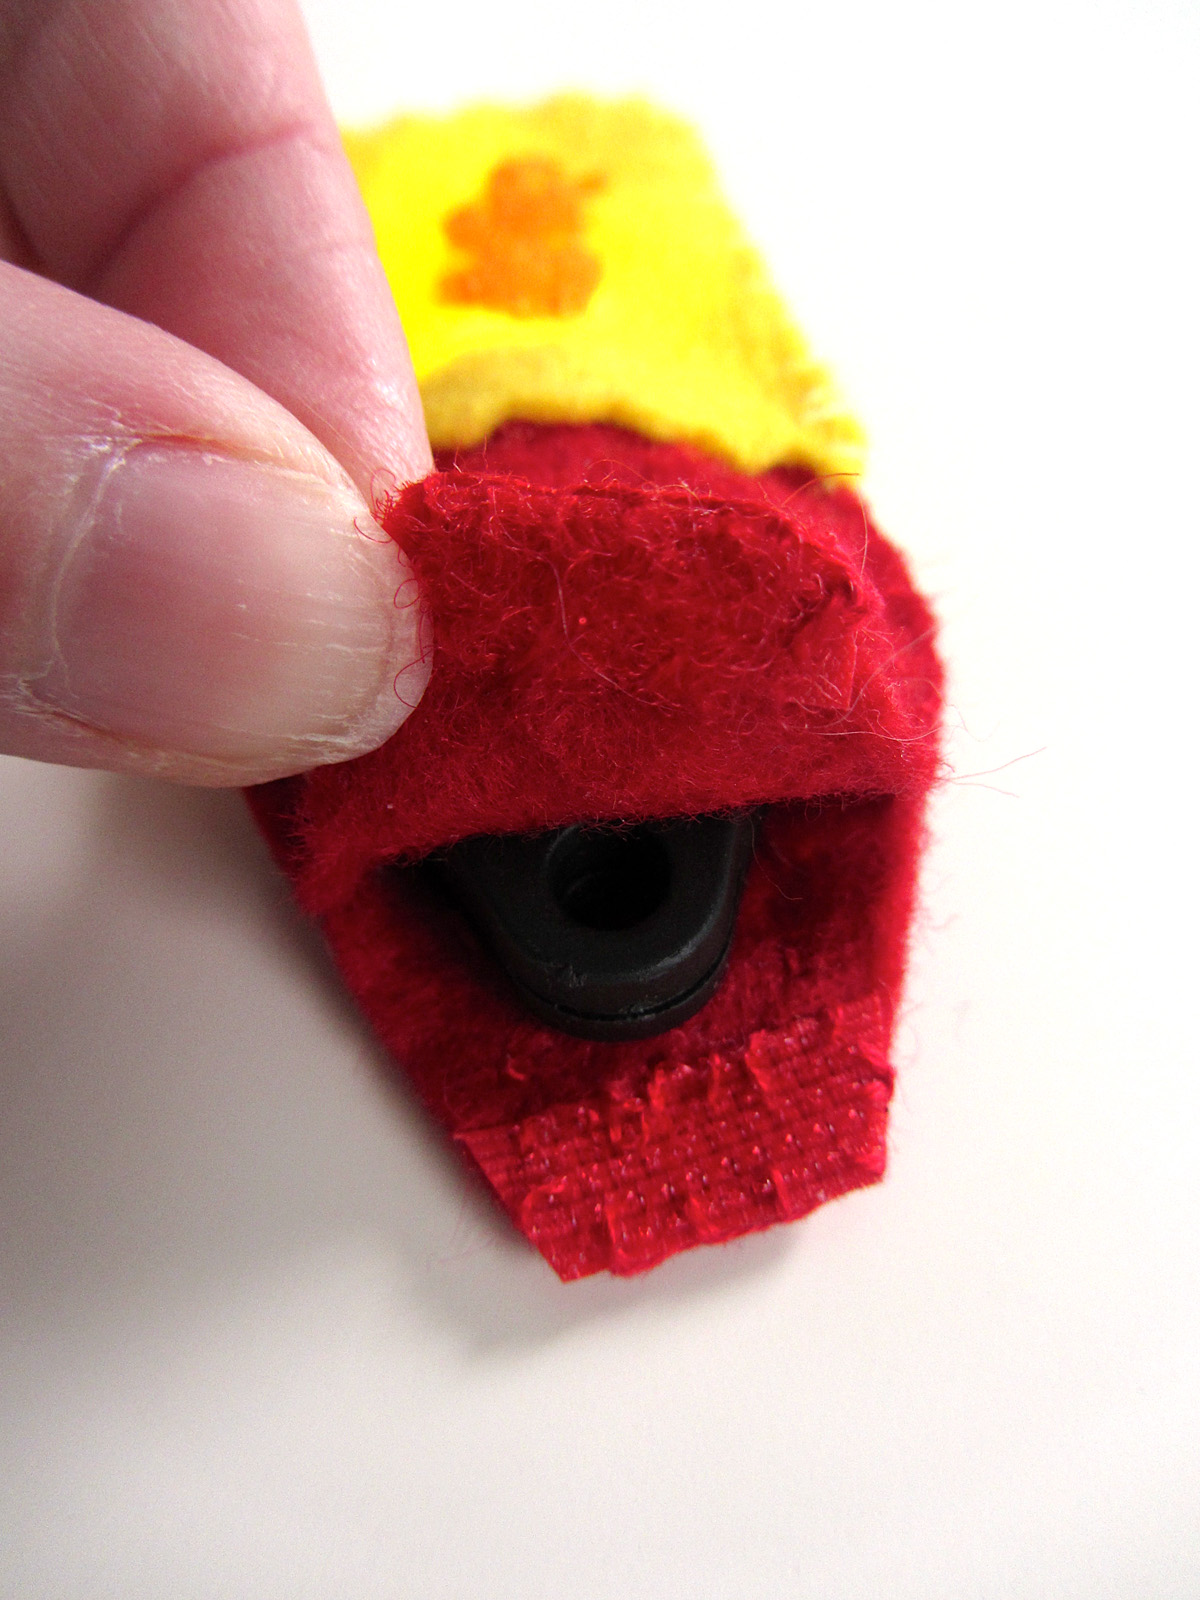
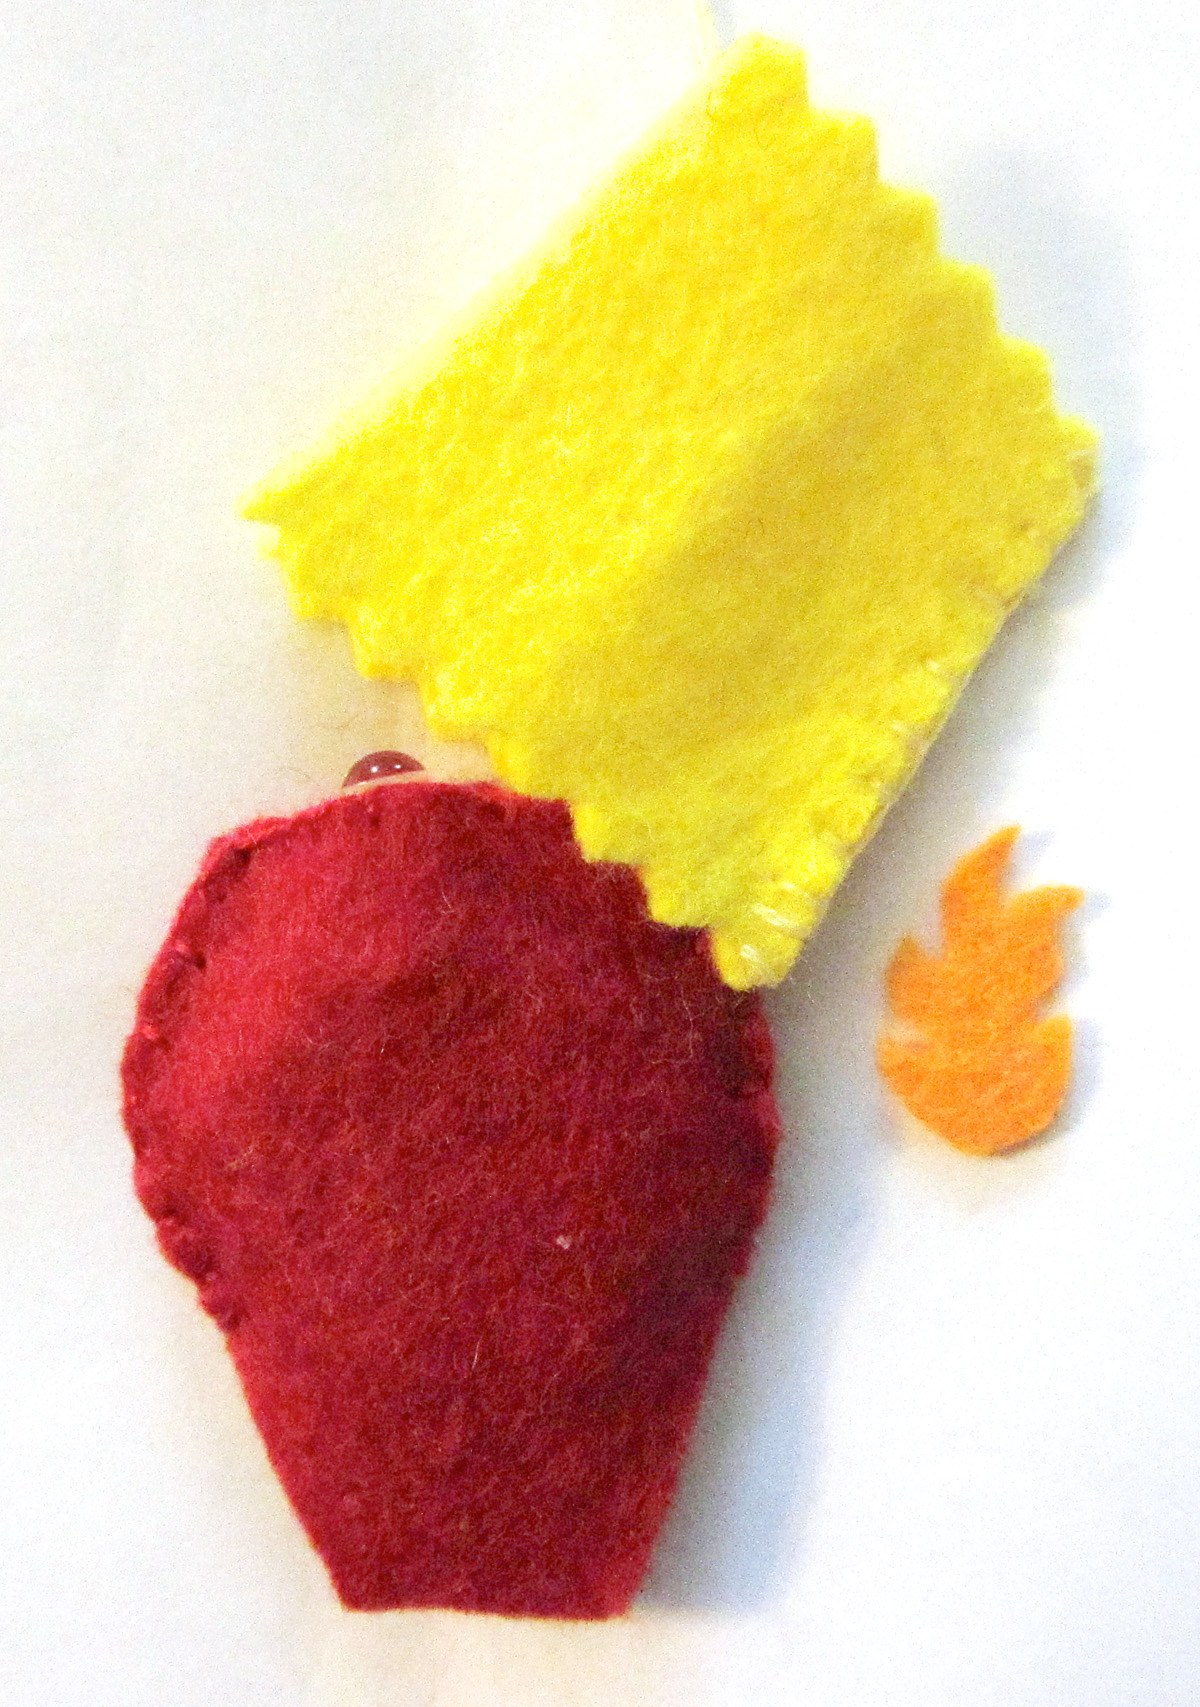
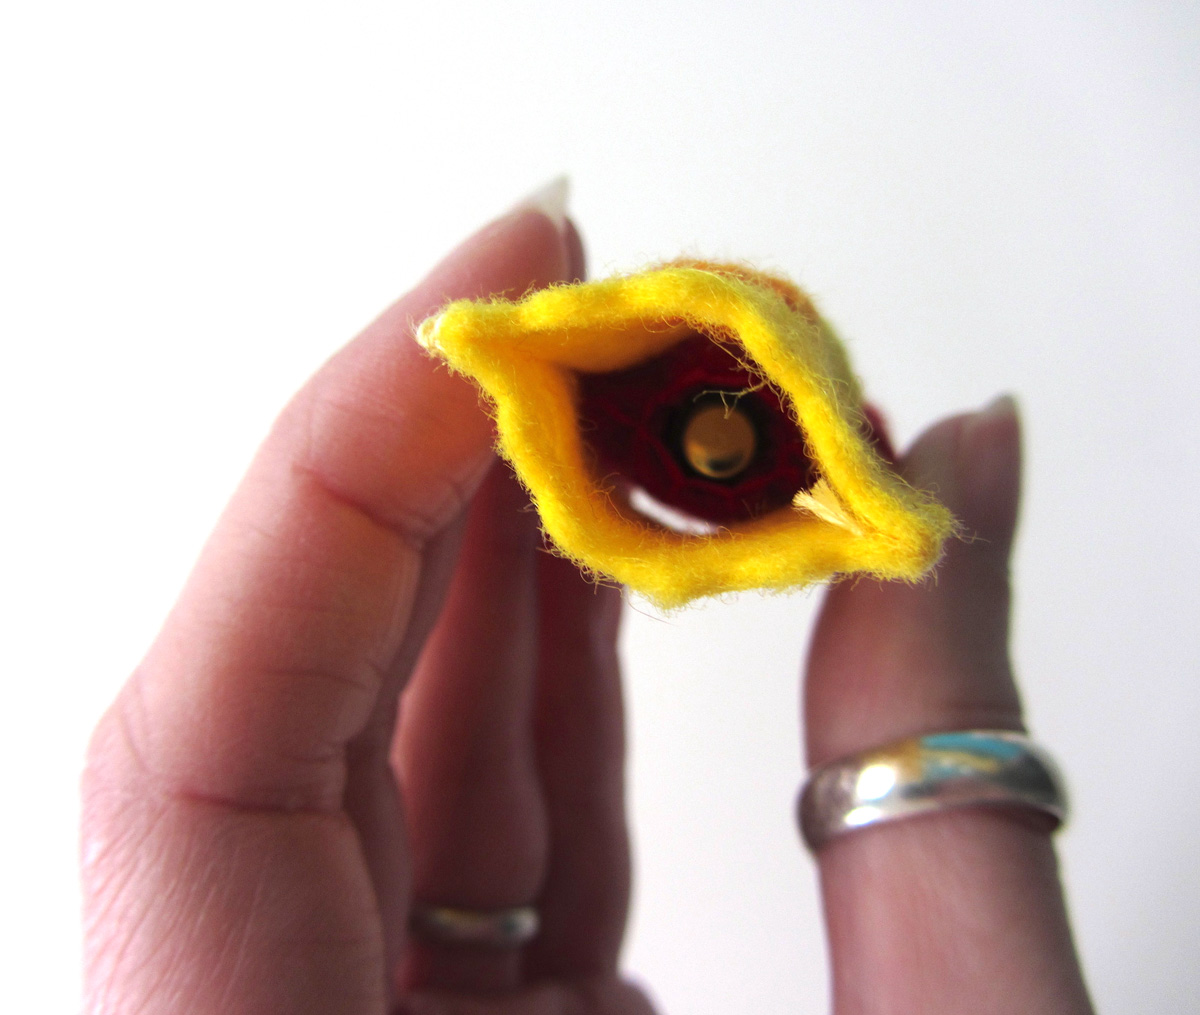
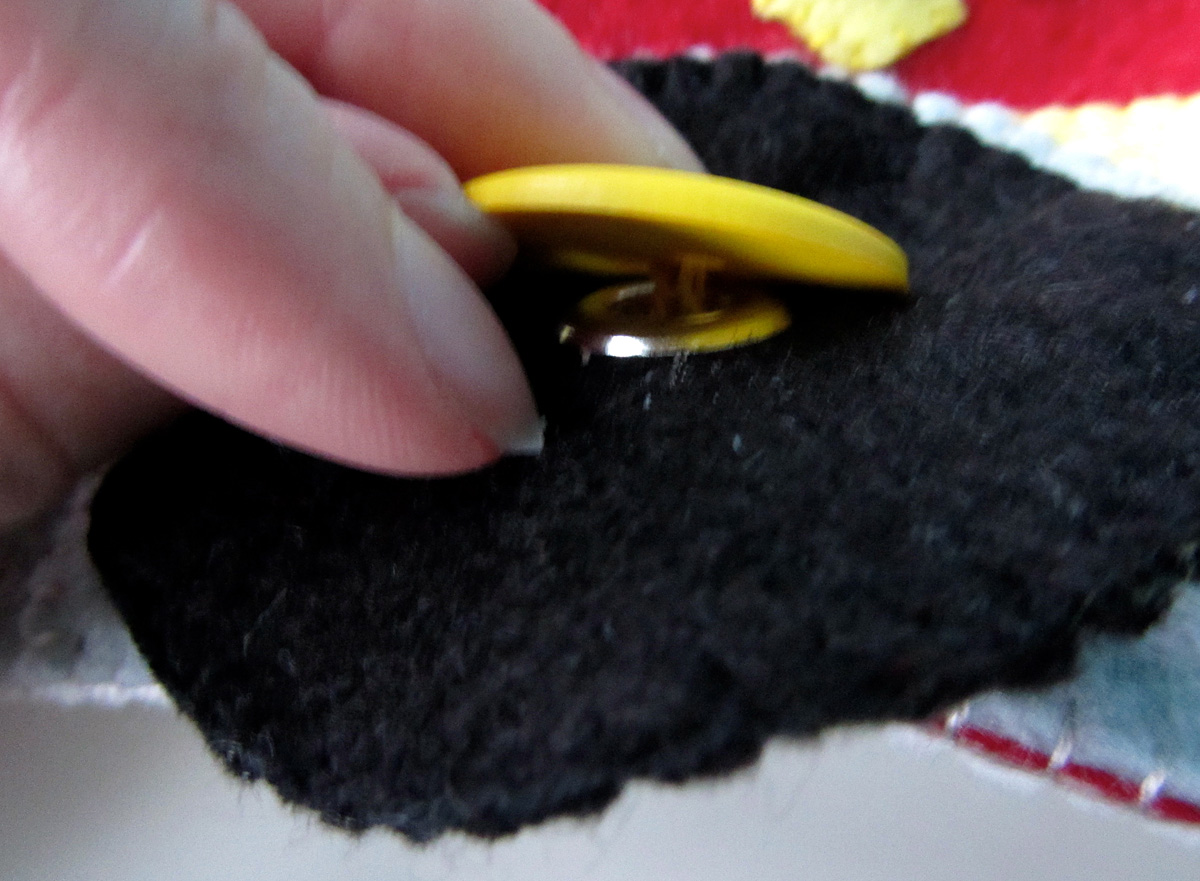
this time around to lightly tack down small felt bits before sewing them. It is working out great! I have that exact kind, but found a better price in the craft store. I will be adding some closures to the quietbook – two buttons and some elastic cord loops. I’m still looking for the right ones. The big thing you need… hook and loop! I use snag-free Velcro
inside the quietbook and on backs of all the loose pieces. It won’t fuzz up your felt when you close the book or store the pieces together. I also use a lot of colored hook and loop. I use the soft loop side on the fronts of the continents (for the animals and landmarks to stick to). For a stronger hold on the wall map, I used the hook side. This means I will have to put some tissue paper over it if I ever roll or fold it for storage to avoid fuzzing up the felt. I got this turquoise hook and loop
for the ocean. The tan Velcro is sold with black and white Velcro in the store. All the novelty colors are available from AFC. I didn’t have the best match in orange, but I am using pieces from my stash.
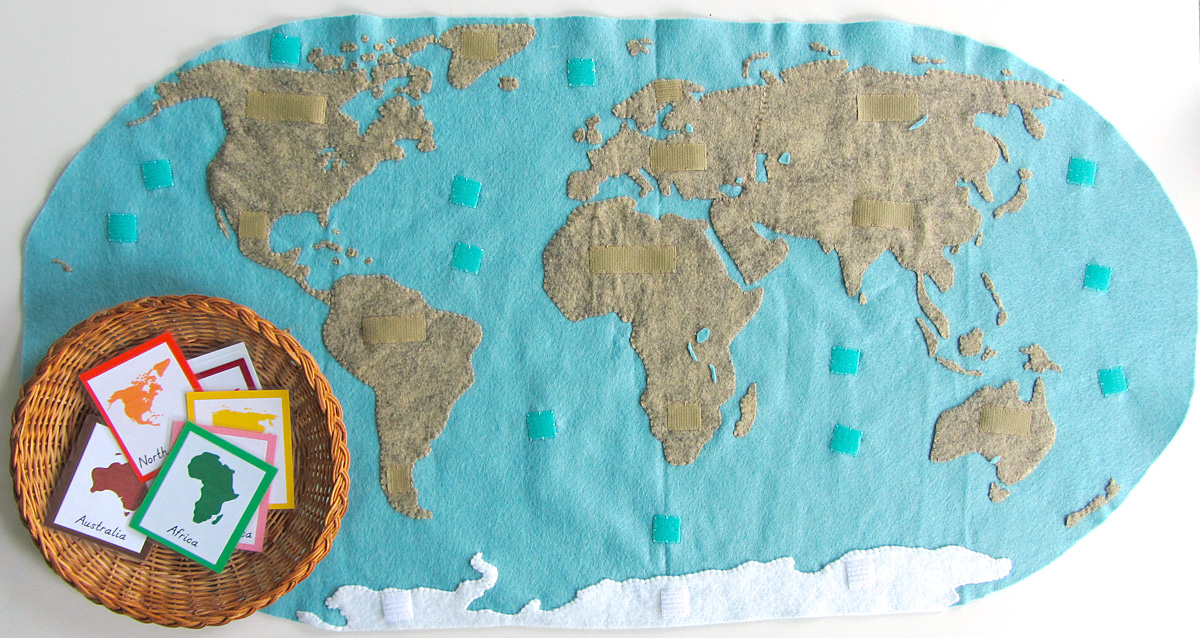
Felt Wall Map
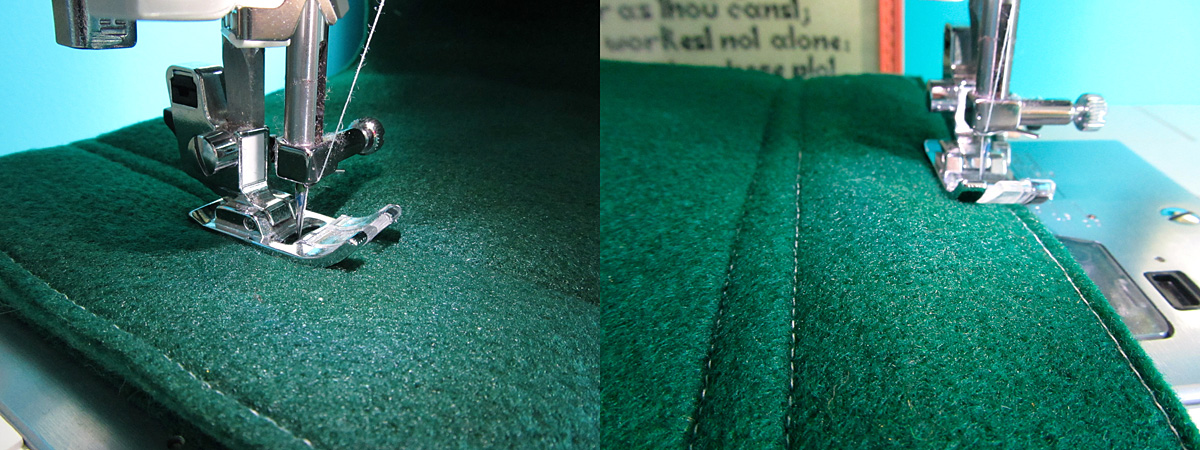
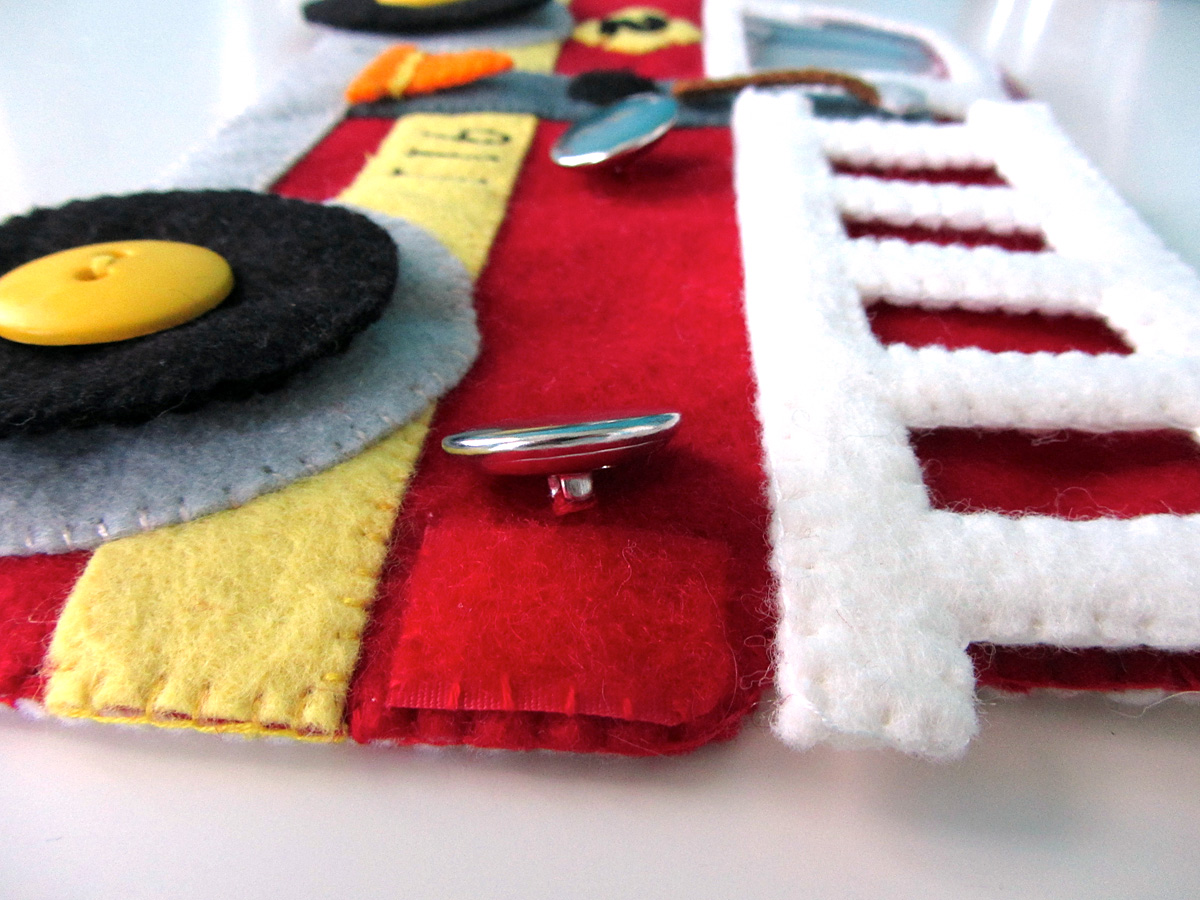
This piece is not yet finished (it needs a backing and loops at the top), but it is almost there! To make it, cut out all the large pieces and arrange them on the blue backing. Use a thin layer of glue to tack them down. Too much glue will make it tougher to sew through. Then cut out the zillion little islands and glue them down as well. I cut mine free-hand. I didn’t feel like it had to be super accurate at that scale – the overall effect when they are all in place is good enough! Once everything is glued down and dry, sew around all the edges. I used “Dual Duty Button & Carpet” thread in tan. Worked great!

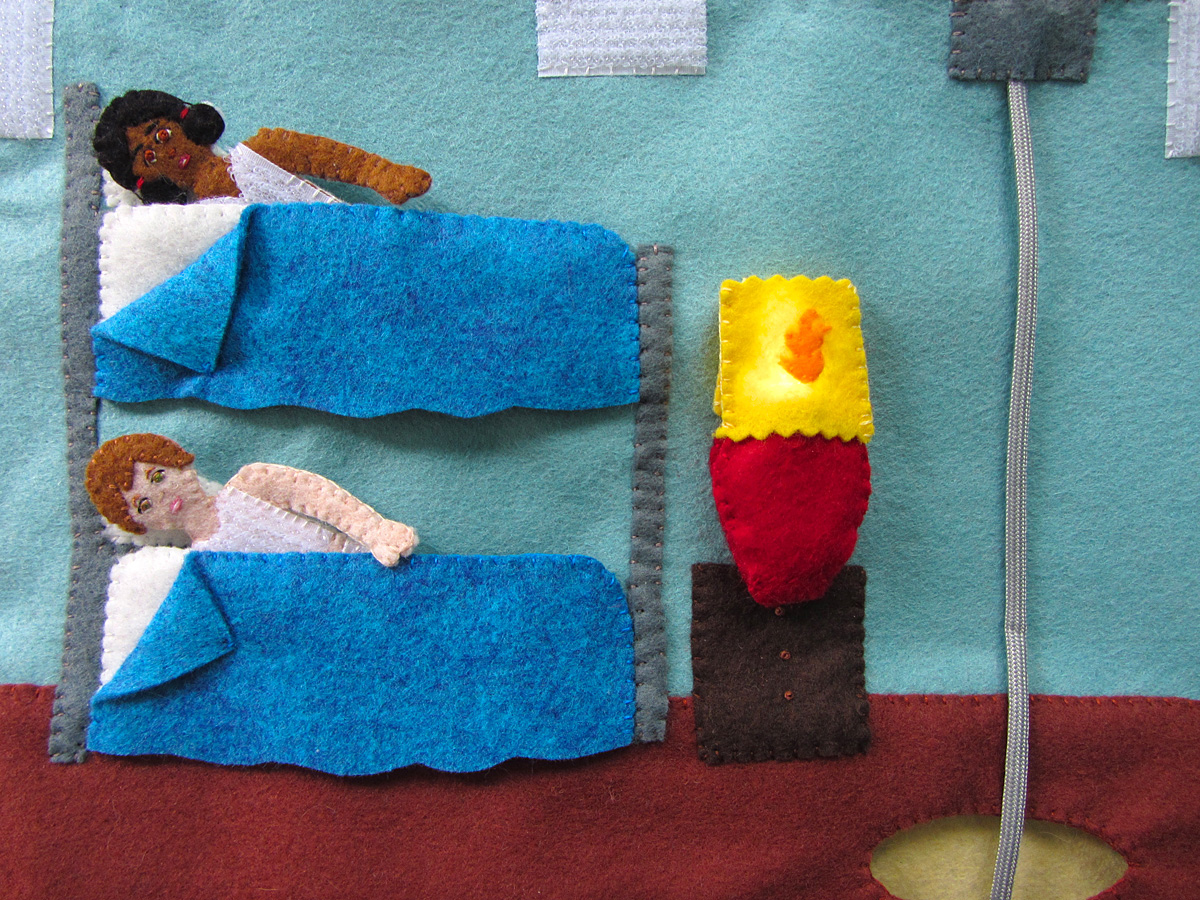
I updated this 8/6/13 to add one more ocean Velcro piece in the Pacific near Hawaii!
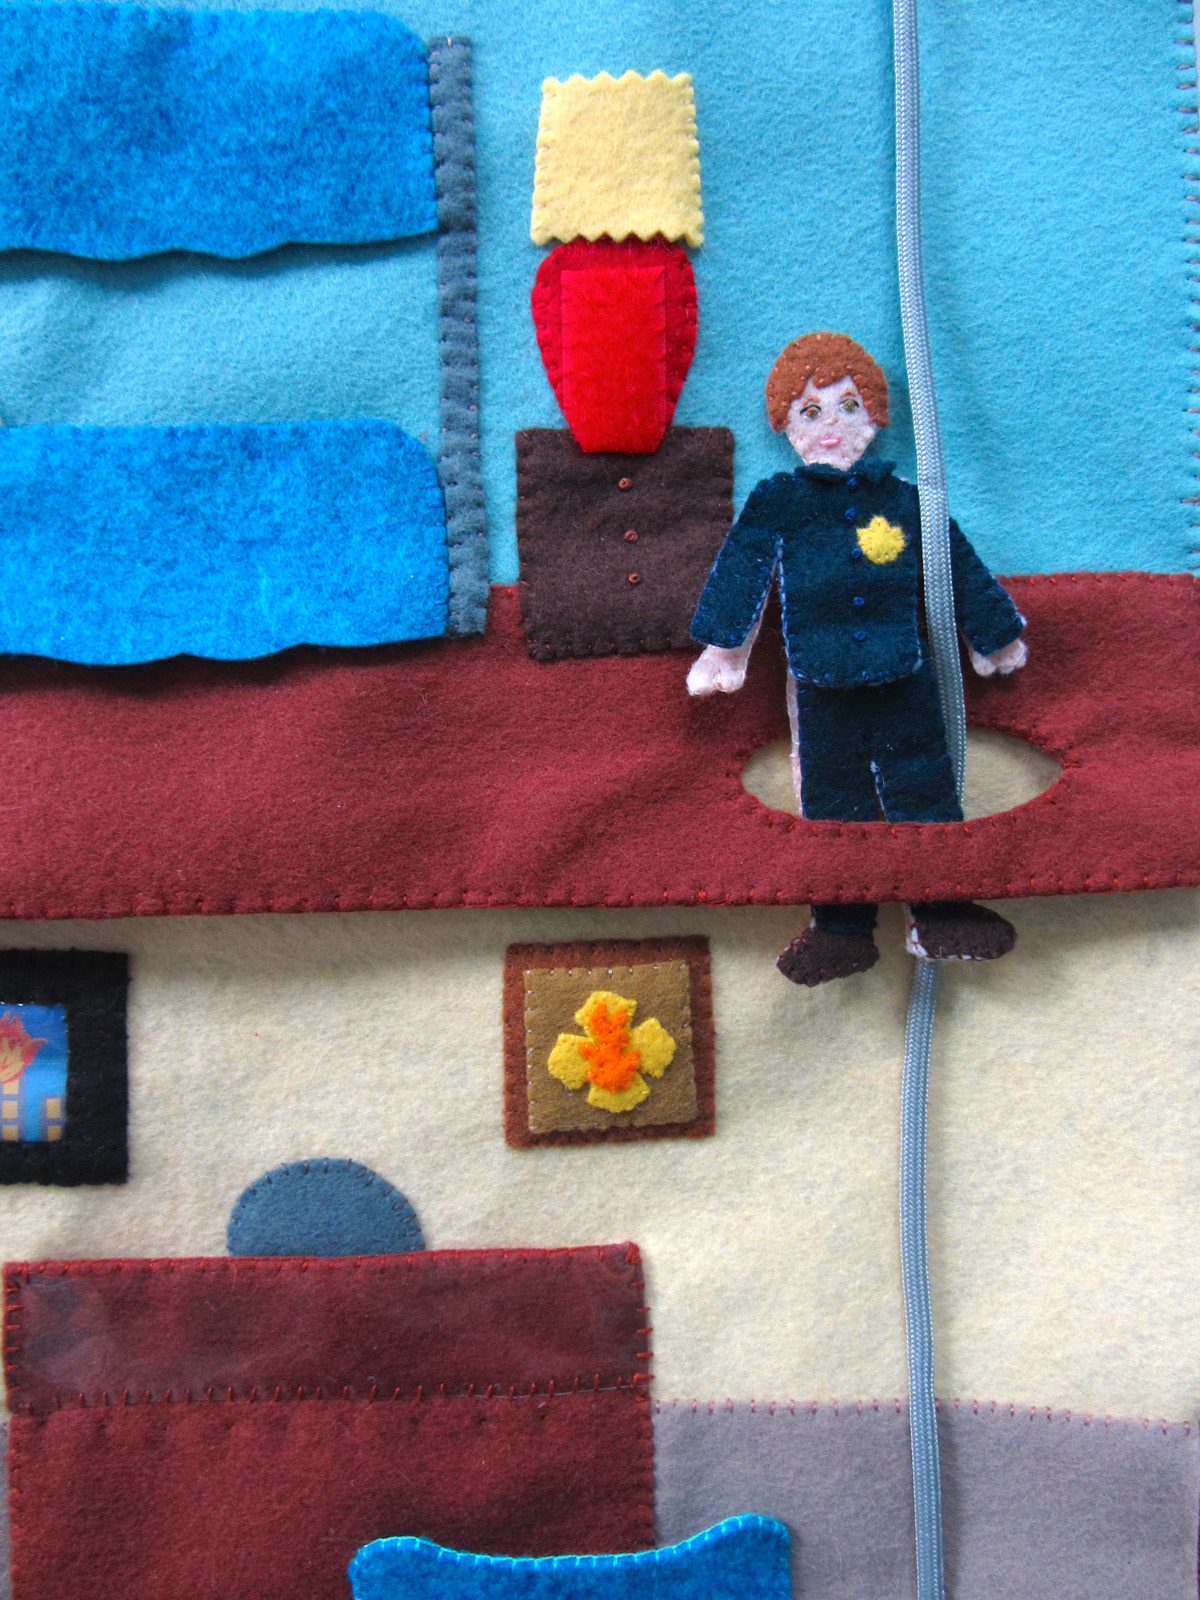
After that, sew strips of hook and loop on to the map where indicated in the above photo. The ocean ones are for sea animals, the land ones are to hold the continents. I will eventually sew a backing on with some hang loops at the top.

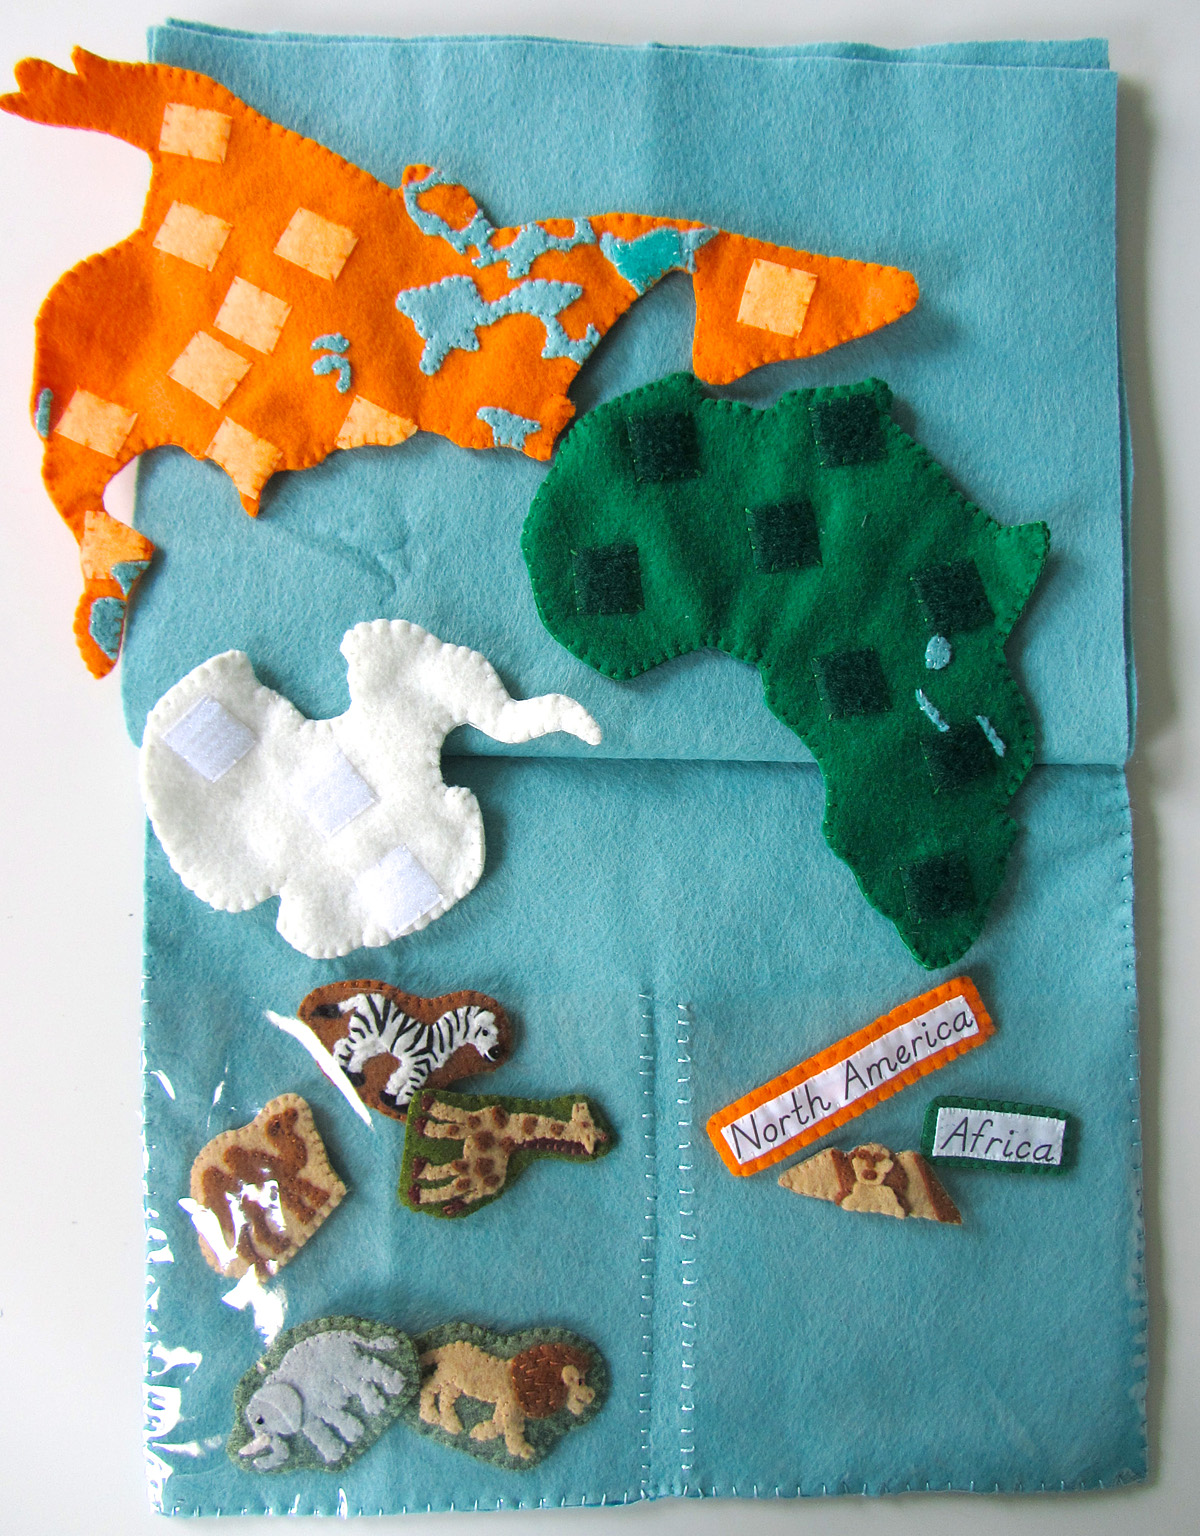
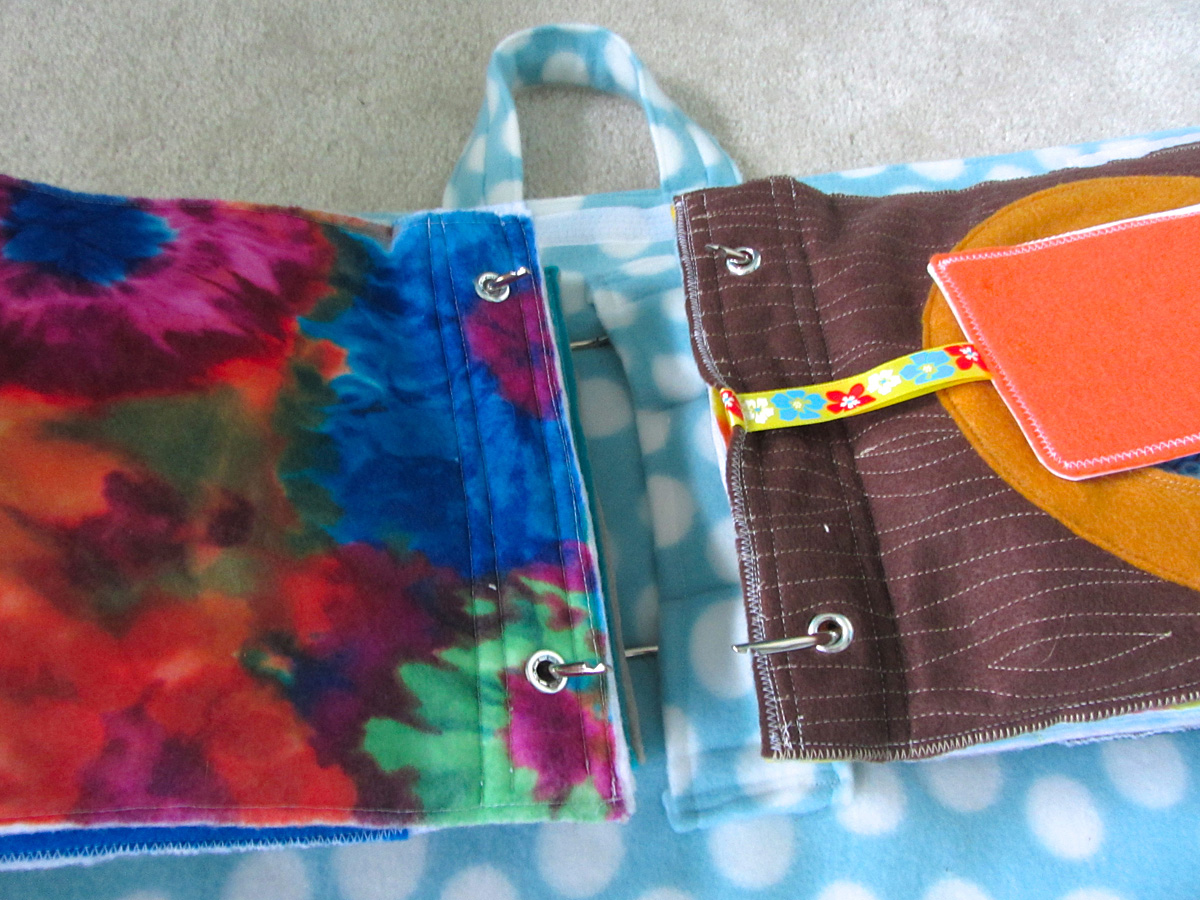
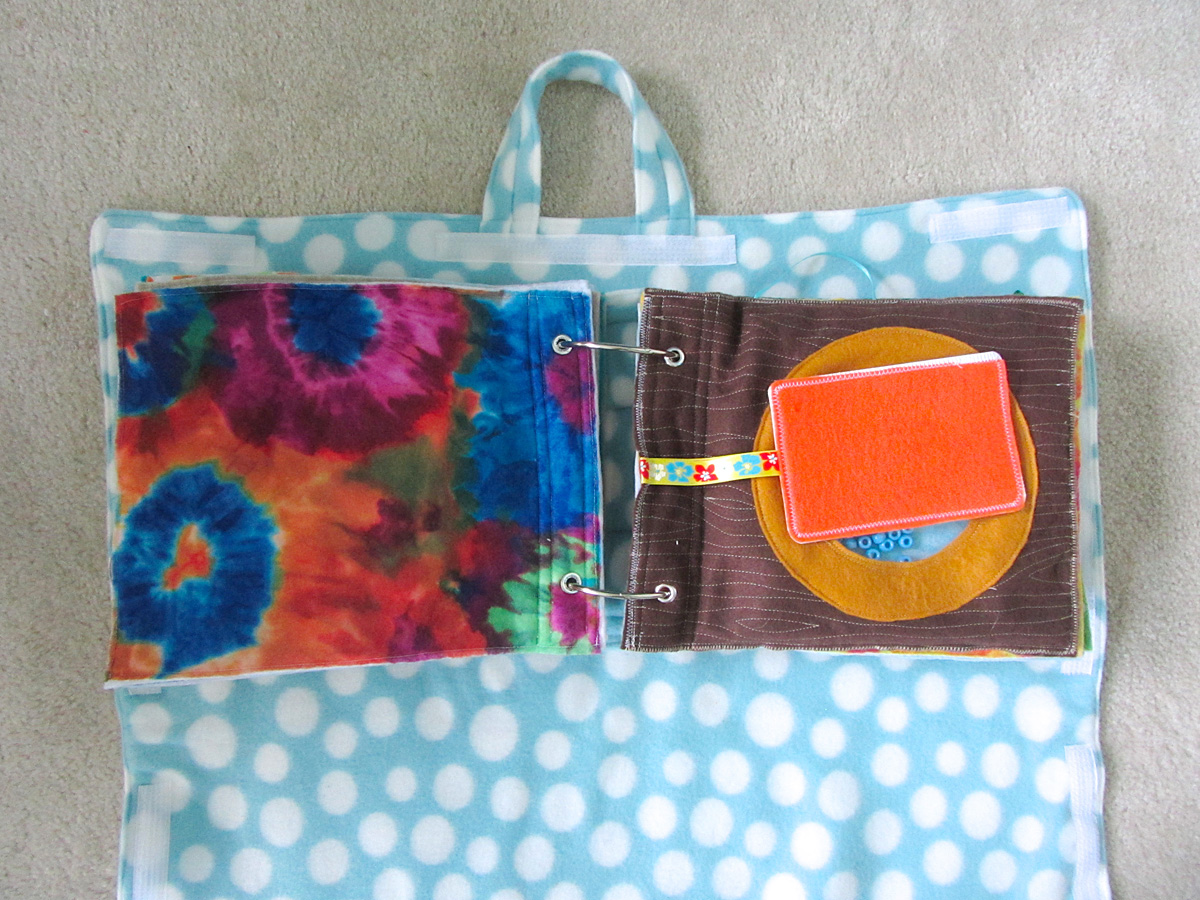
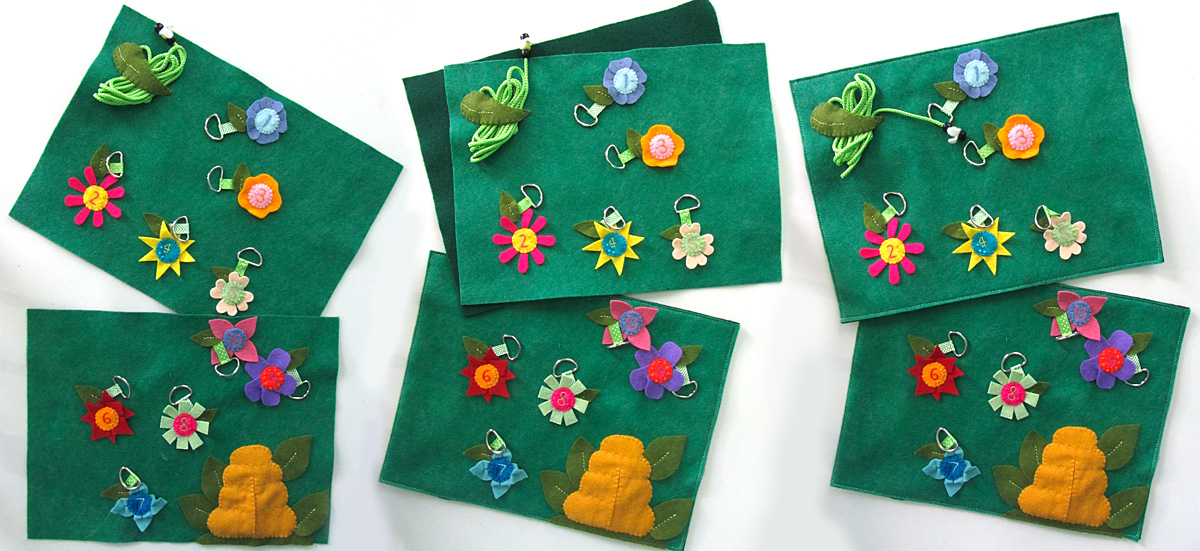
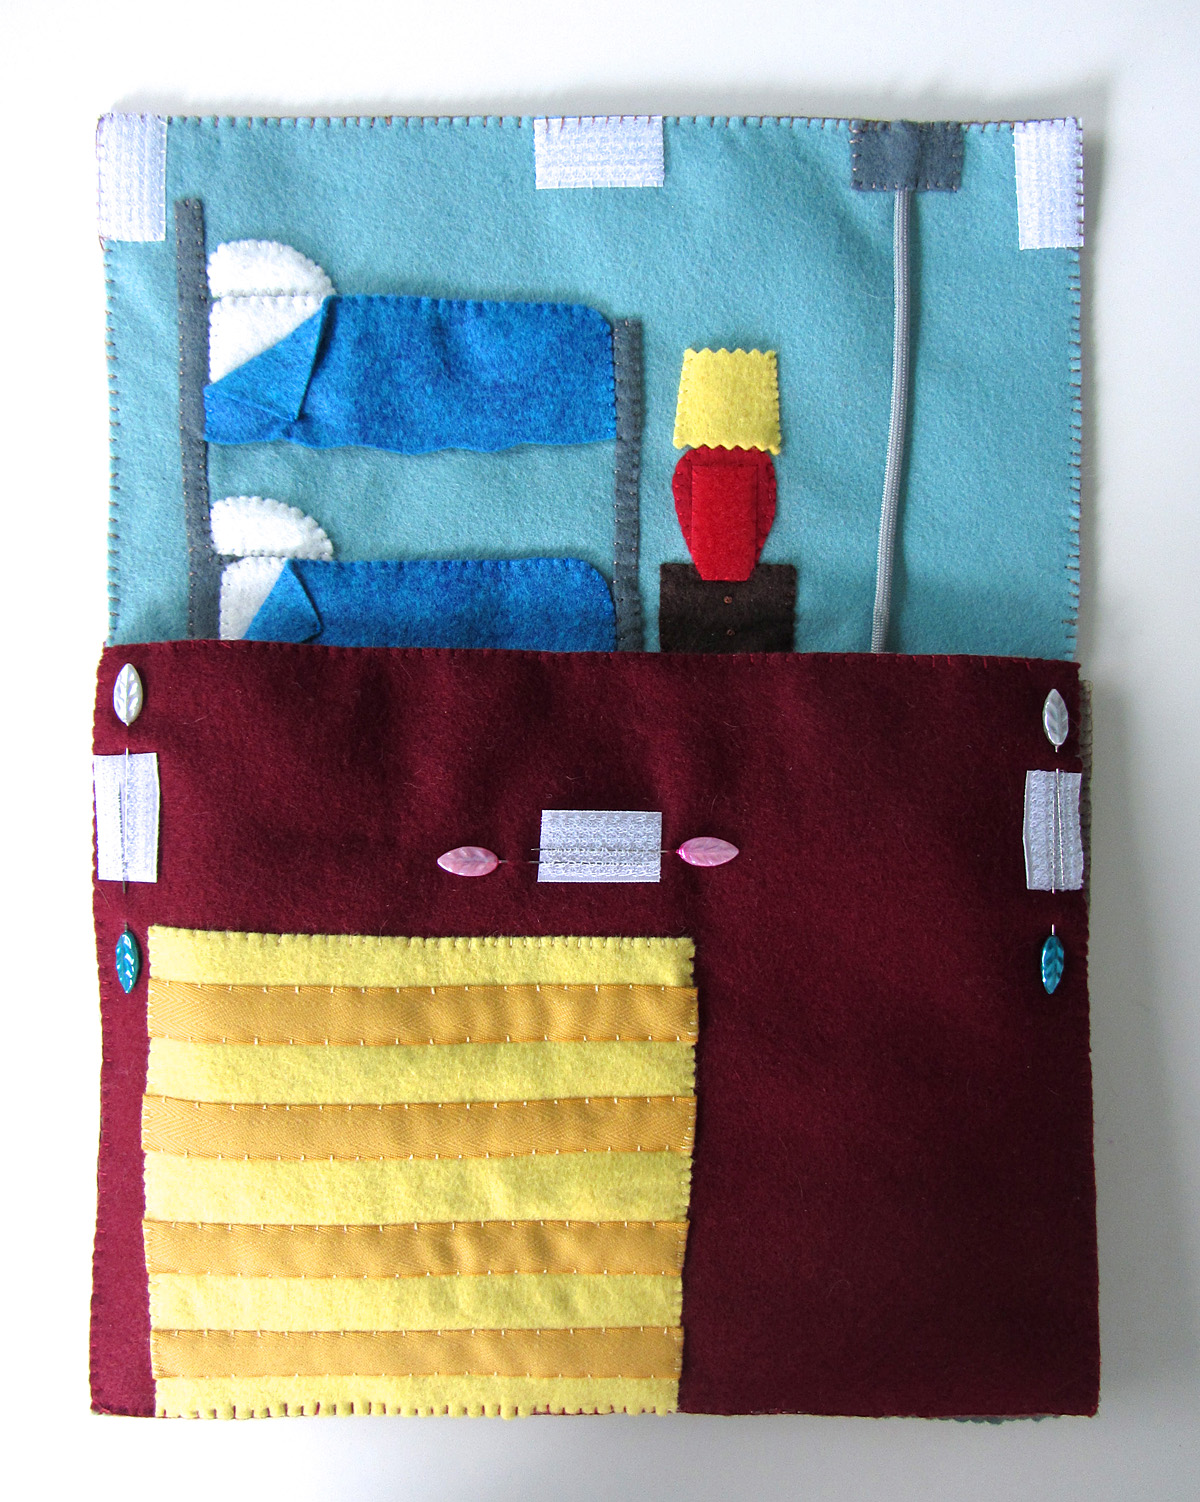
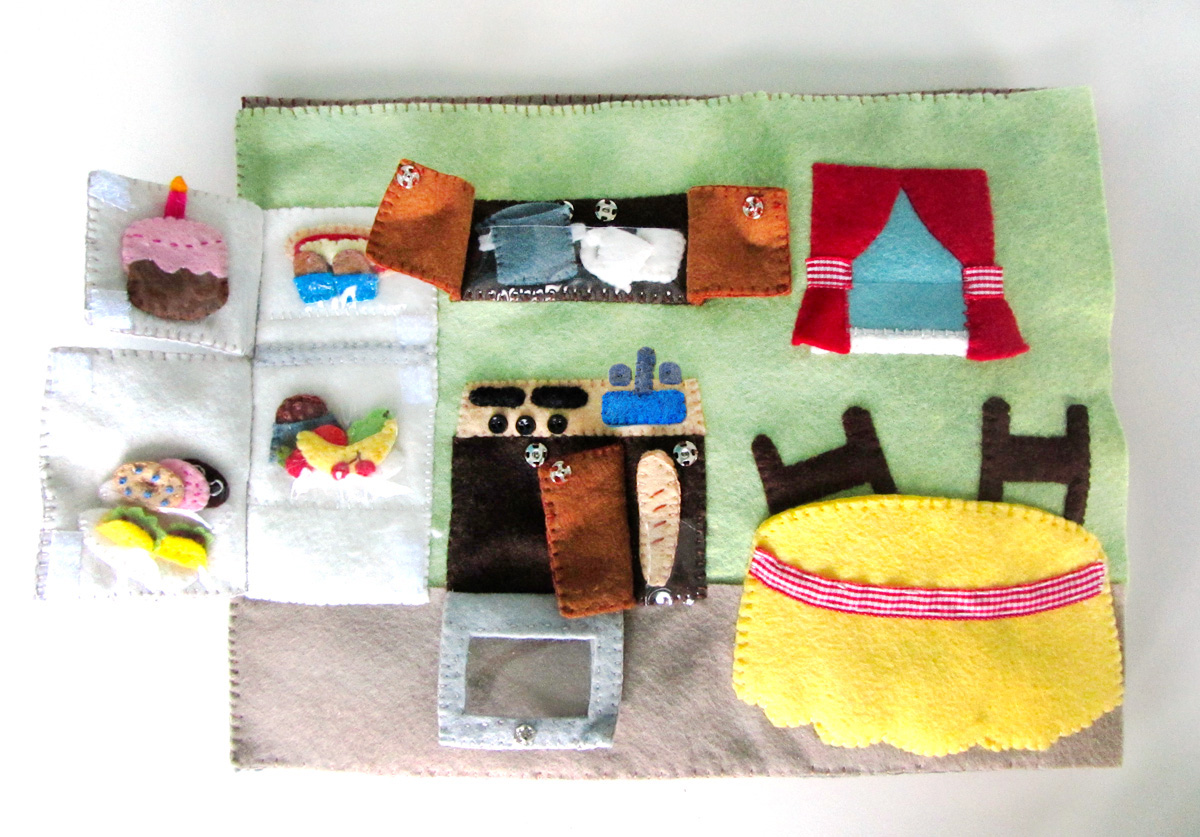
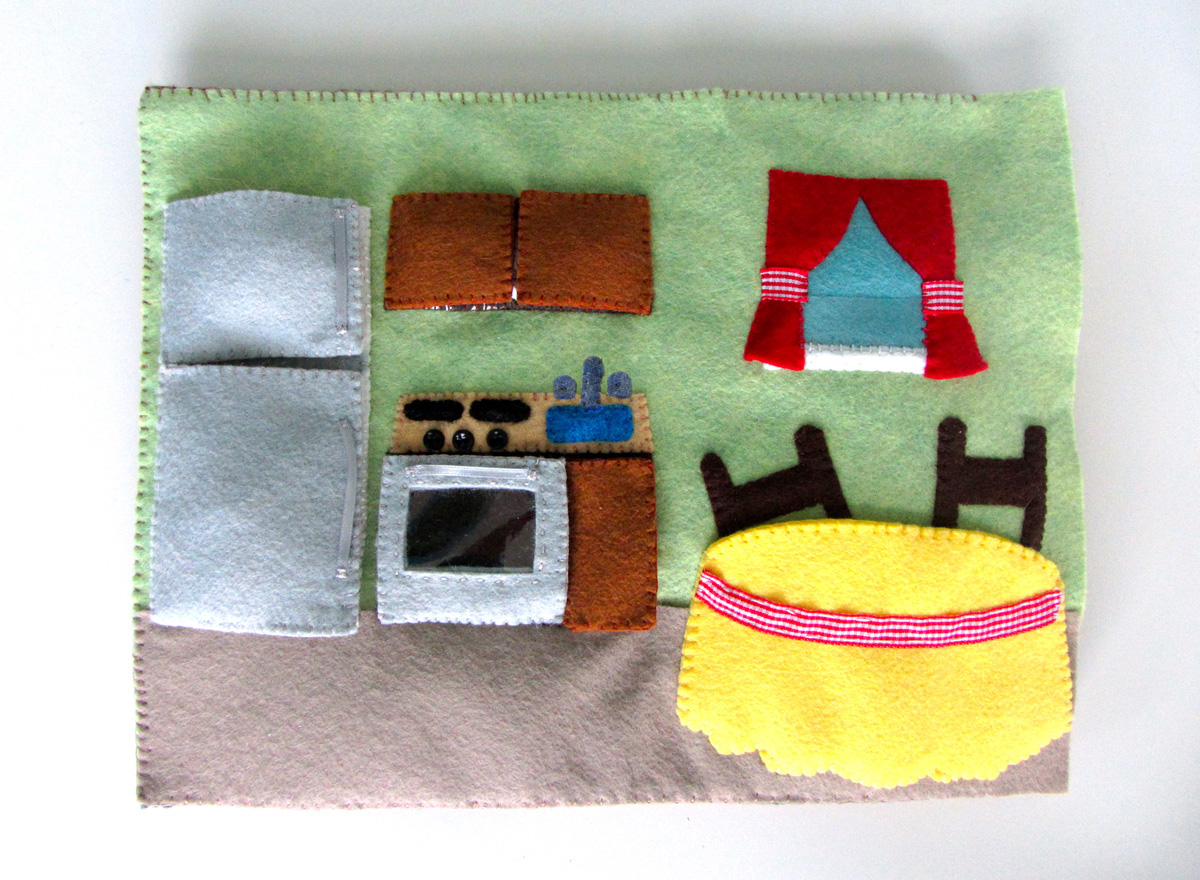
Quietbook
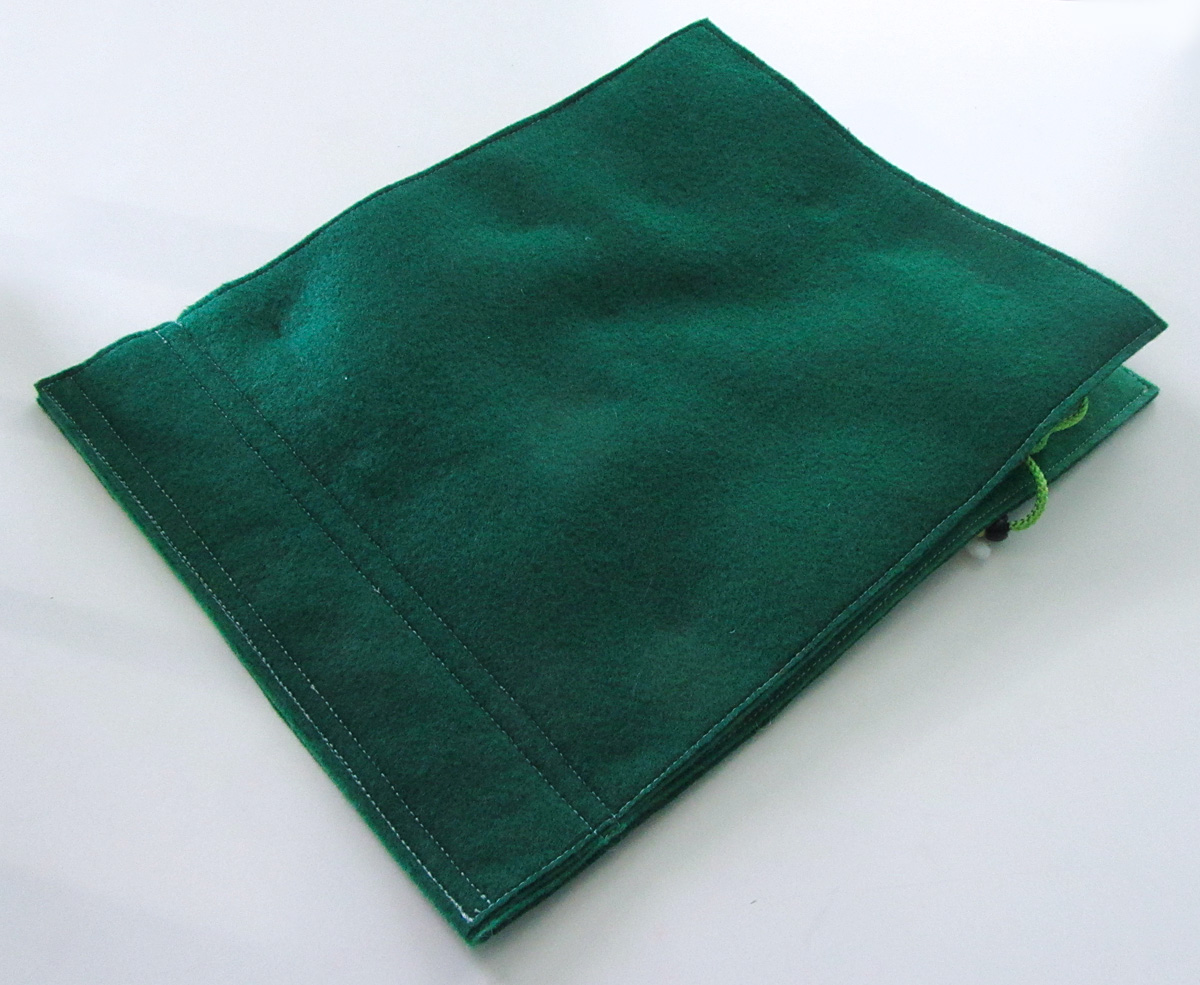
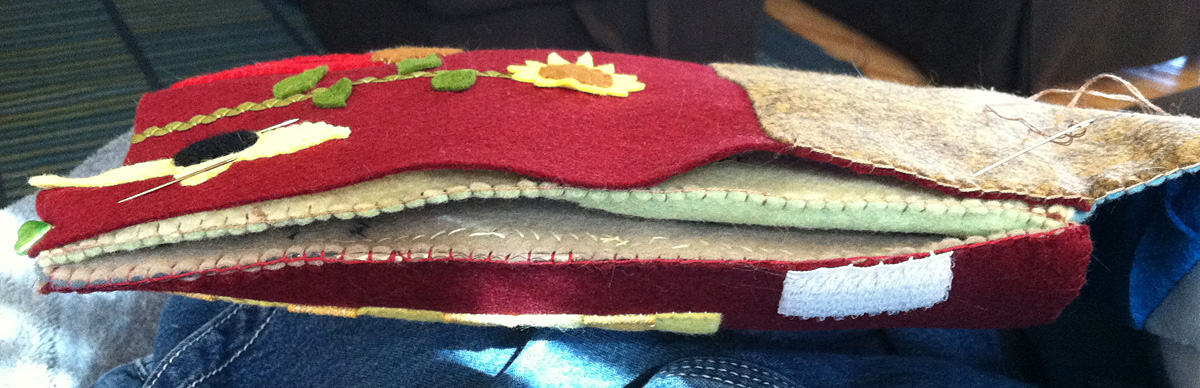
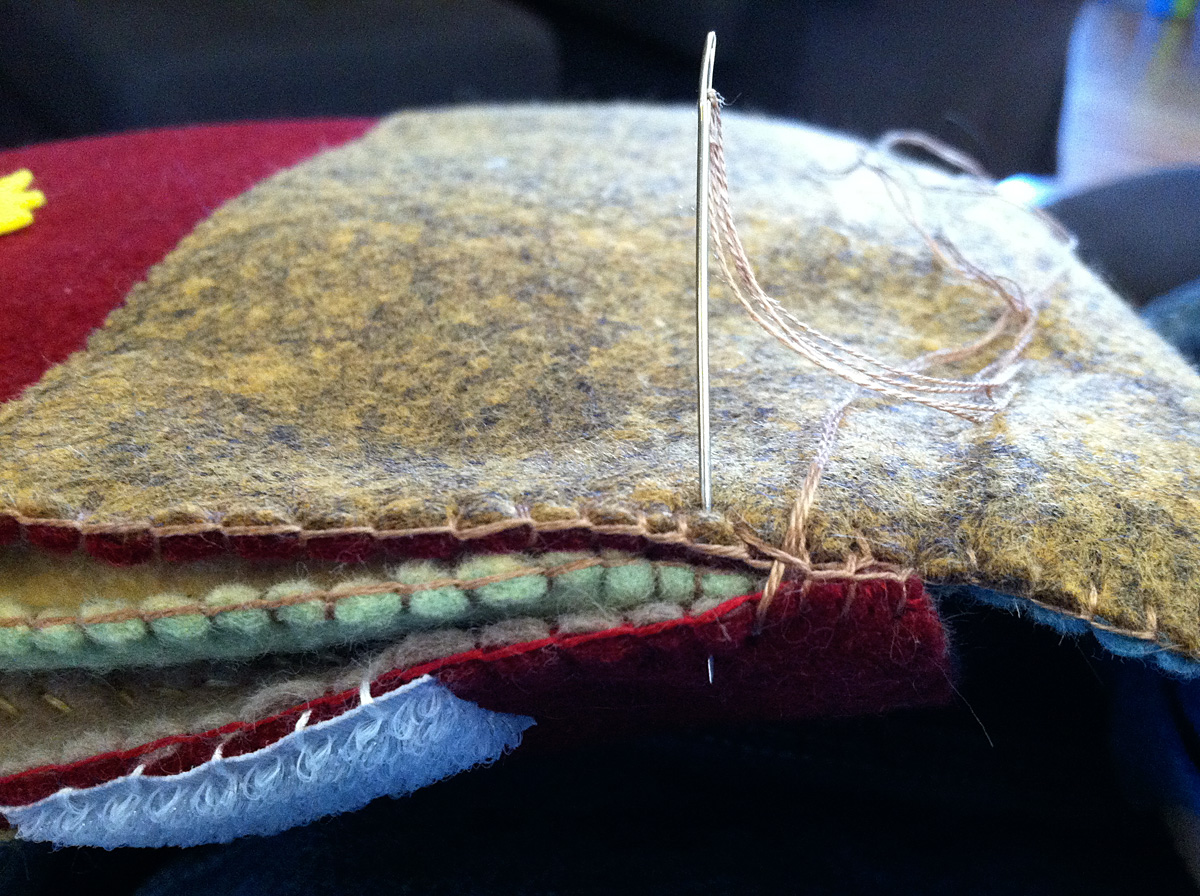
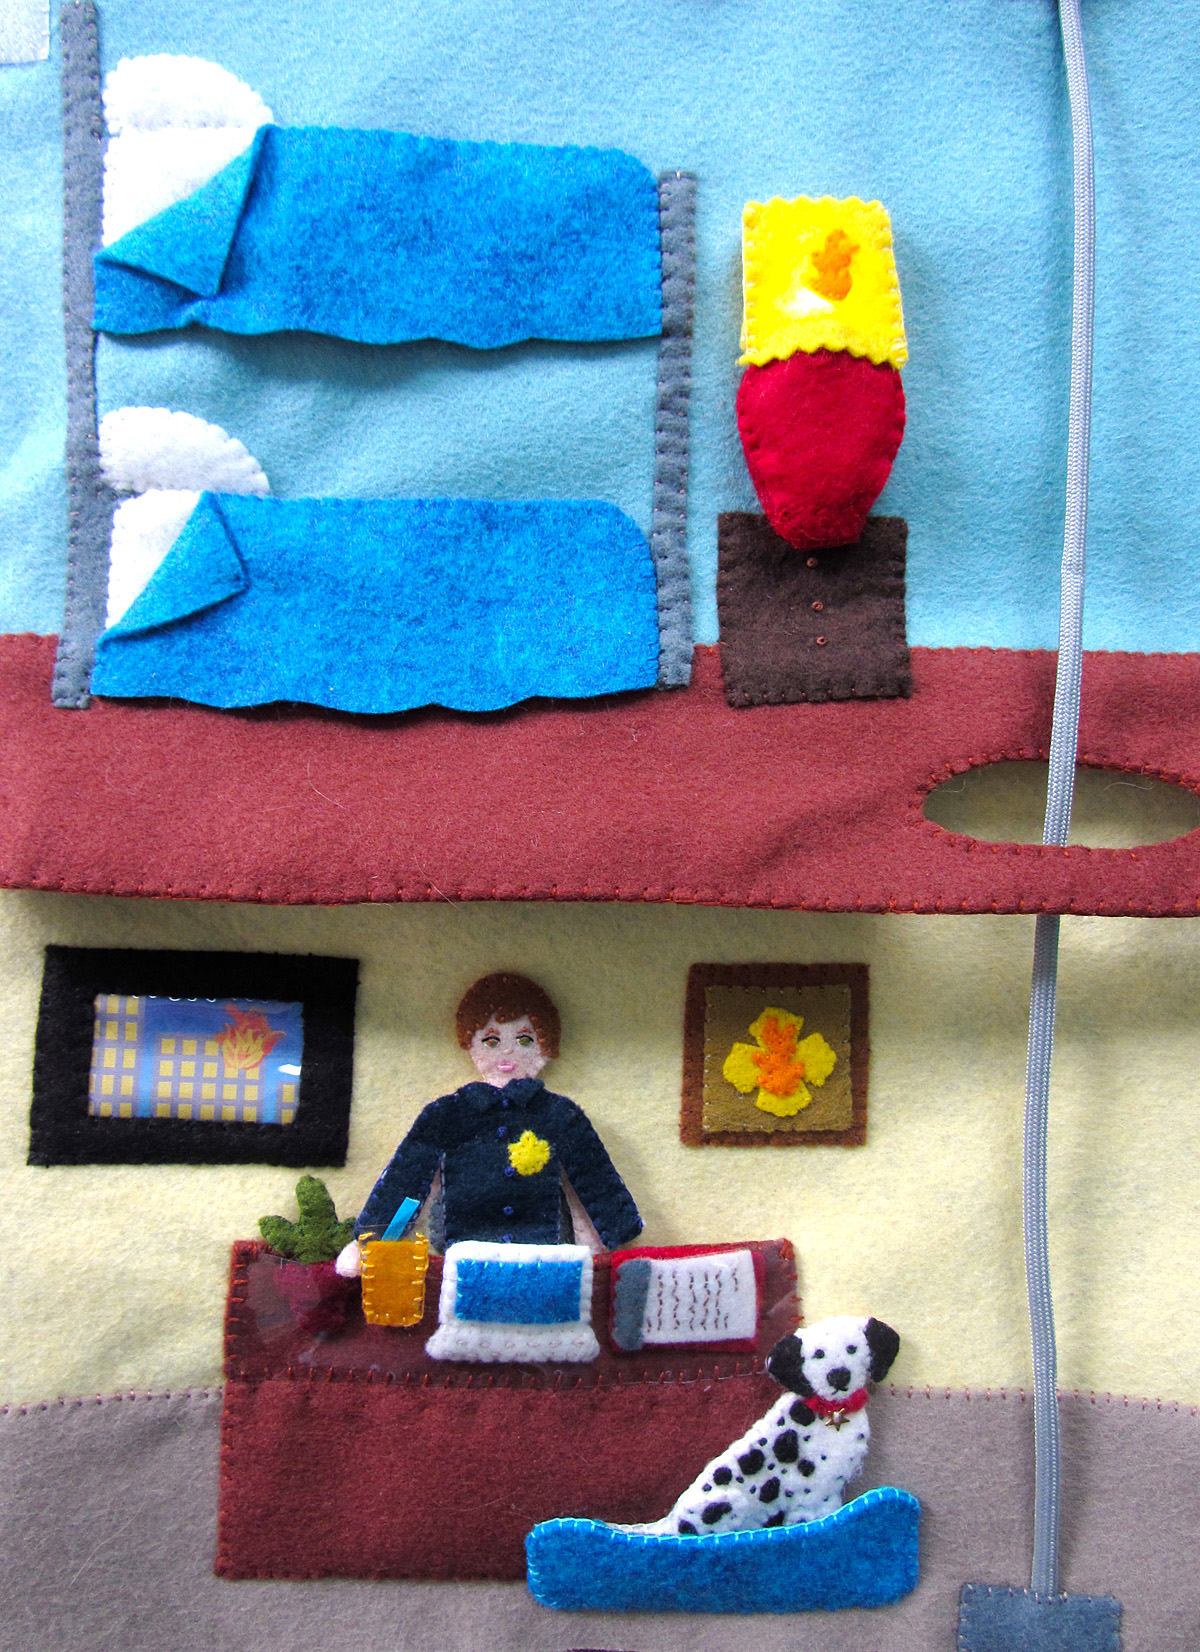
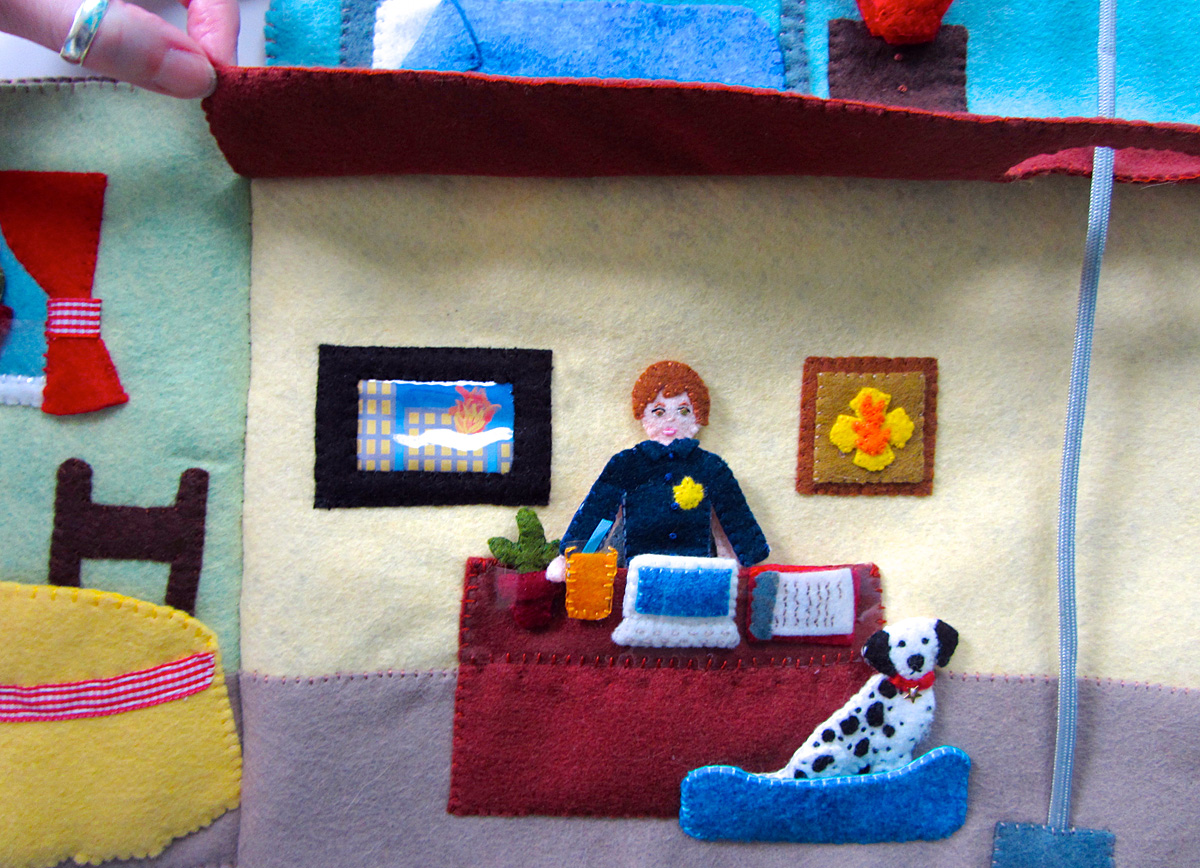
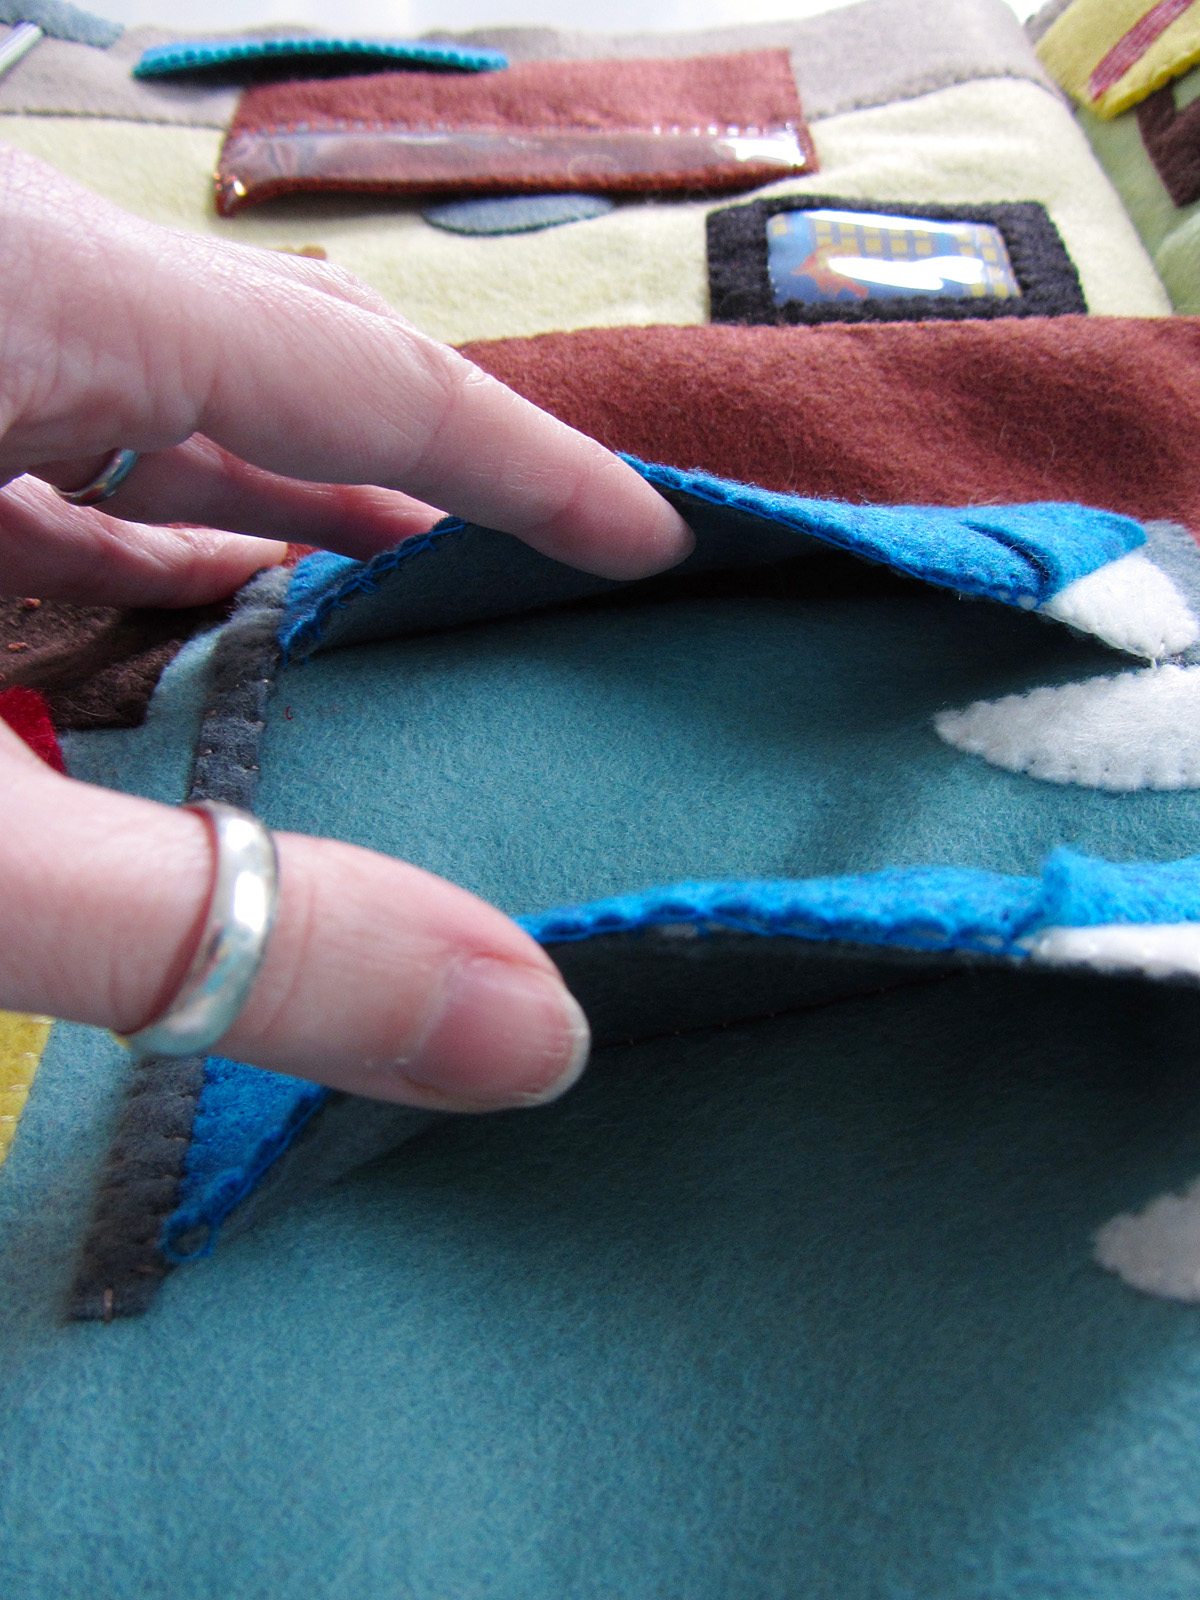
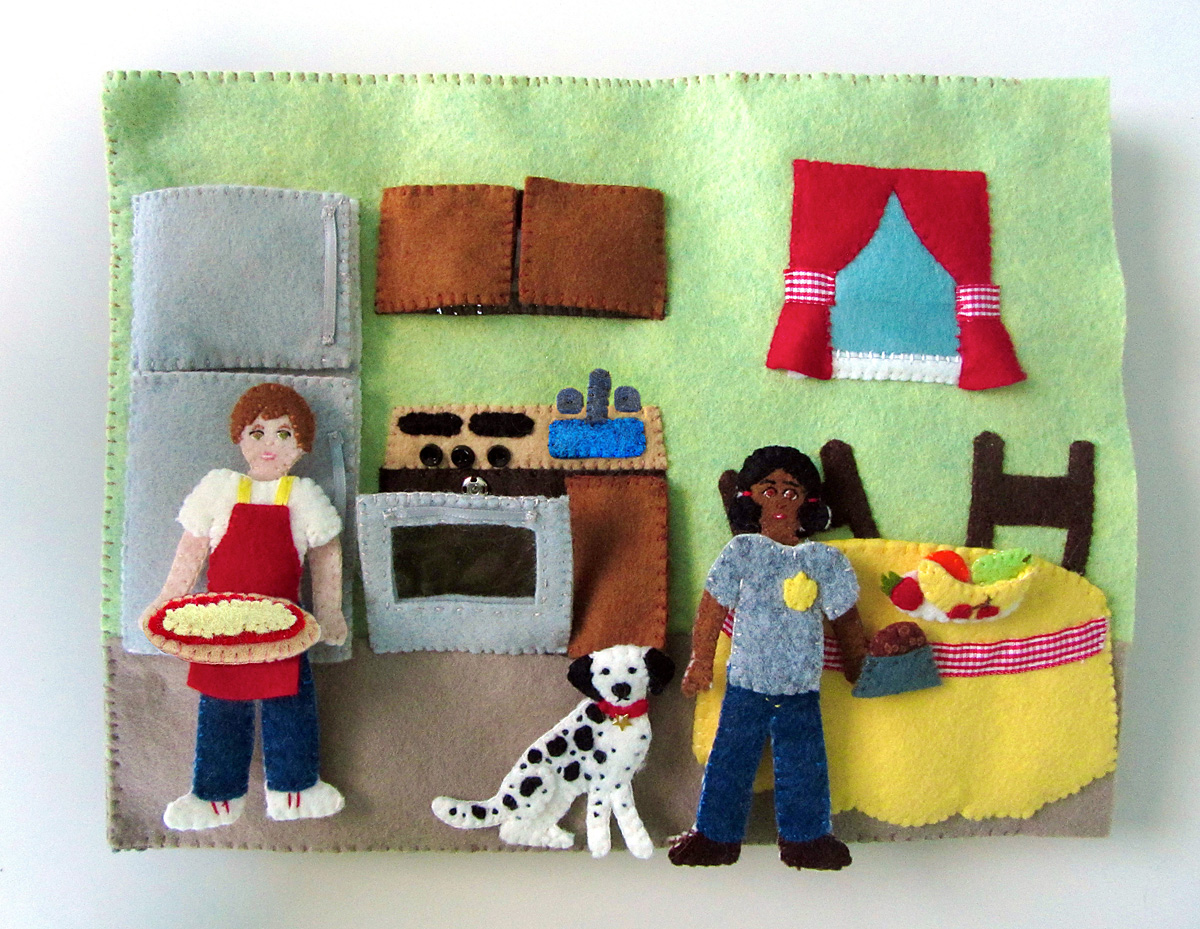
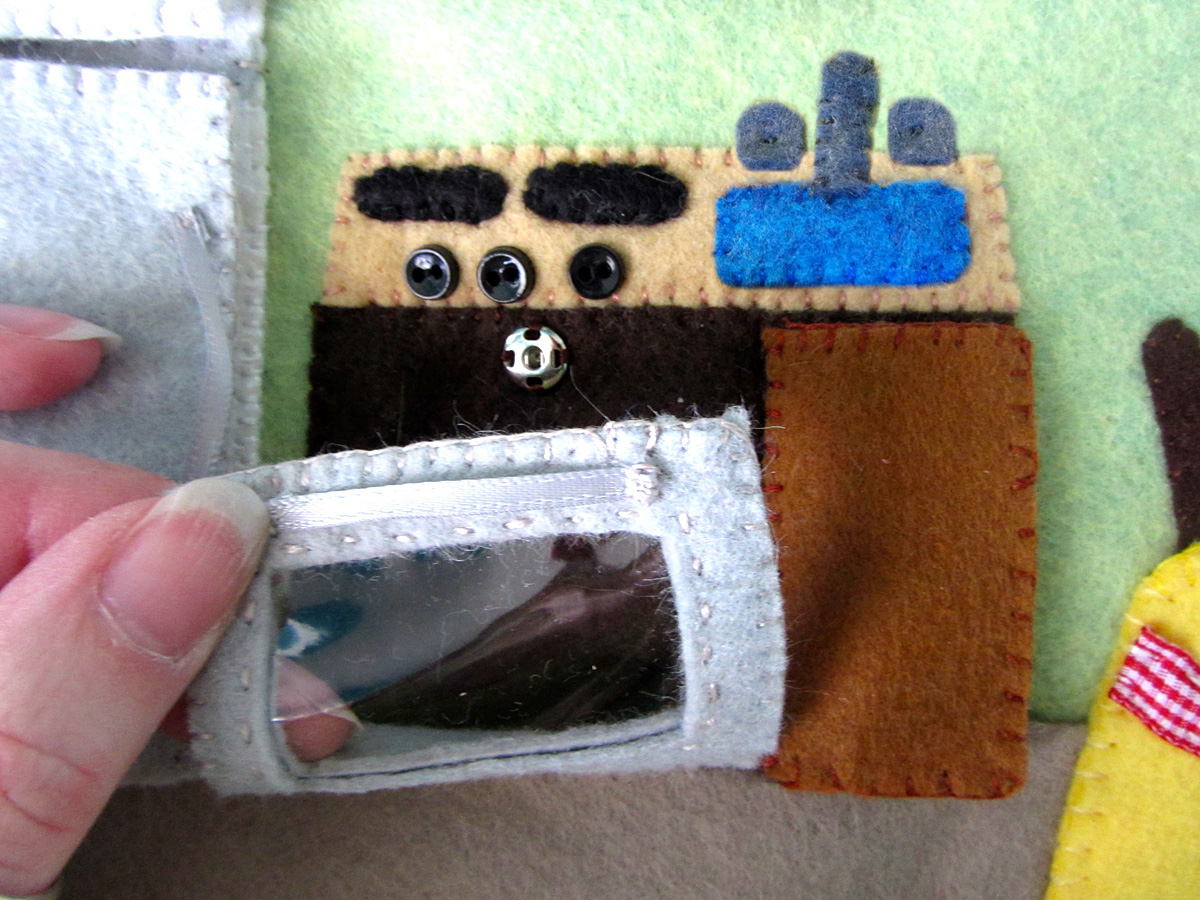
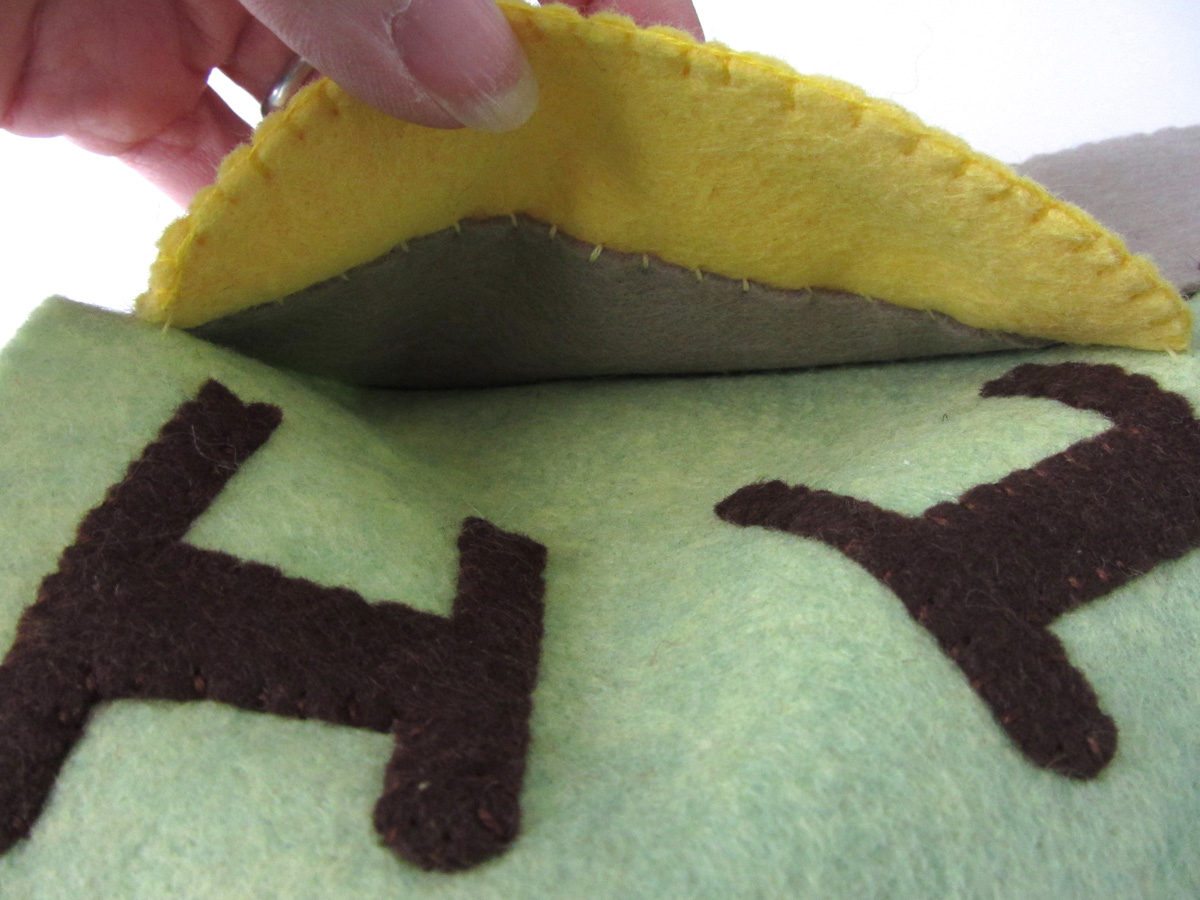
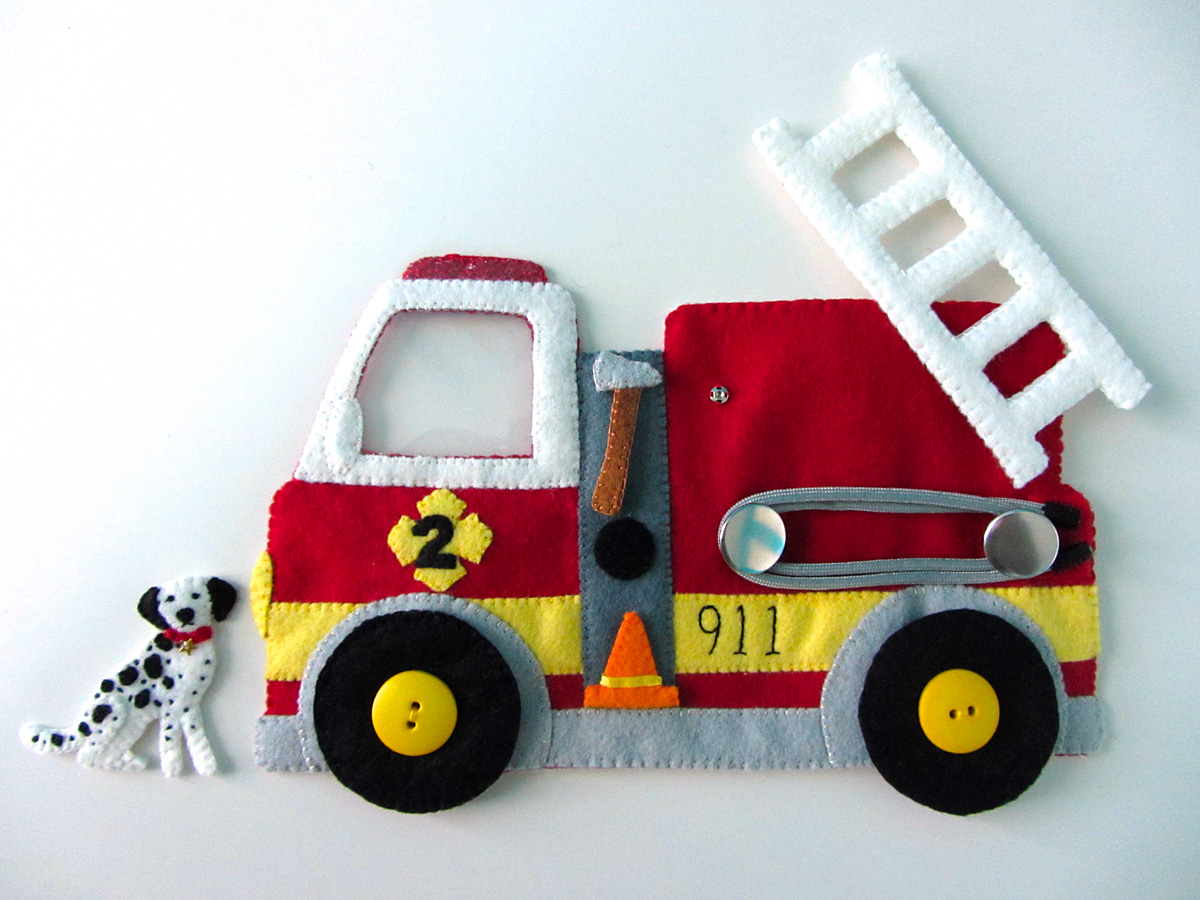
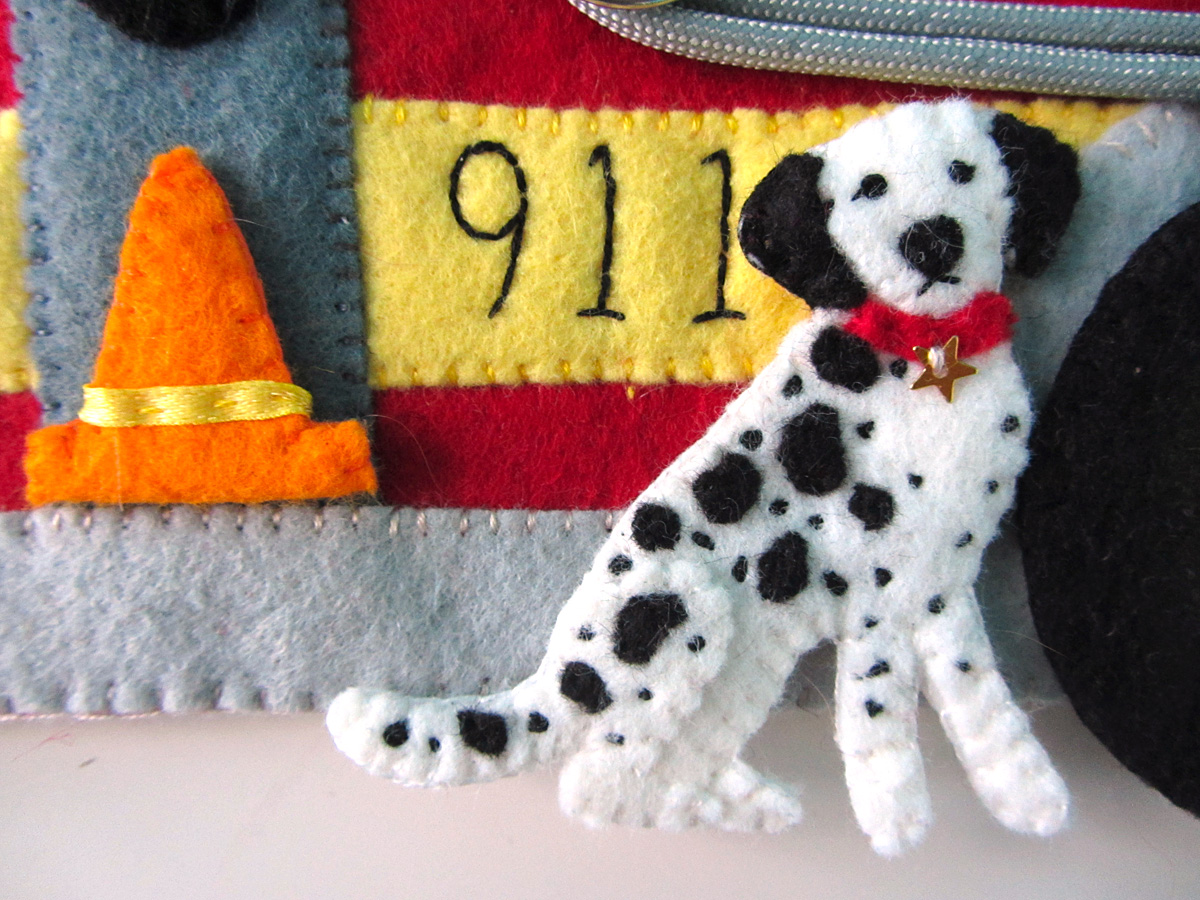
I have started this, but it is only about half done. To start the book, I stacked the 12″ x 18″ sheets with the cover piece on top, then sewed a dashed running stitch through the center. I then folded along the stitching to make the book. Once the sewing is done, each page is made by sewing two layers together. I have the first and last (cover) pages done in these photos.
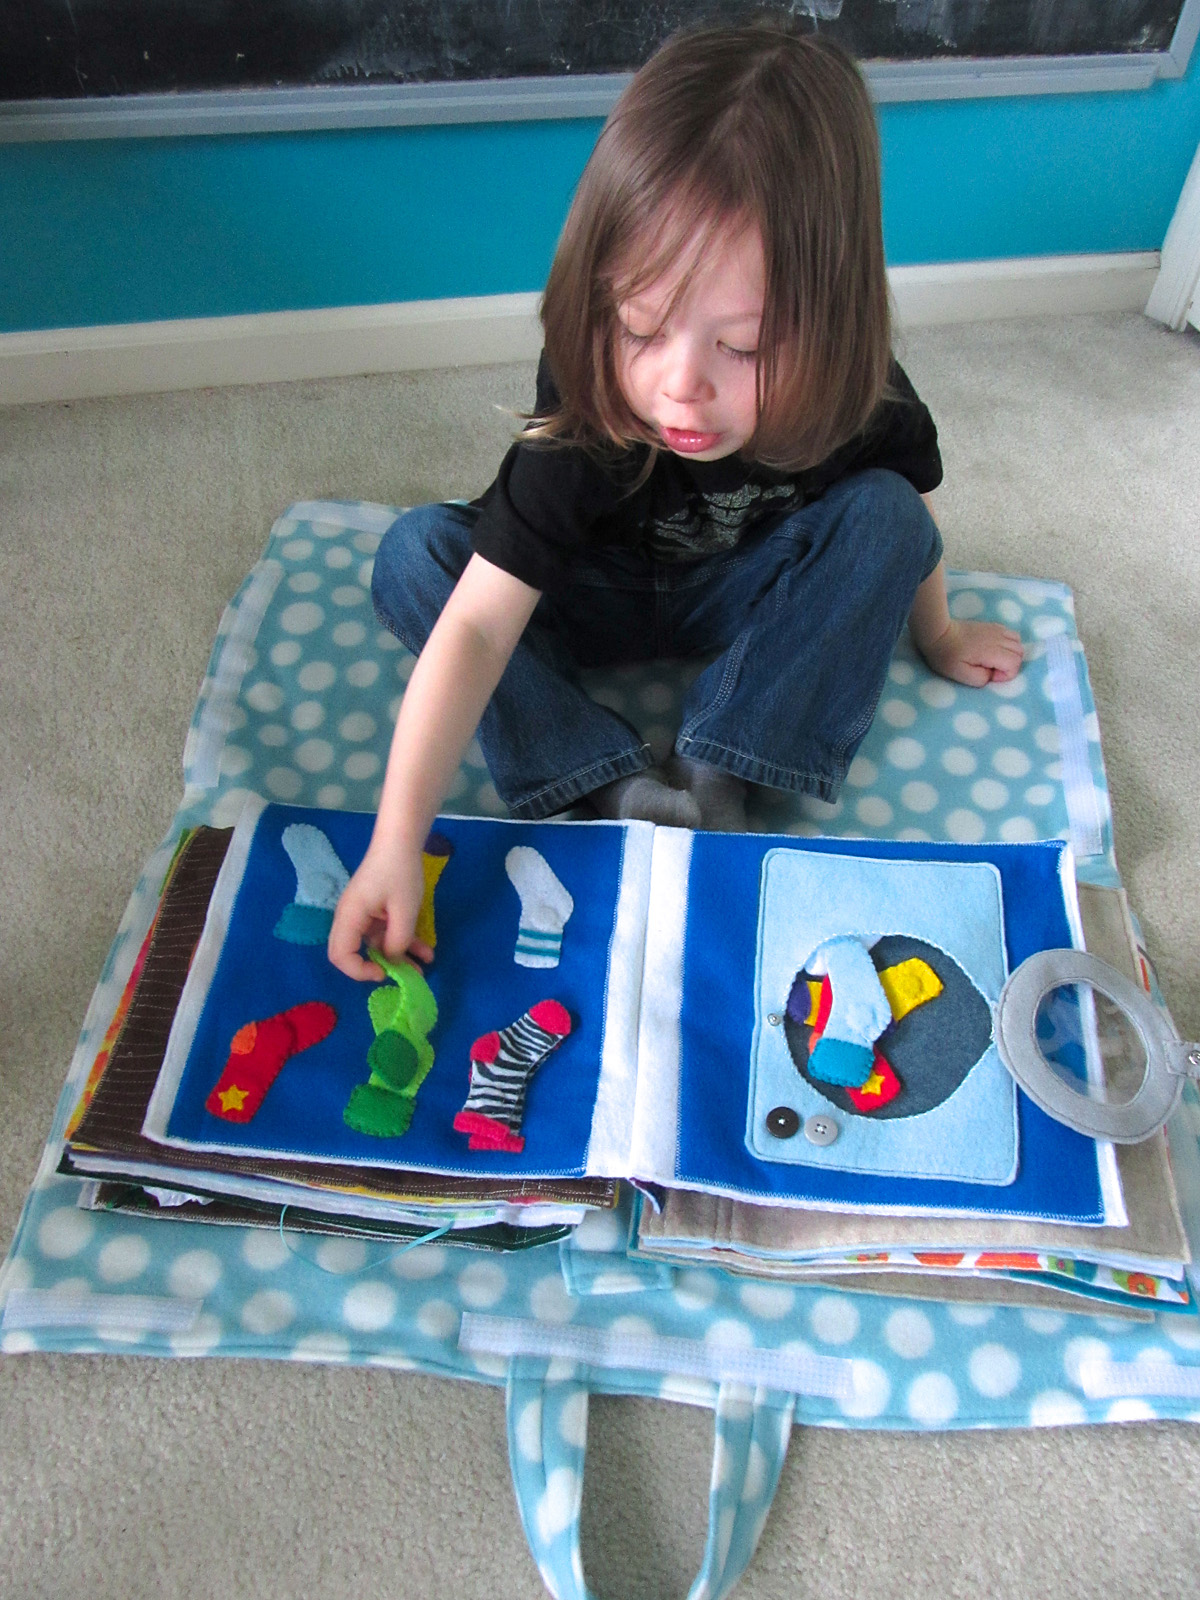
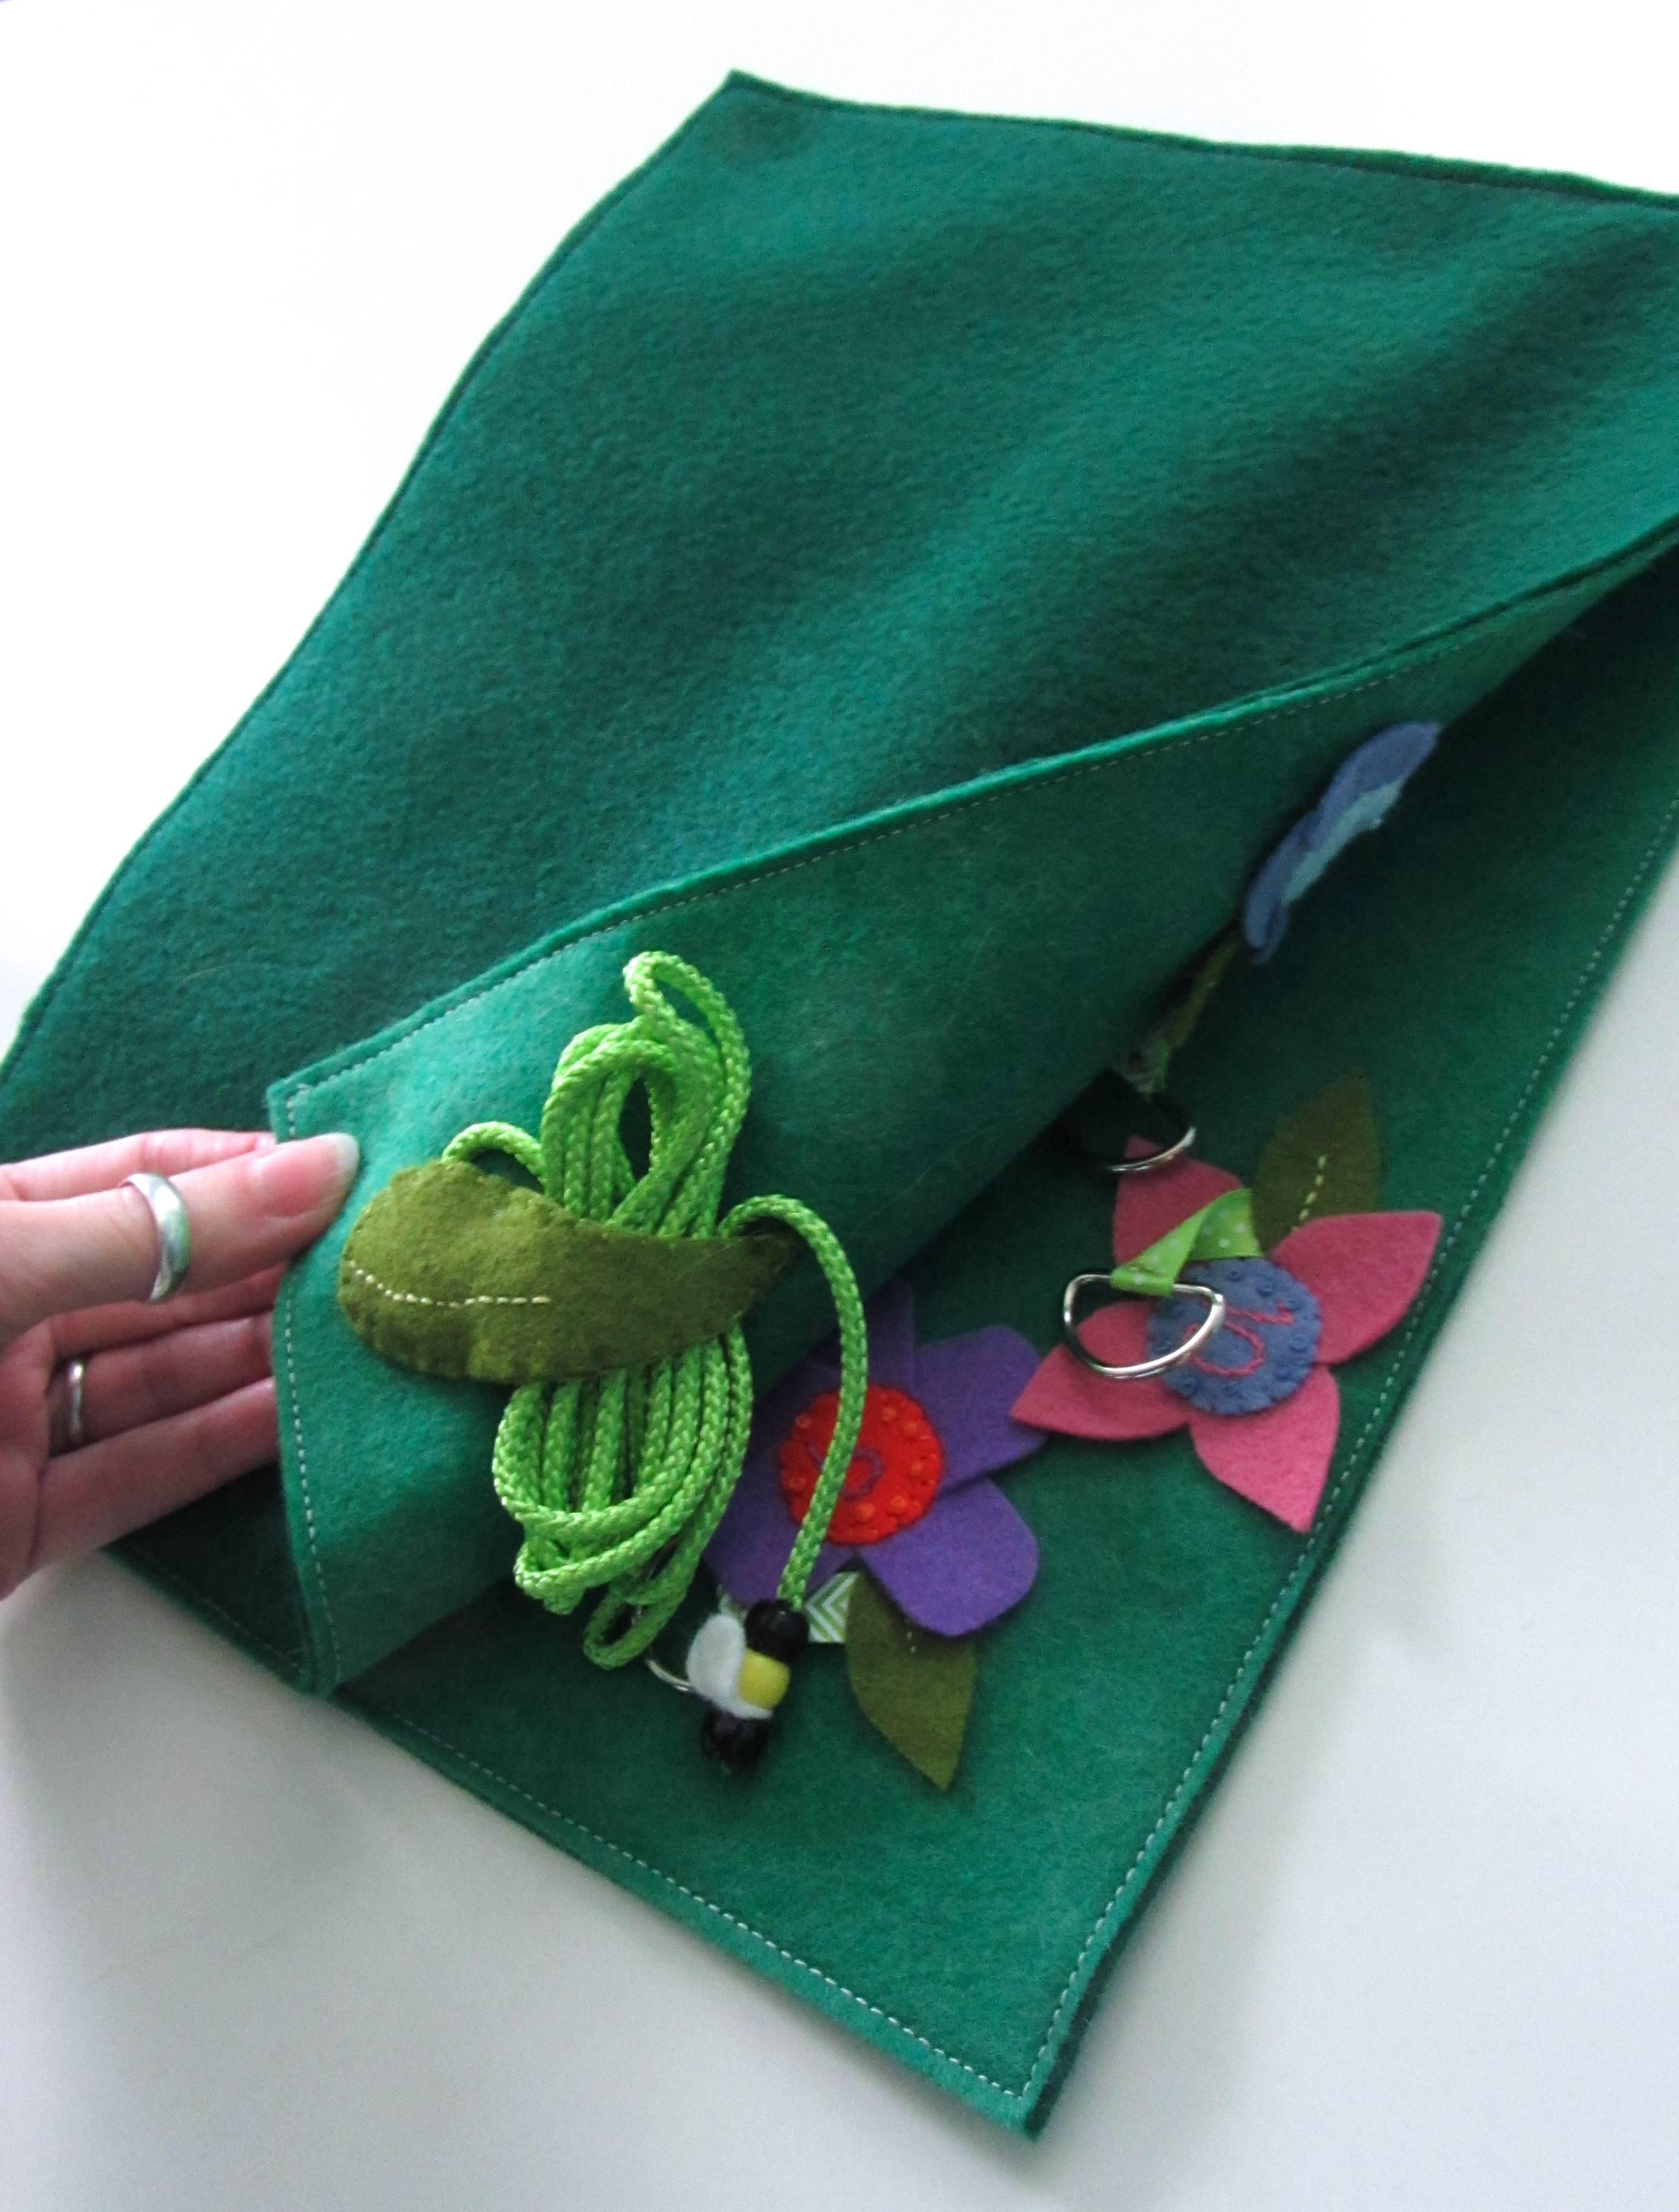
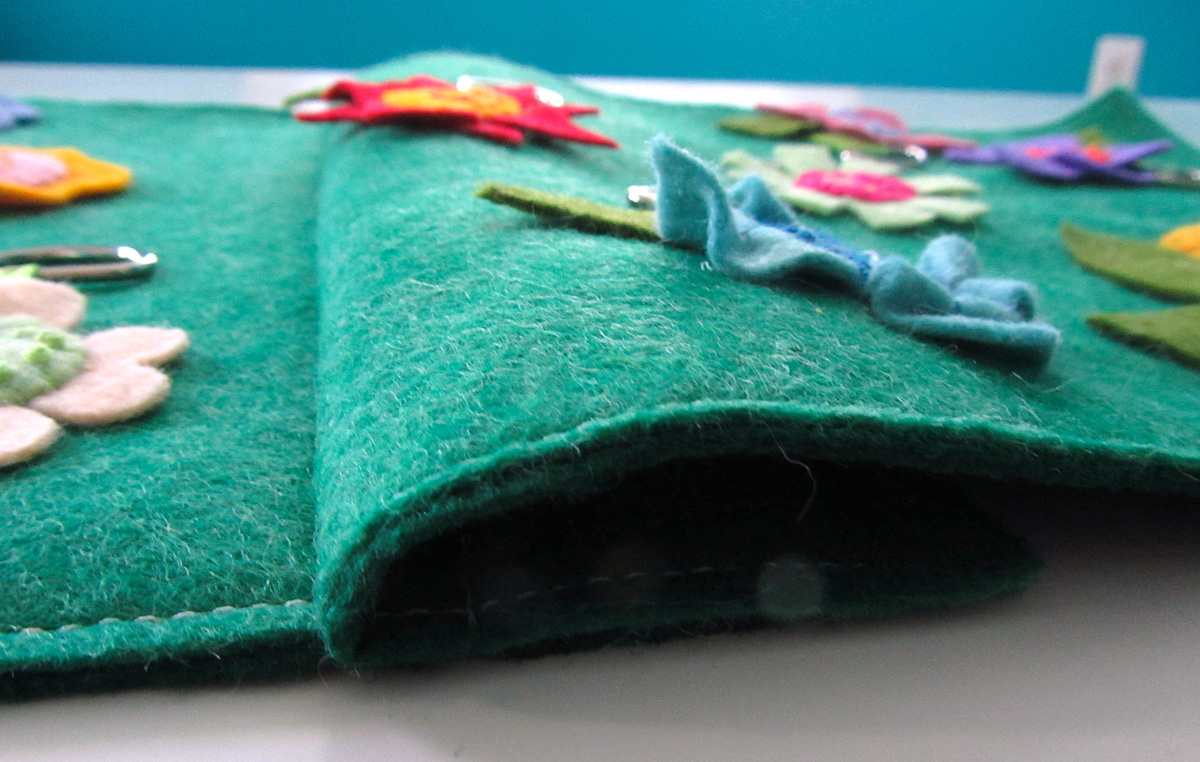
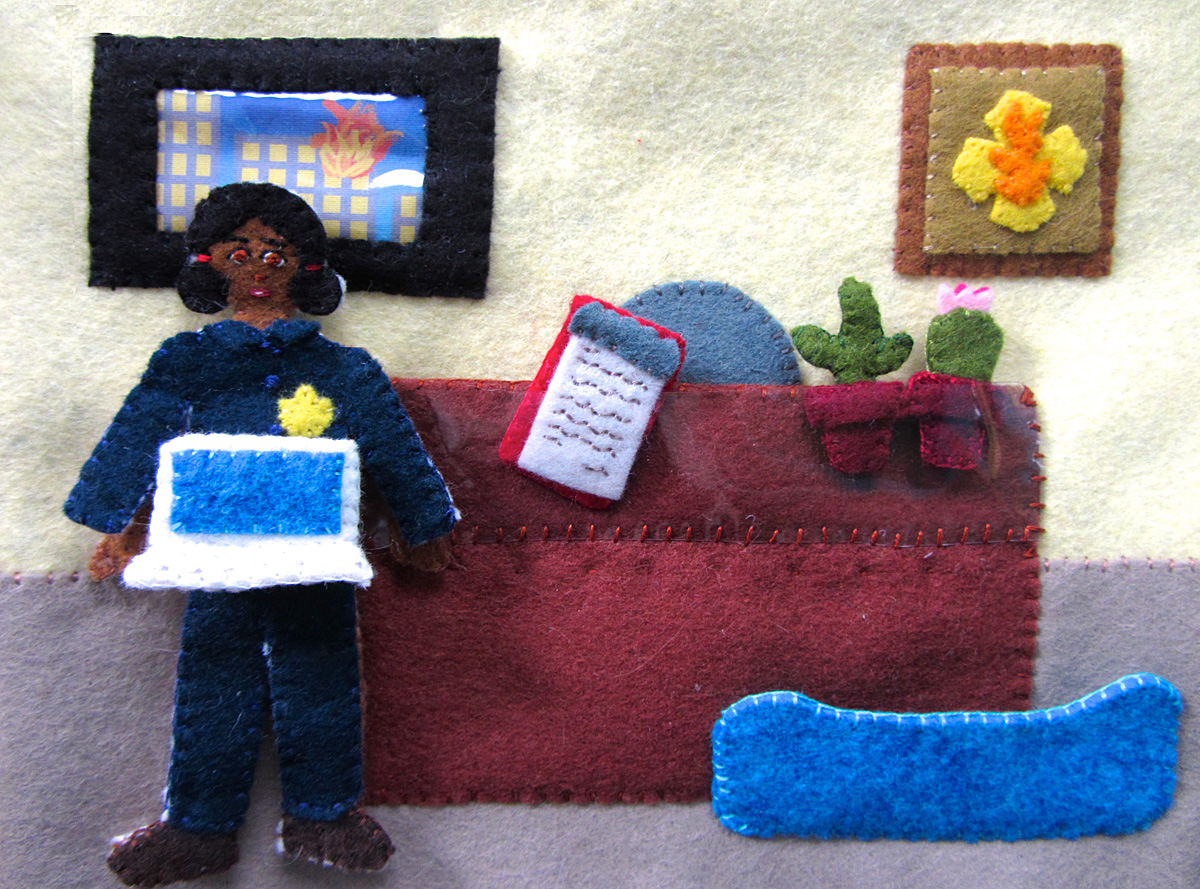
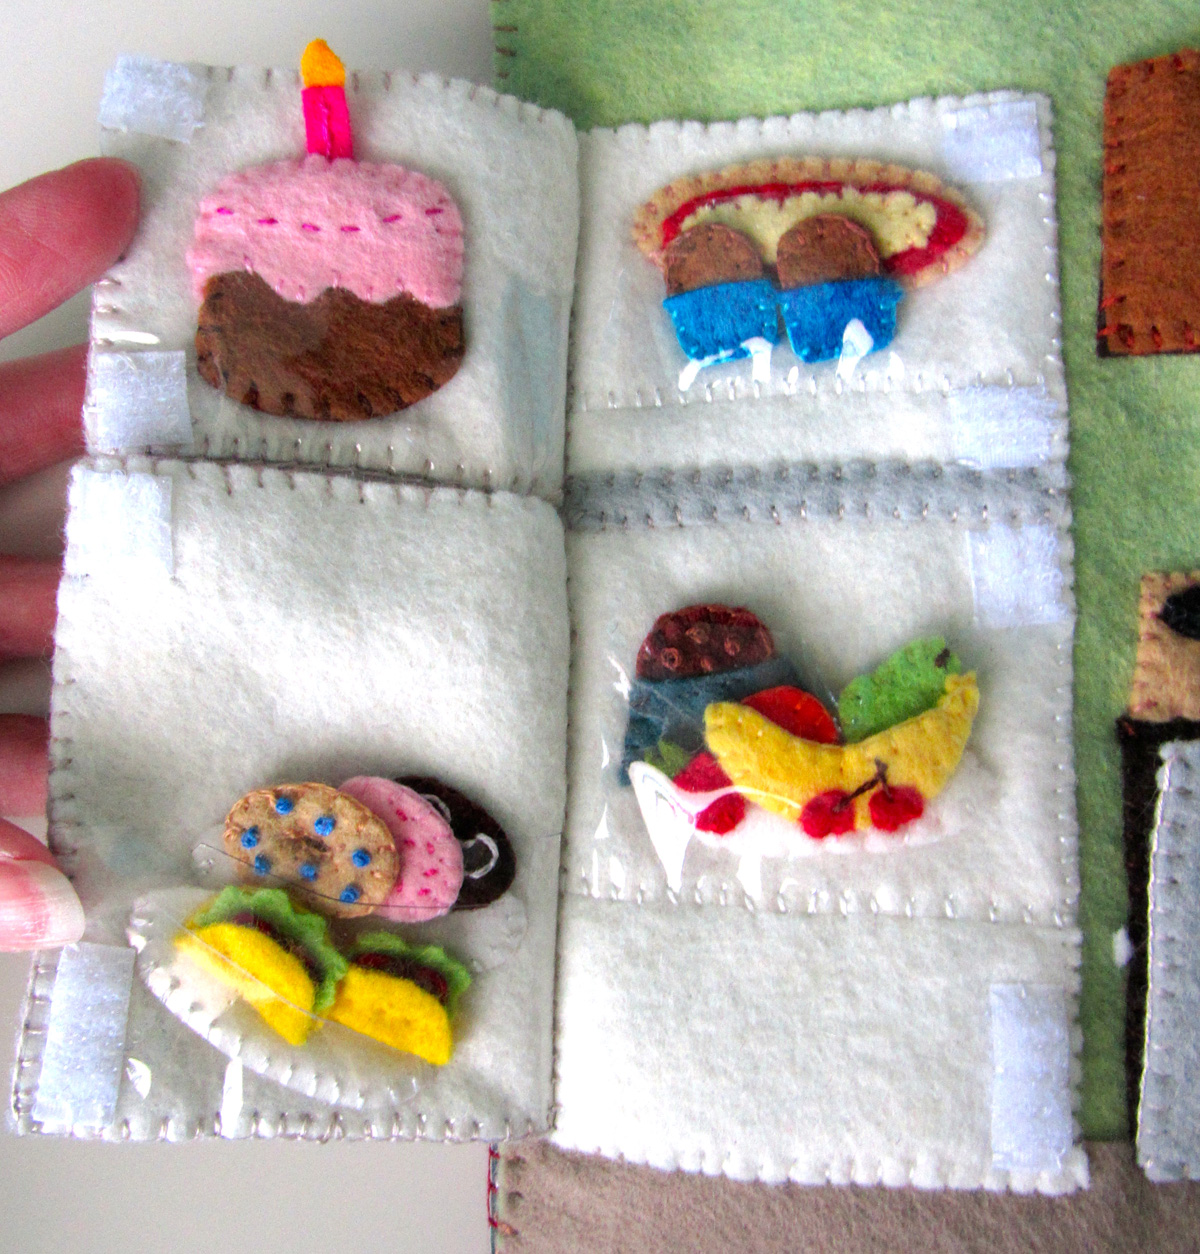
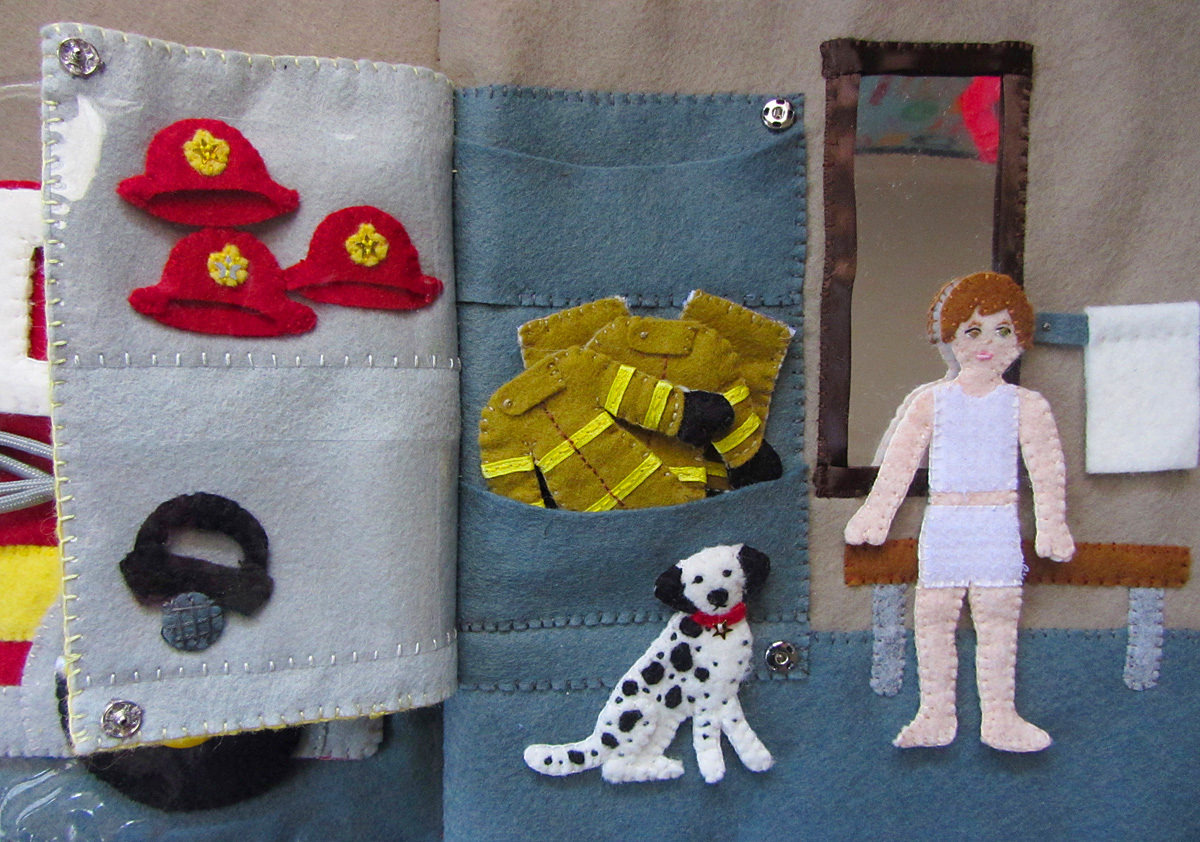
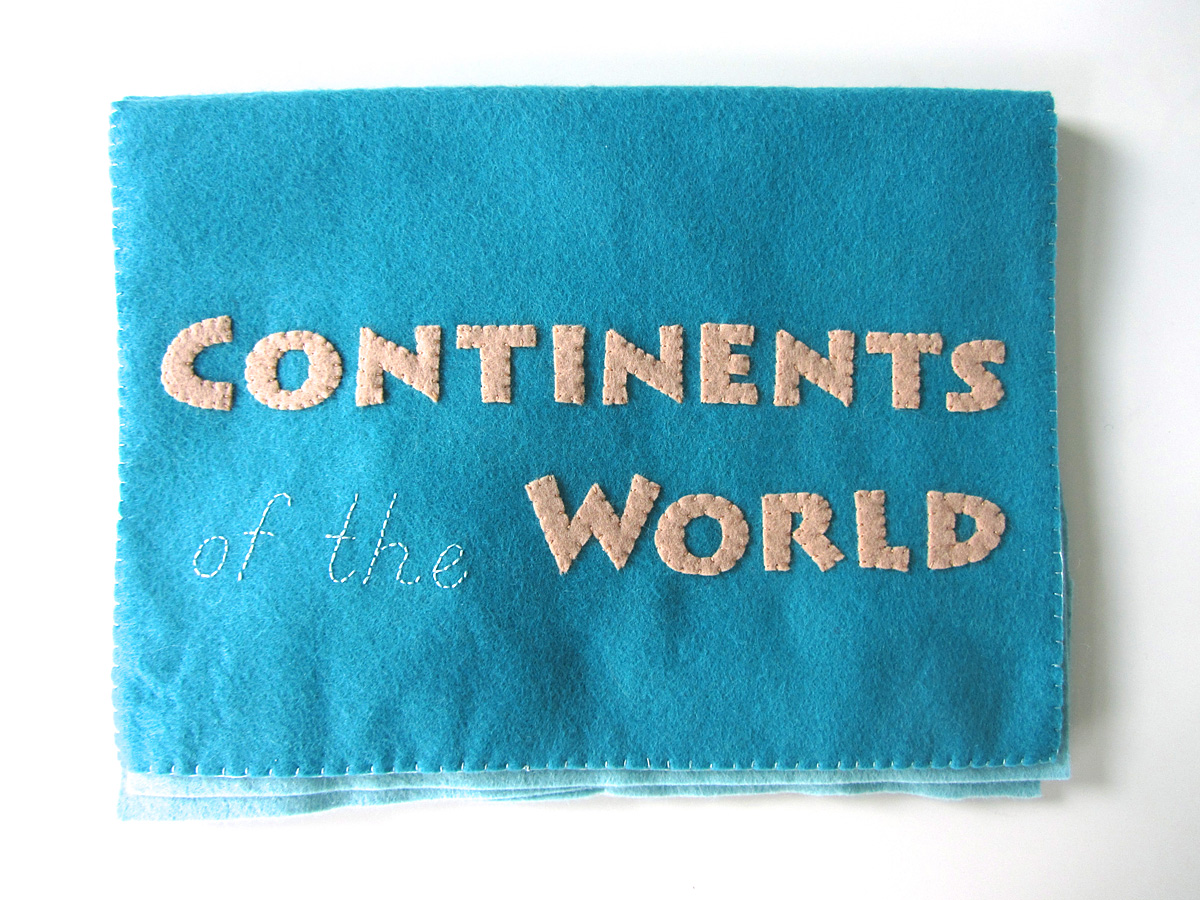
I will go into more detail later, but the cover has the title letters sew on (“of the” is back stitched), and the last inside page has two clear vinyl pockets sewn on – one for animals of the world and one for labels and landmarks.
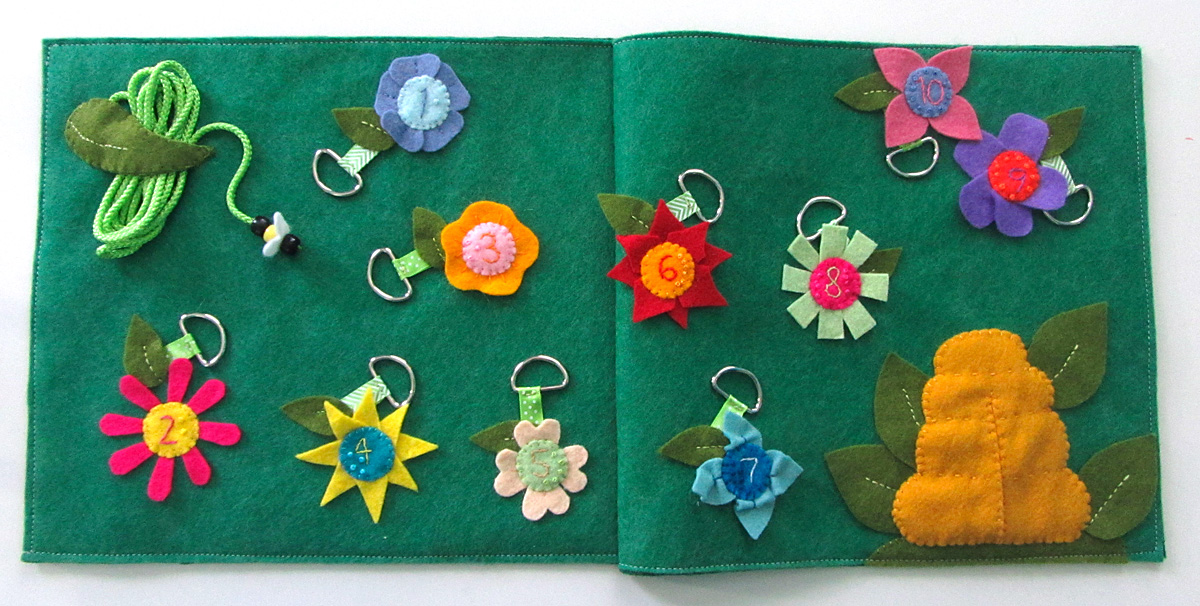
The pages will be sewn with dotted outlines and snag-free Velcro so you can match and store the continents. Some pages will have more than one continent, as shown.
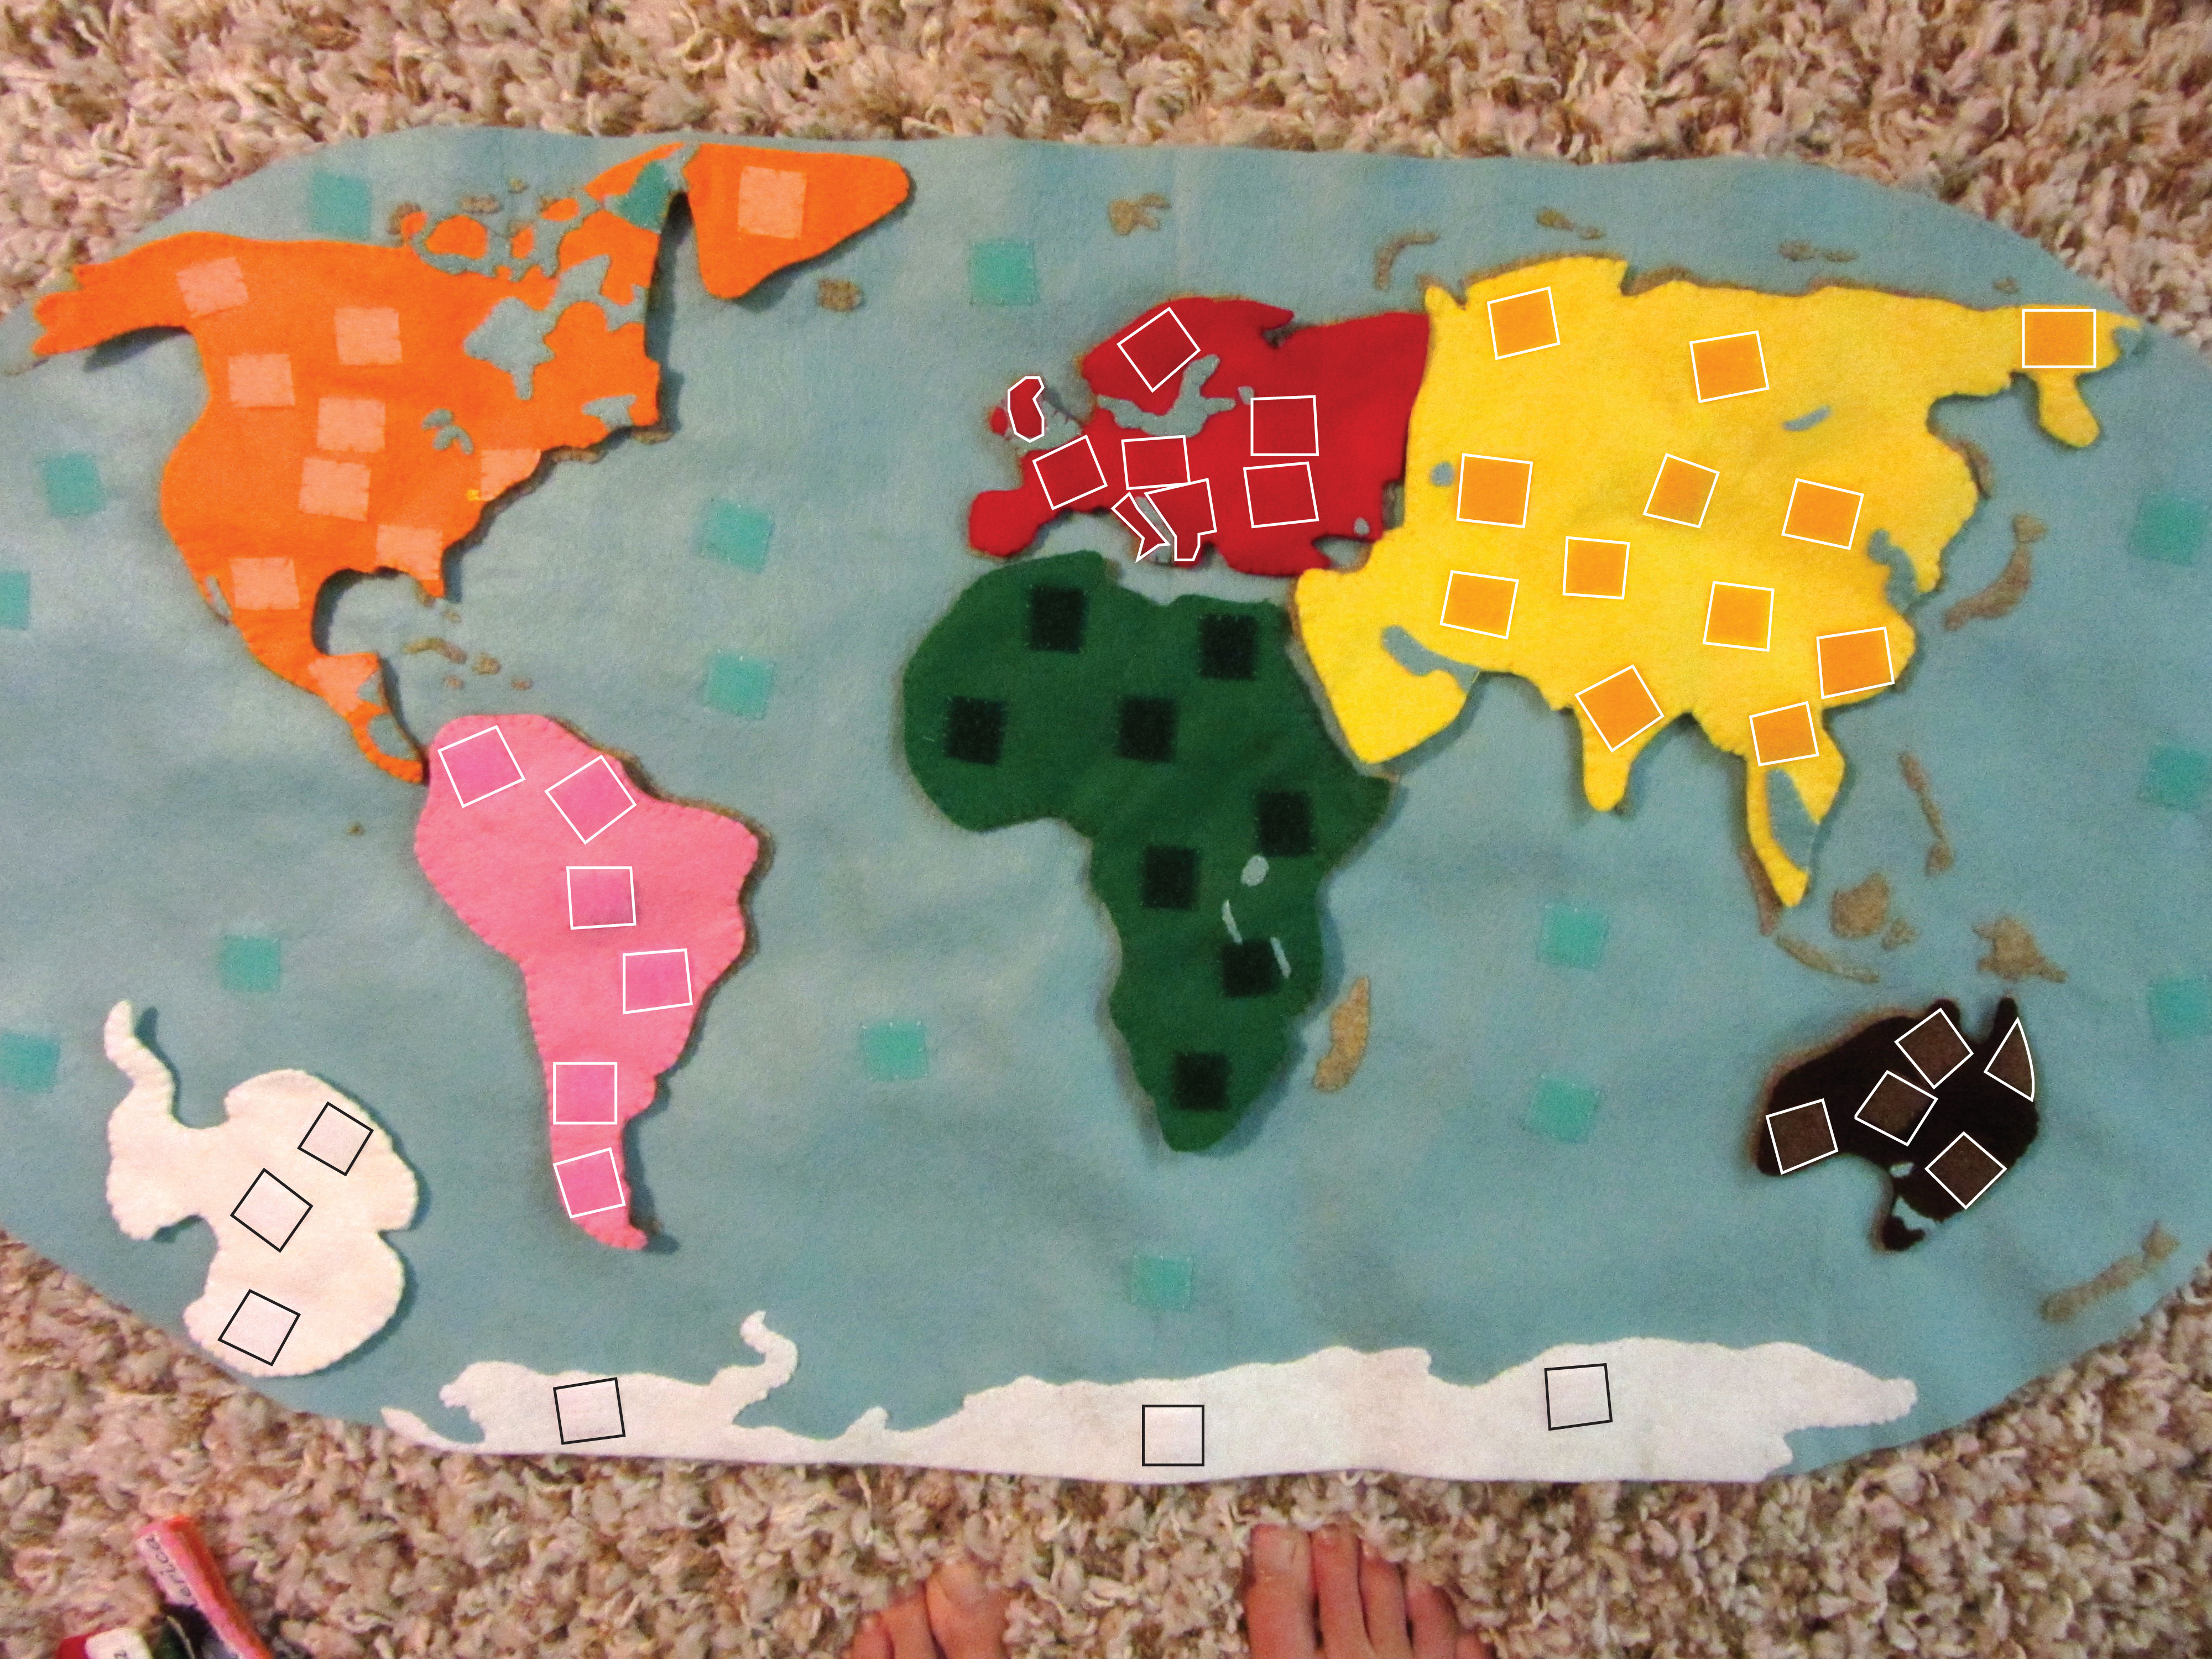
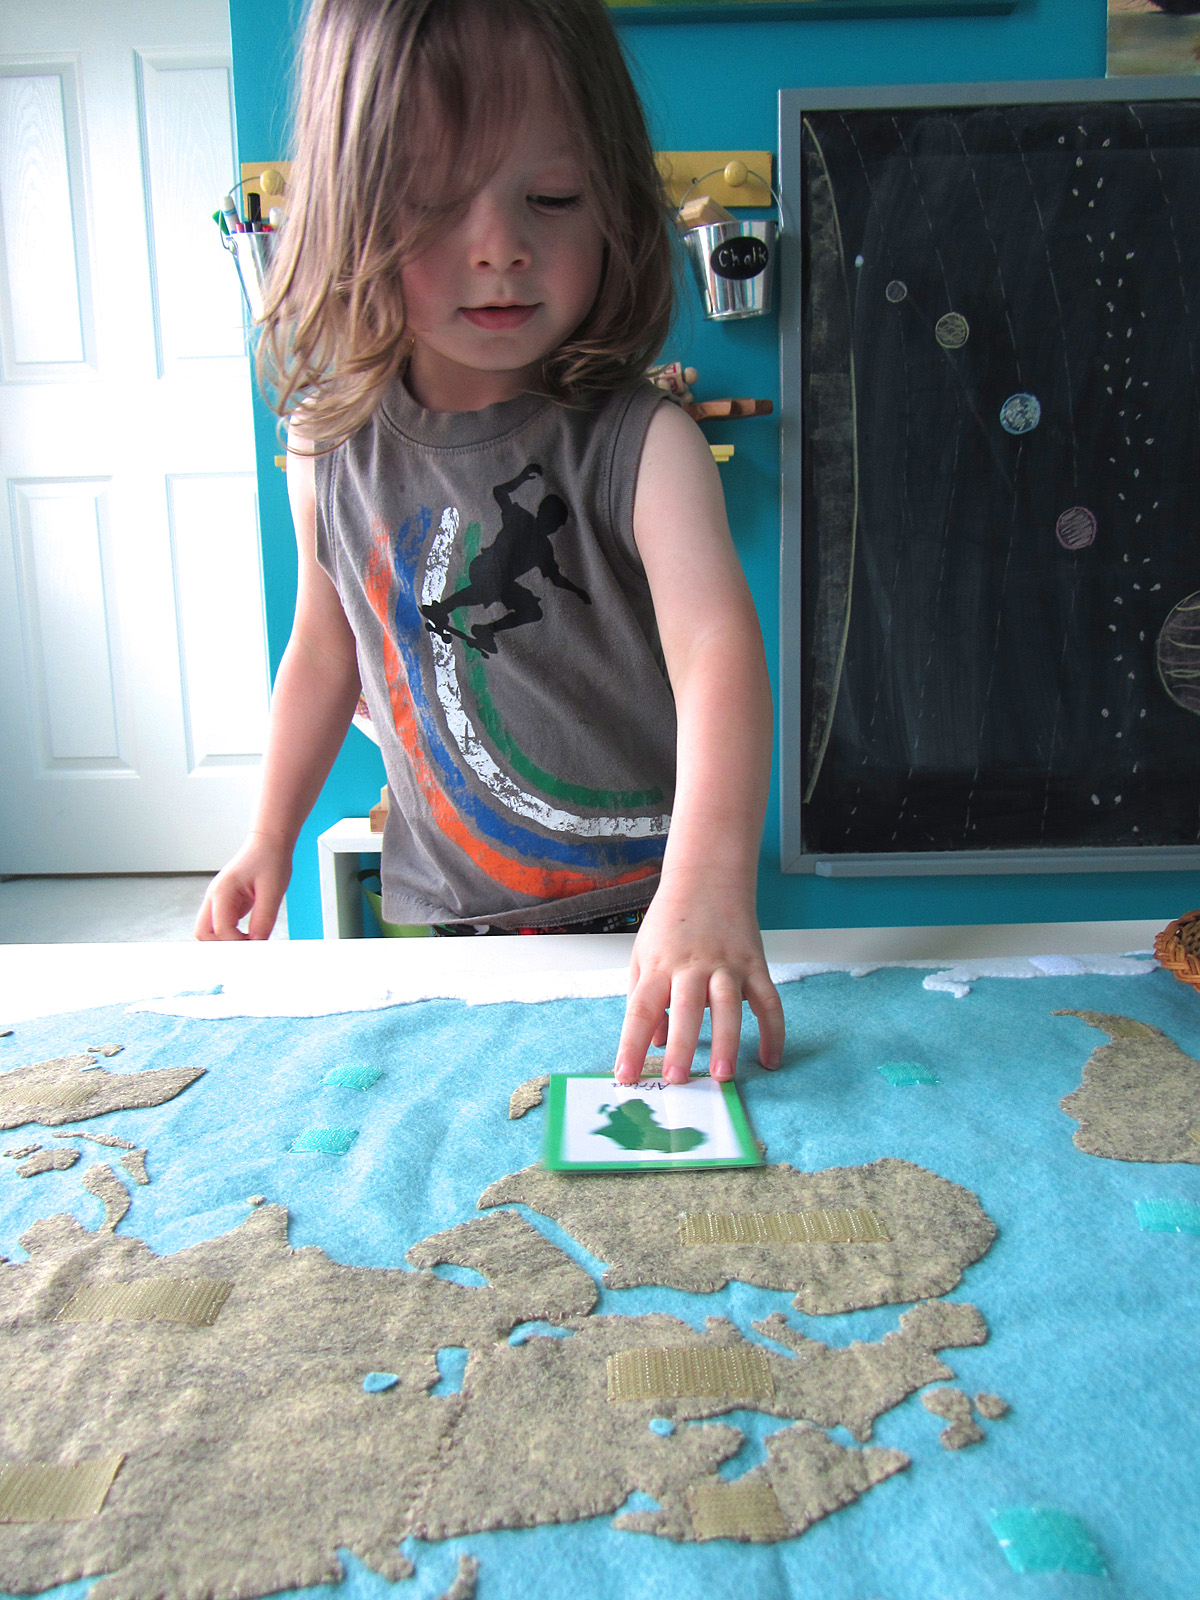
I came back to this post after finishing the continent pieces so I could share the final positions of the loop Velcro. Africa’s and North America’s are already posted in their patterns. See the rest above.
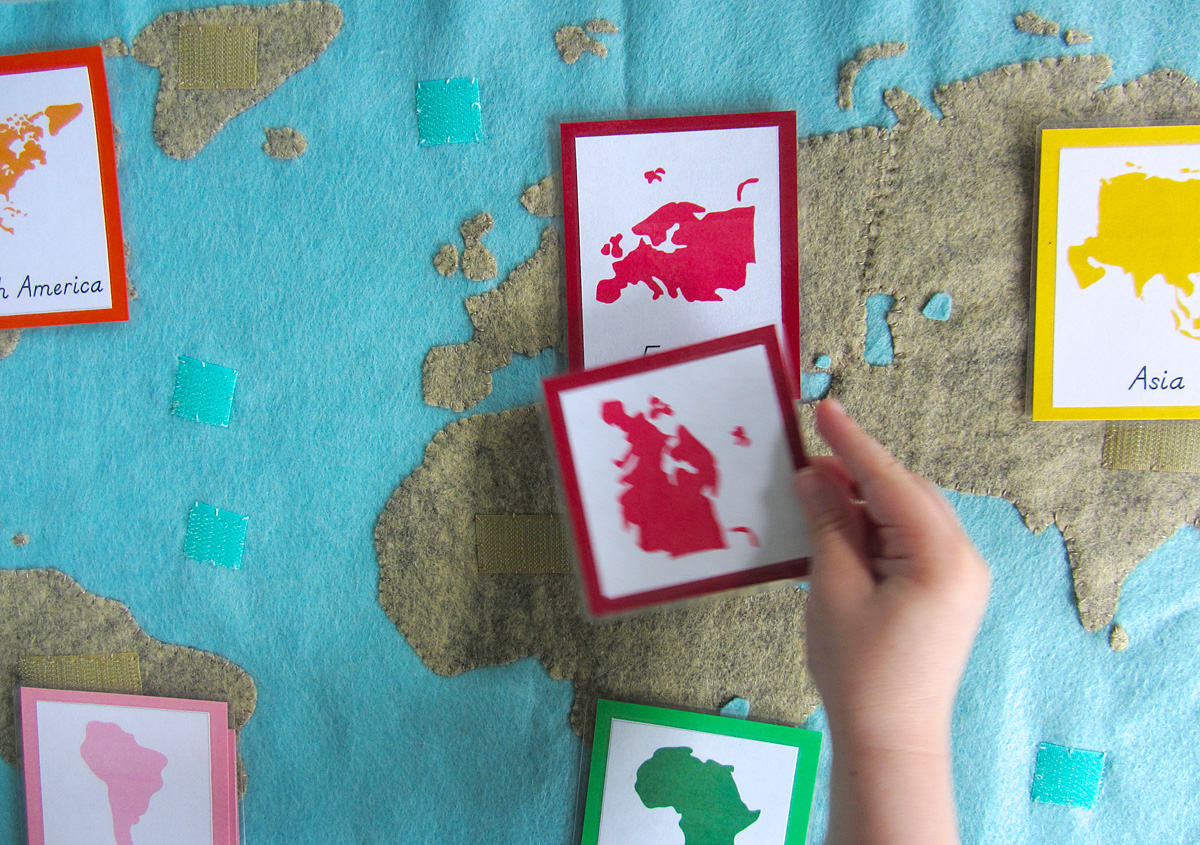
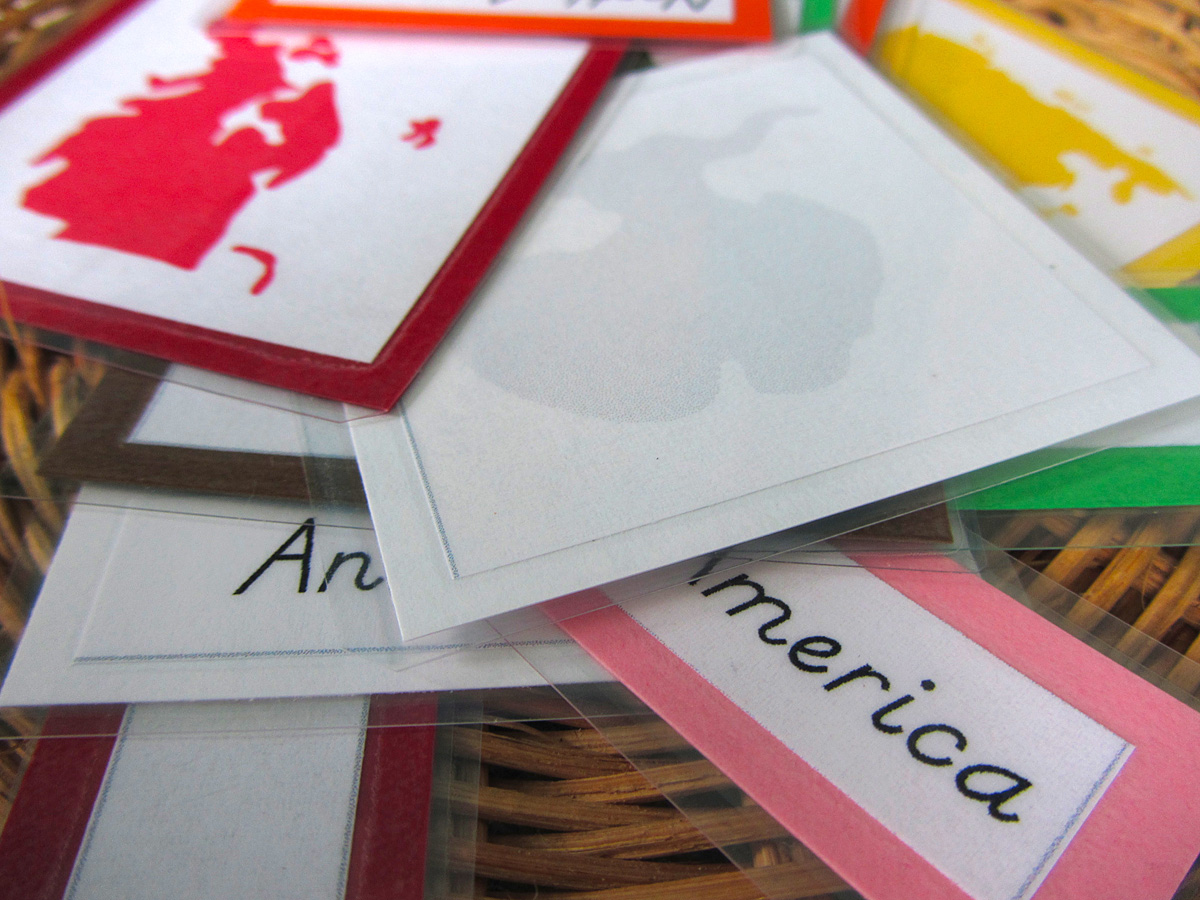
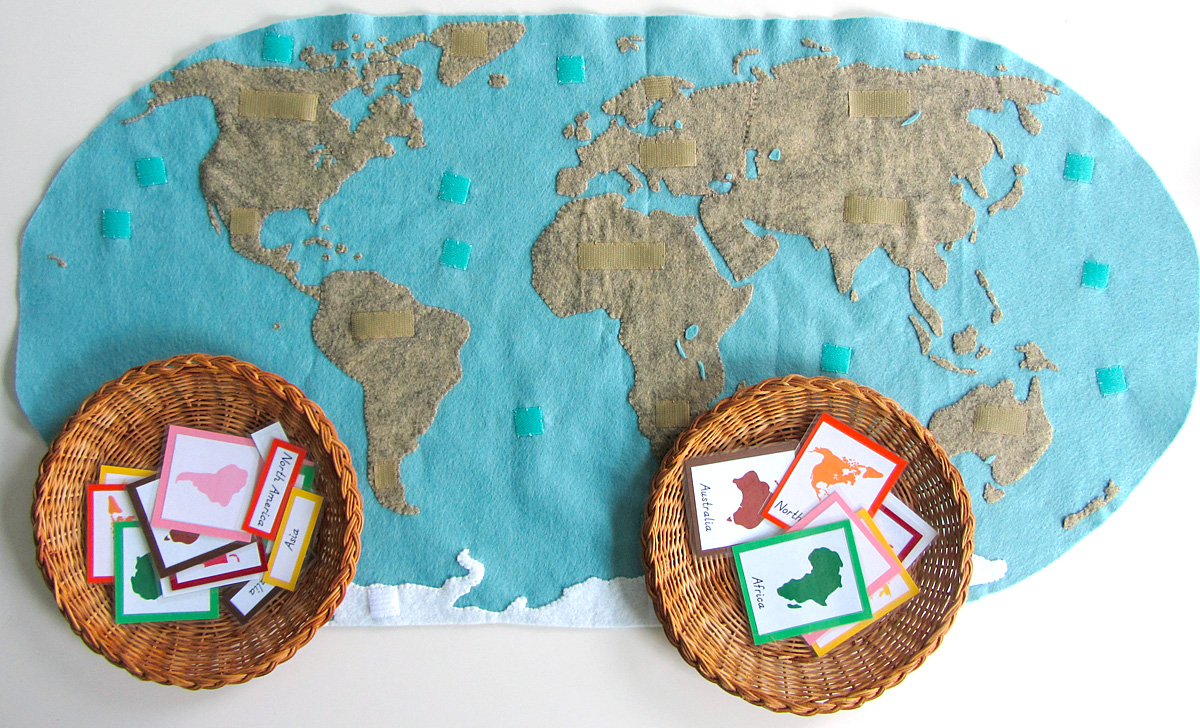
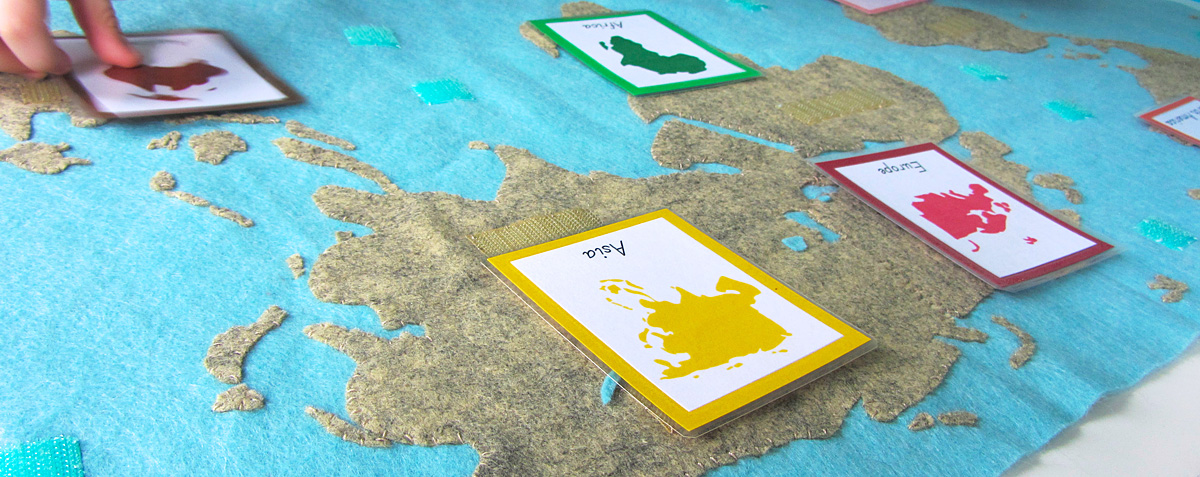
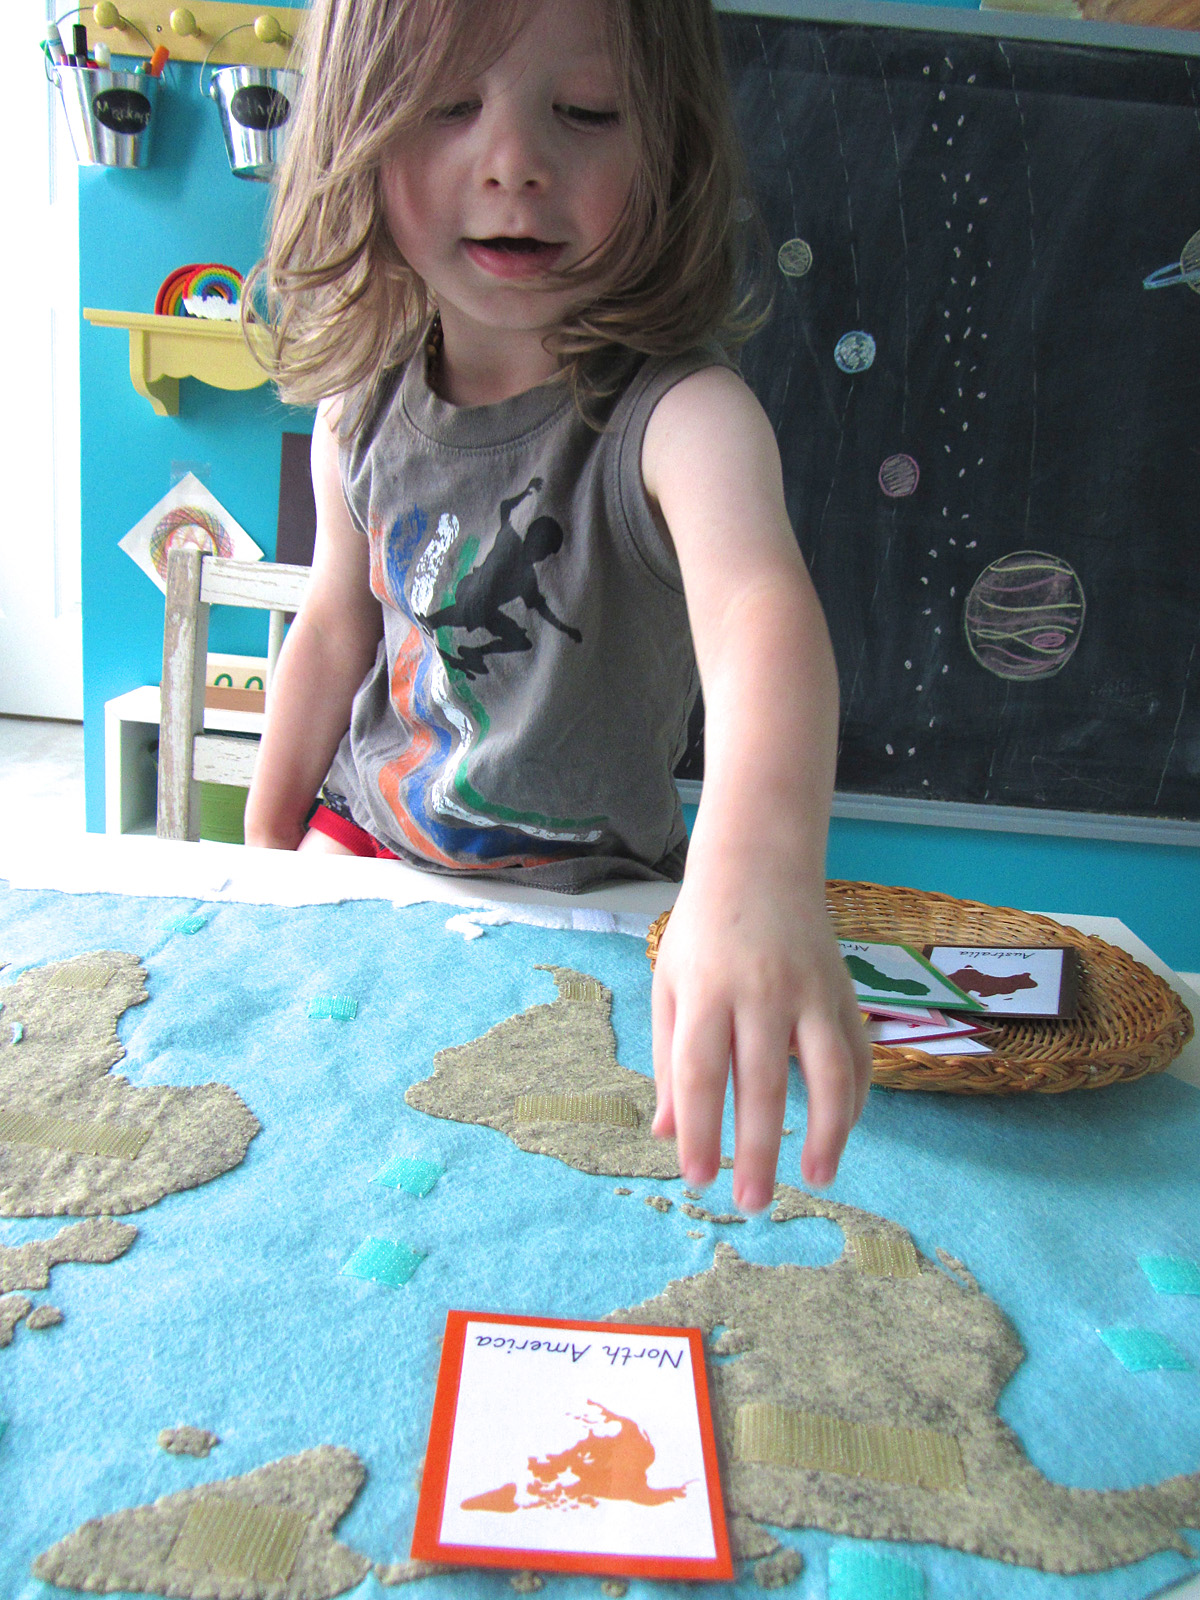
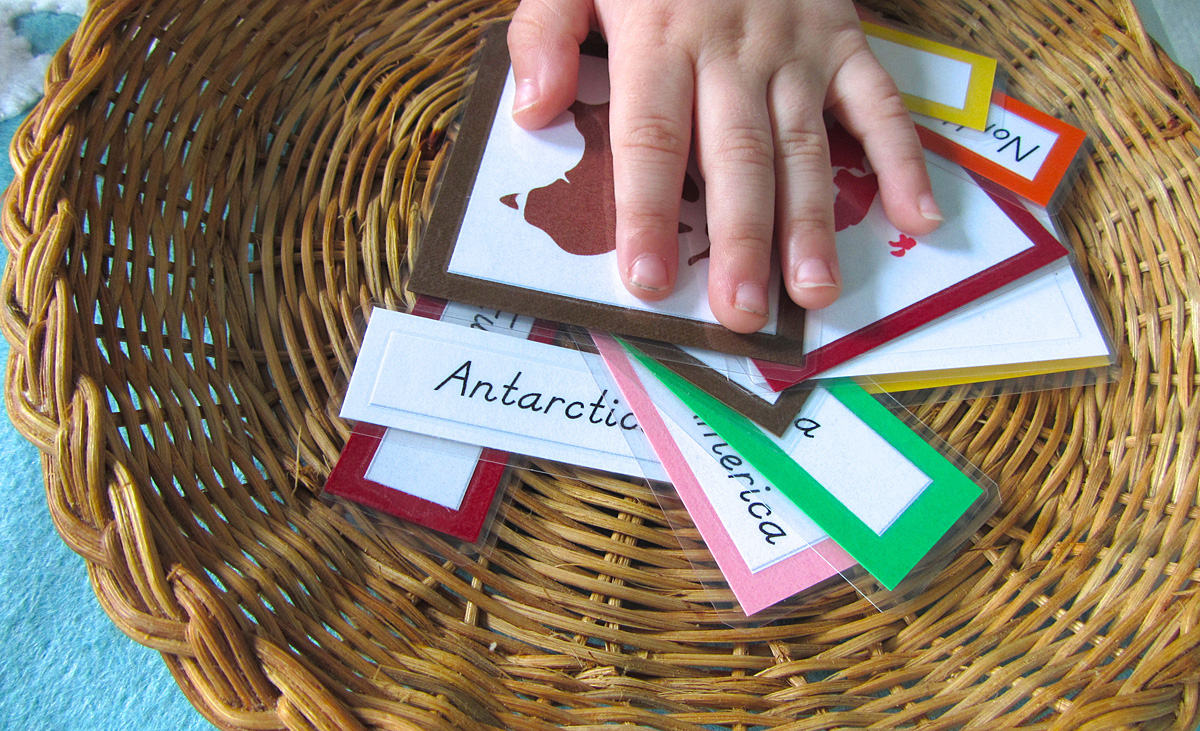
Montessori Continent 3-Part Cards
Jax just started his world continent unit with these 3-Part cards I made up for him. Click here to download my free pdf file to make your own. To make min, I cut them out, glued them to card stock then laminated them. I’m loving my new laminator!
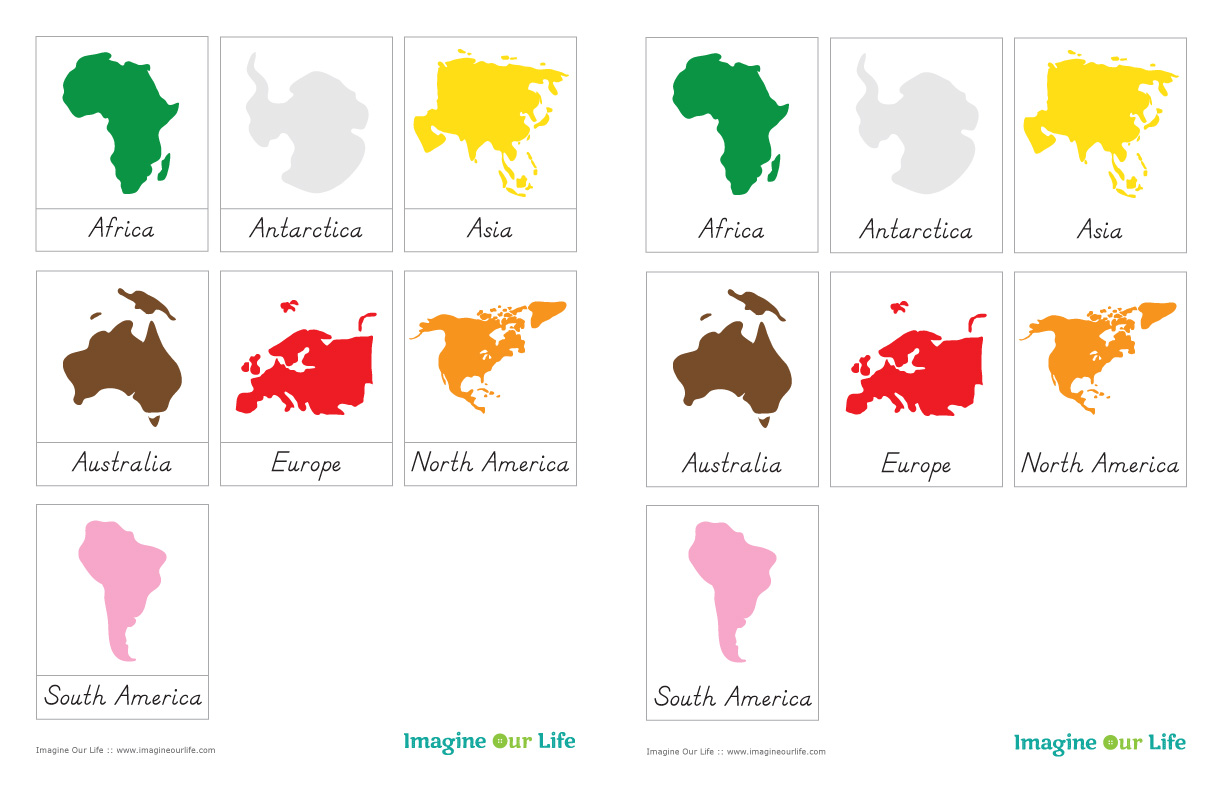
So far, I am presenting them to him to introduce the names and shapes, and we are matching them and finding them on the felt map. As he learns the names, he can start matching the labels to the pictures. Once all the felt continents are done, we will use them with the cards as well.
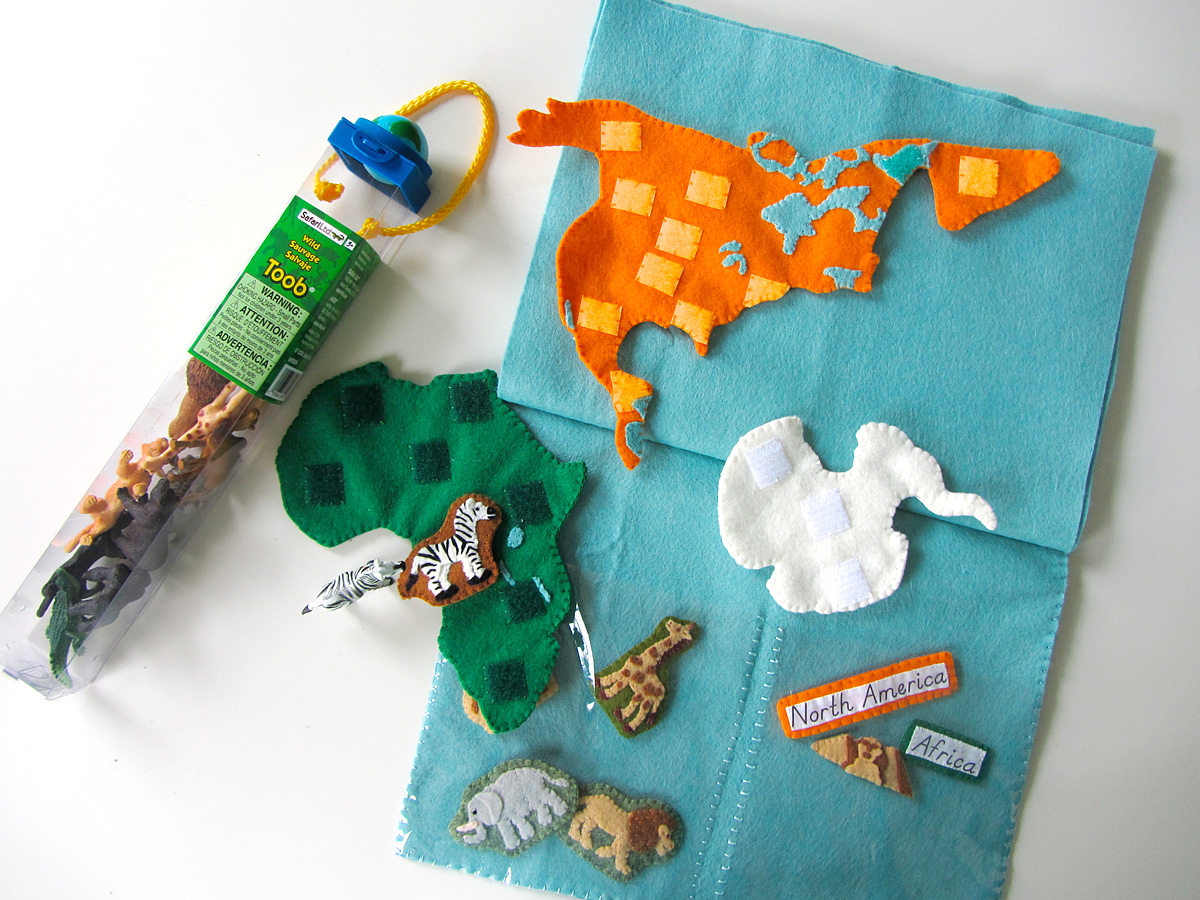
World Animals & Landmarks
One of the most exciting parts of this project is still to come… I’ll be making little felt animals and world landmarks that can be placed on the continents and matched to the beautiful miniature replicas made by SafariLtd! I’ve been slowly collecting each TOOB I’ll need whenever I have 50% off coupons or store credit. They are so neat that I want to play with them myself!
Shopping List
√ Arctic TOOB
√ Around the World TOOB
√ World Landmark TOOB
√ Rainforest TOOB
√ panda cub
√ Whale TOOB
Land Down Under TOOB
√ River TOOB
√ Pets TOOB (hedgehog only)
√ snow leopard cub
√ peacock
√ leopard seal – other brand
I’ll be working with SafariLtd to bring you a great giveaway at the end of this project, so stay tuned!
I hope you’ll sew along with me!
I am giving you these patterns totally free, despite the days of work going into them. I think it will really help out teachers and homeschoolers alike! If you’d like to contribute in some way, you can read more here. Also, Jax’s wishlist is where I add homeschool items I need to buy. One easy way to help? Share this project and Imagine Our Life with your friends! Thank you!For more great Montessori ideas, visit: