After a bit of a hiatus for other projects, our continent series is back! If you haven’t been introduced to our Montessori wall map and quiet book yet, you can read all about it here. This post is for the continent of Asia.
Every continent (and the oceans) will have landmarks and animals. Some, like Europe, have more landmarks than animals. Asia has a mix of landmarks and animals. Lots of variety, thanks to the large area is spans.
A quick note: Imagine Our Life is now selling commercial licenses for our patterns! If you are an Etsy or Craft fair seller, visit my Etsy shop to purchase a license and start selling items made from IOL designs. You will be featured on our Authorized Sellers page and promoted on Facebook once you start listing products. If you don’t see a pattern listed that you’d like to get a license for, just email me your request. All of our free patterns will remain free for personal use.
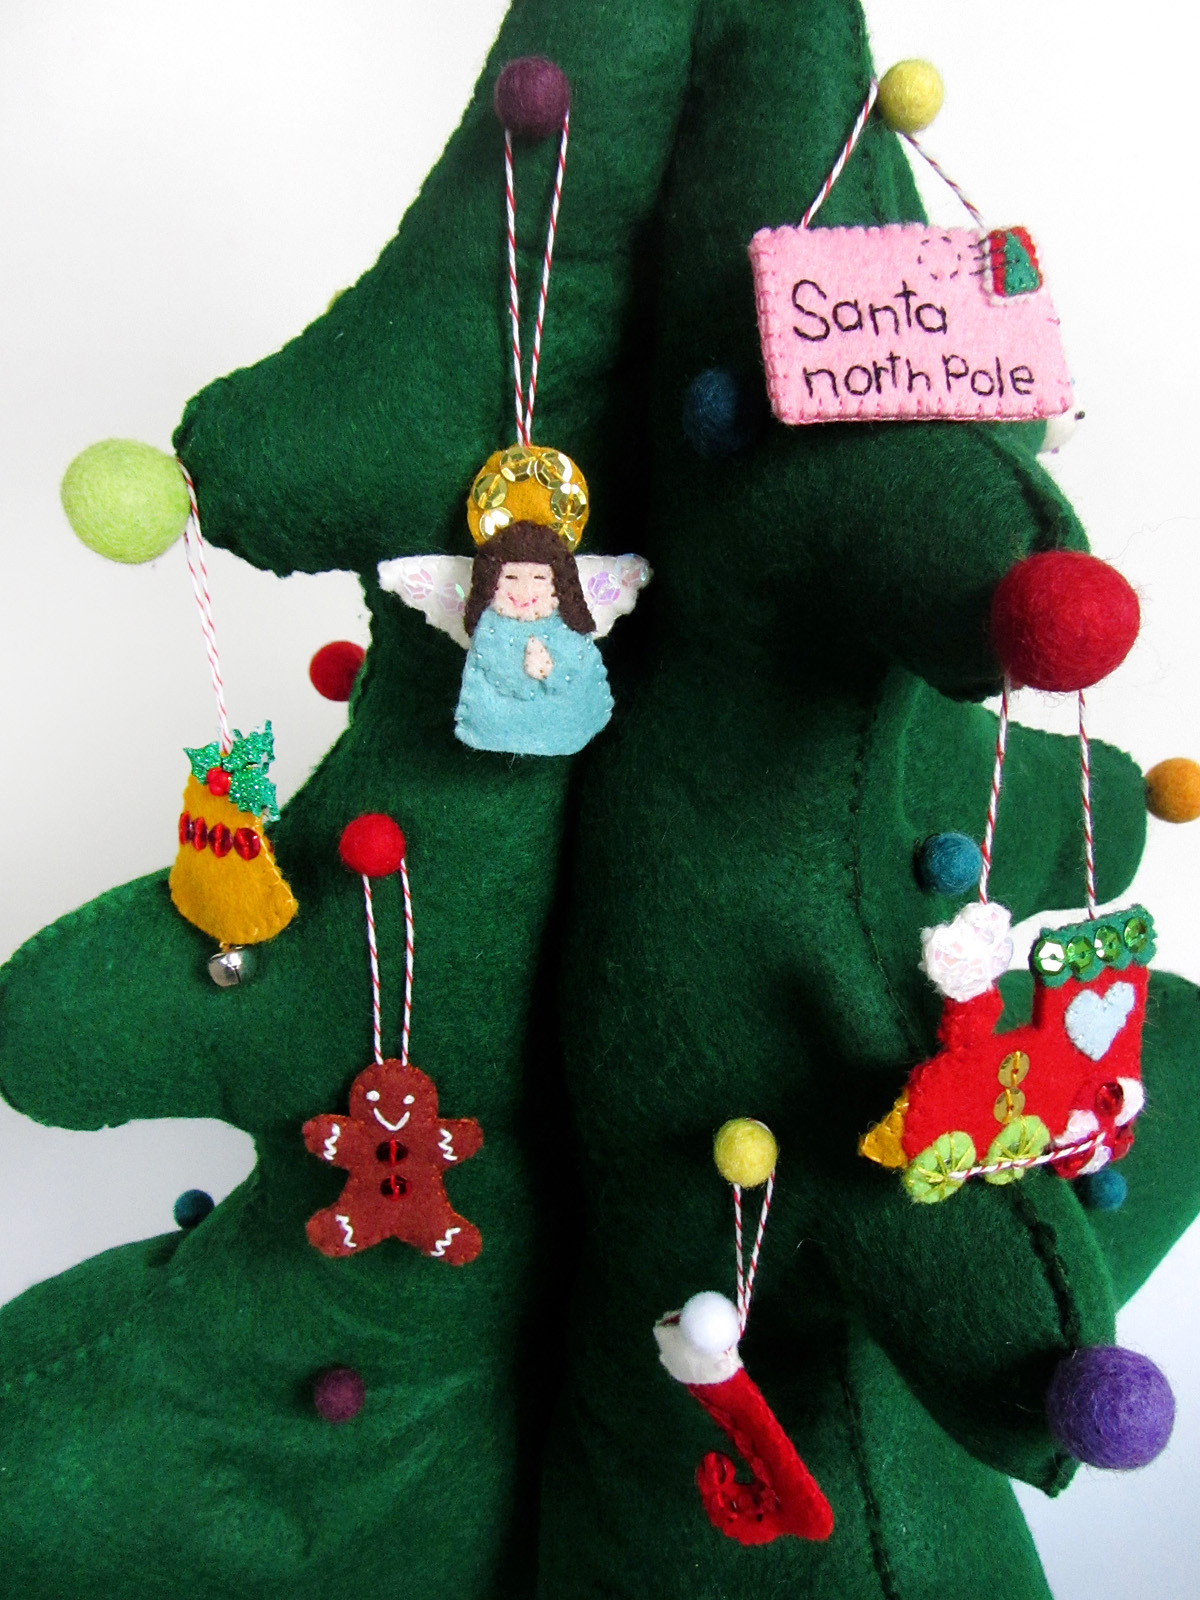
Those of you who follow along on Facebook or Instagram have been seeing what I’ve been creating for Asia. I included 3 great landmarks and 8 animals. It’s a lot, but Asia is big! I made: the Taj Mahal, the Great Wall of China, the Big Buddha of Lan Tau, a tiger, a panda, a walrus, a brown bear, a tapir, a snow leopard, a peafowl and an arctic fox.

This project is totally free for you to use (though commercial use requires a license.) If you’d like to support my designs, one way is to make a purchase off of Jax’s Amazon wishlist. I use his list to bookmark school and craft items until I am able to get them. For more ways to contribute to this site, visit my support page.

Materials I Used
The Pattern (see the first post for the main patterns)

Felt from American Felt & Craft – rubber duckie [yellow] cilantro [olive green], pastry [golden taupe], pool party [blue], gold nugget [gold], chocolate [deep brown], fresh linen [off white], chai [taupe], orange juice [orange], doe [brown], jade [green], sparrow [light blue], stone [heather taupe], gray, white and black.
Hook & Loop – I used white snag-free Velcro on the backs of all these pieces and yellow hook & loop (loop only) on the front of the Asia puzzle piece. My yellow hook & loop was a mix of this and some other I had in my stash.
Felt glue to tack down the pieces before sewing, printer fabric
 for the continent label, embroidery floss in colors to match the felt and micro tip scissors
 .
.

For the Asia quiet book page, I sewed a running stitch (dashed) outline around the Asia pattern piece and sewed down snag-free Velcro to line up with the Velcro on the back of the Asia piece.
Asia: (Felt used: rubber duckie yellow) For the Asia continent puzzle piece, I sewed down pieces of yellow loop Velcro. On the back, I sewed strips of white snag-free Velcro to correspond with the Velcro in the quietbook and the wall map. I finished it by sewing the two sides together around the edge with a blanket stitch.

Label: (Felt used: rubber duckie yellow) For the continent label, I folded under the edges (just a tiny bit to hide the rough edges) and creased it with my nails. The printer fabric held the folds nicely without ironing. Then I stitched the label to some yellow felt and trimmed it down to be a border. I cut a matching felt rectangle for the back, sewed snag-free Velcro to it and then sewed both sides together.

For all of the animals, I started by gluing the pieces down to a scrap of background felt with a very light amount of felt glue. I glue multiple animals at a time to give them time to dry. I sewed them down, trimmed the background and cut a matching backing piece. I sewed snag-free Velcro to the back and sewed both sides together with a blanket stitch.
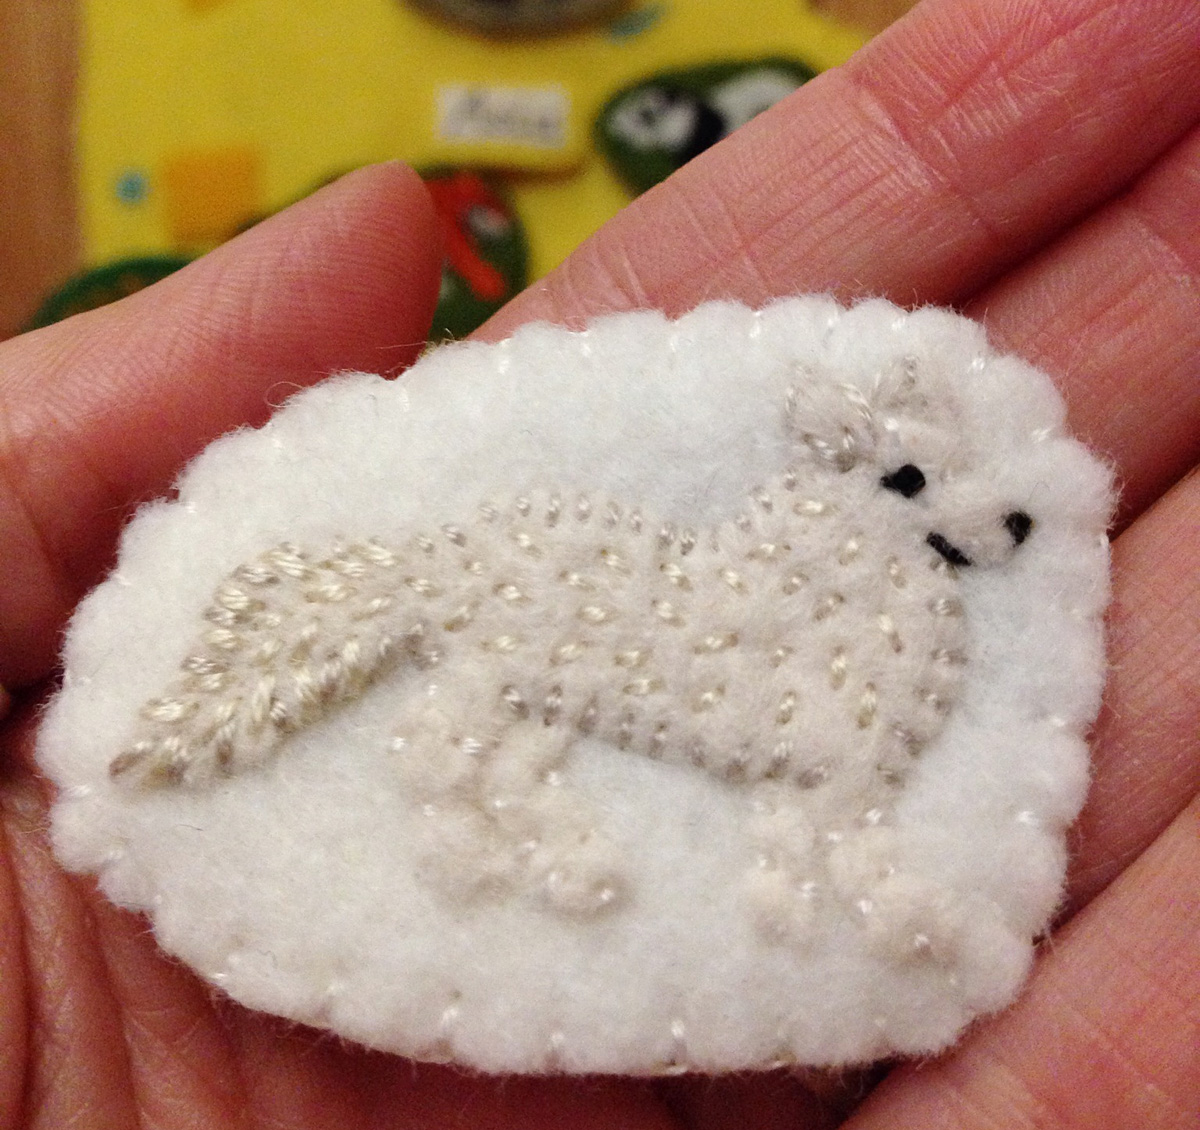
 Arctic Fox: (Felt used: fresh linen off-white for the fox, white for the background) I started out by gluing the body down with the back legs and ear layered behind in place. I glued the front ear on last. On the ears, I made small stitches in the bottom center of each in an ecru floss. I emphasized his pointed ears by stitching around the outer edges of each ear with a lazy daisy stitch that is open at the bottom. I stitched the legs down normally, then stitched the body with longer, closer stitches than normal in a gray floss. I made many dashed ecru stitches on his side to show the fox’s fluffy coat. On the tail, I made many long stitches around the edges and in the center with a mix ecru and gray. His nose and mouth are black stitches. His eye is a black French knot with a little stitch off of one side.

Tiger: (Felt used: orange juice orange and white for the body and cilantro olive green for the background) The tiger has intricate stitching, just like the zebra for Africa. After I sewed all around her body and stitched down the white patches, I made a French knot eye with a black stitch coming our of it down towards the nose, a black stitch for a mouth and a stitch at the base of the ear.. Then, using black floss, I stitched on the stripes, using photos as inspiration. The stripes were stitched almost in a kind of satin stitch (where you fill in an area with stitched that all go in one direction). I just kept added stitches to widen the lines, often at angles to make them slightly triangular. The tail had thicker satin stitched stripes.
Tapir: (Felt used: black and white for the body and cilantro olive green for the background) I first glued down all her parts in the proper order, adding the ear last. I stitched all the way around the edges and made a stitch at the base of her ear. Using white, I made a French knot eye and stitched mouth.

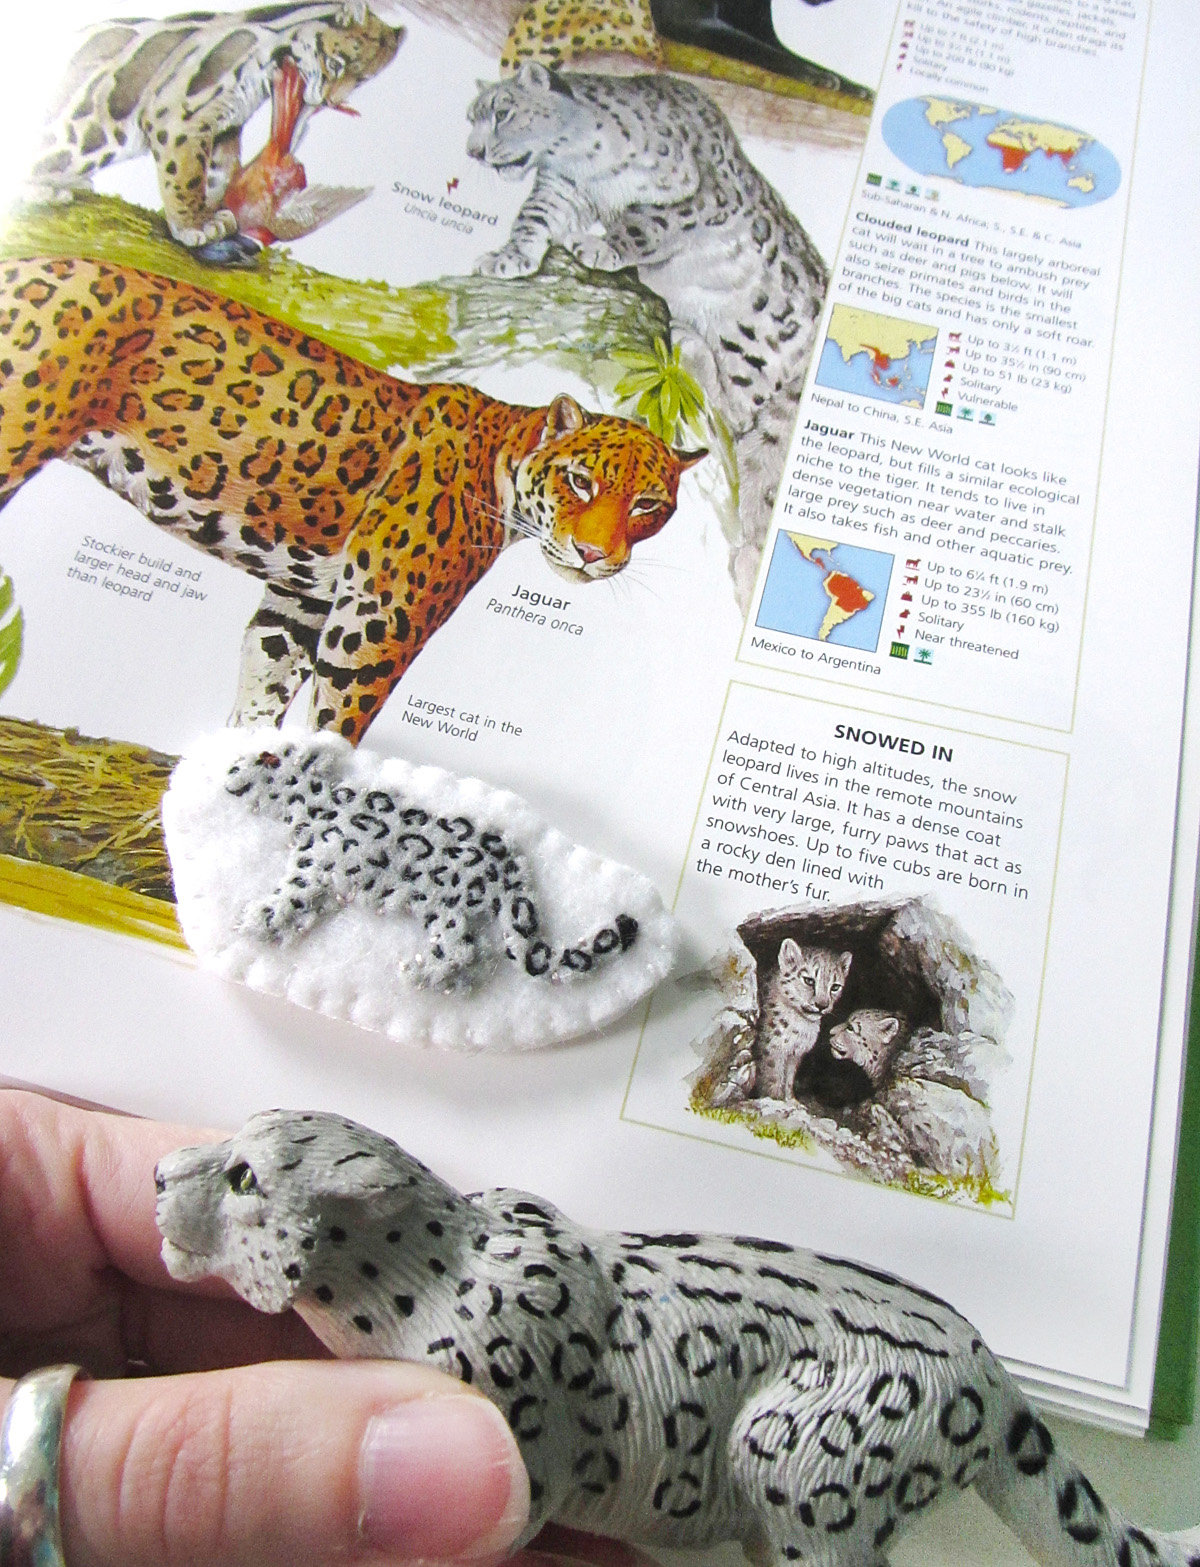
Snow Leopard: (Felt used: gray for the body and white for the background) I glued the gray body of the jaguar with his far legs layered underneath. I glued one side of his ear down, then added a stitch to hold it once it was dry. I gave him a French knot eye with little black stitches on either side to make a cat-eye shape. I used black to make a mouth and a small nose. For the spots, I made the larger ones using a similar technique to the lazy daisy stitch (a loop of thread that is pinned down by a small stitch at the peak) but used arch shapes instead of closed loops. The smaller stitches are just tiny stitches – some with a few close together to make medium spots. There is thicker satin stitch at the tip of his tail.
Panda: (Felt used: black and white for the body and cilantro olive green for the background) I first glued down all her parts in the proper order, adding the ear last. I stitched all the way around the edges and made a stitch at the base of her ear. Using white, I made a French knot eye and stitched mouth.

Peafowl: (Felt used: cilantro olive green for the tail, pastry golden taupe for the beak, pool party blue for the body, gold nugget gold for the feather “eyes” and jade green for the background) I started by gluing the brown under tail, the olive green tail, the blue body and the beak – in that order. I stitched around all the edges (I actually stitched around the tail last.) I cut lots of tiny gold ovals and tacked them down in arched rows on the tail. Using matching gold floss, I stitched an open lazy daisy stitch to highlight the oval shapes. I then made a few short blue stitched at the base of each oval. I made a blue French knot eye and three little stitches atop his head with French Knots capping them for his head feathers. I stitched simple stick legs/feet using gray floss.

Walrus: (Felt used: fresh linen off-white for the tusk, doe brown for the body and white for the background) I started by gluing the body down with the tusk layered underneath. I stitched around the edges, then made some longer stitches to show his wrinkled skin and flipper/tail webbing. His eye is a black French knot.
Brown Bear: (Felt used: chocolate deep brown for the body and stone heather taupe for the background) The bear is very simple. The pieces were tacked down in place with felt glue, then I sewed all around the edges. I made a stitch at the base of the ear to hold it down, a black French knot eye, stitched mouth and a little satin stitched nose.

Sewing the Landmarks
For all the landmarks, I started by sewing the front piece. Then I cut out a backing felt to match the final shape and added some snag-free Velcro to it. I finished sewed around the whole edge, switching colors where needed. For all of the detail work, see the photos for a sample of where to stitch.
Taj Mahal: (Felt used: fresh linen off-white for the building and foreground and sparrow blue for the background) I glued down the building and the four towers, then glued a strip of the same color overlapping the bottom. I stitched around all the edges (only along the top of the foreground strip) then did decorative stitching in white and taupe. I mainly used long stitches, but all the arches are lazy daisy stitches with open bottoms. Once I was done stitching the design, I trimmed the whole thing close (including through the foreground strip) and finished it off like all the other pieces.
Great Wall of China: (Felt used: chai taupe for the wall and sparrow blue for the background) I glued down the wall, then used a contrasting brown floss to stitch down alternating sides of the wall stretches. (See the photo above.) This makes the little notches in the top of the wall. I also used the brown thread to stitch tiny doors, windows and the roof edges. Using a floss that matched the felt, I stitched down the remaining edges and back stitched a line along the wall for the nearest two segments.

SafariLTD provided me with these beautiful World Landmarks and Around the World TOOBs. I am working with them to make this project as amazing as possible. All opinions of these products are honest and my own. We are planning an exciting giveaway for you at the end of this project!
The Big Buddha: (Felt used: doe brown for the statue, chai taupe for the stairs,jade green for the mountain and sparrow blue for the background) I started by cutting a domed hill shape out of green and gluing that down. Then I glued the rest in this order: the stairs, the main statue piece, the long arm/hand, the legs, the small hand and the face. I stitched around the edges of the stairs and added a long stitch up the center. I didn’t stitch around the edges of the statue, so be sure you glue it well enough. The lotus flower base is done in lazy daisy stitch. The rest of the details are simple straight stitches. See the photos for placement.


Montessori Asian Animals 3-Part Cards
The series of 3-Part cards I am making for this project is something that Jax will be using for many years in homeschool. I have been focusing on the animals here, but at the end of the project I will make a set featuring all the landmarks we sewed. eventually, we will expand our collection of cards even more to include cultures, more landmarks, and so much more. Three part cards are extremely flexible learning tools.

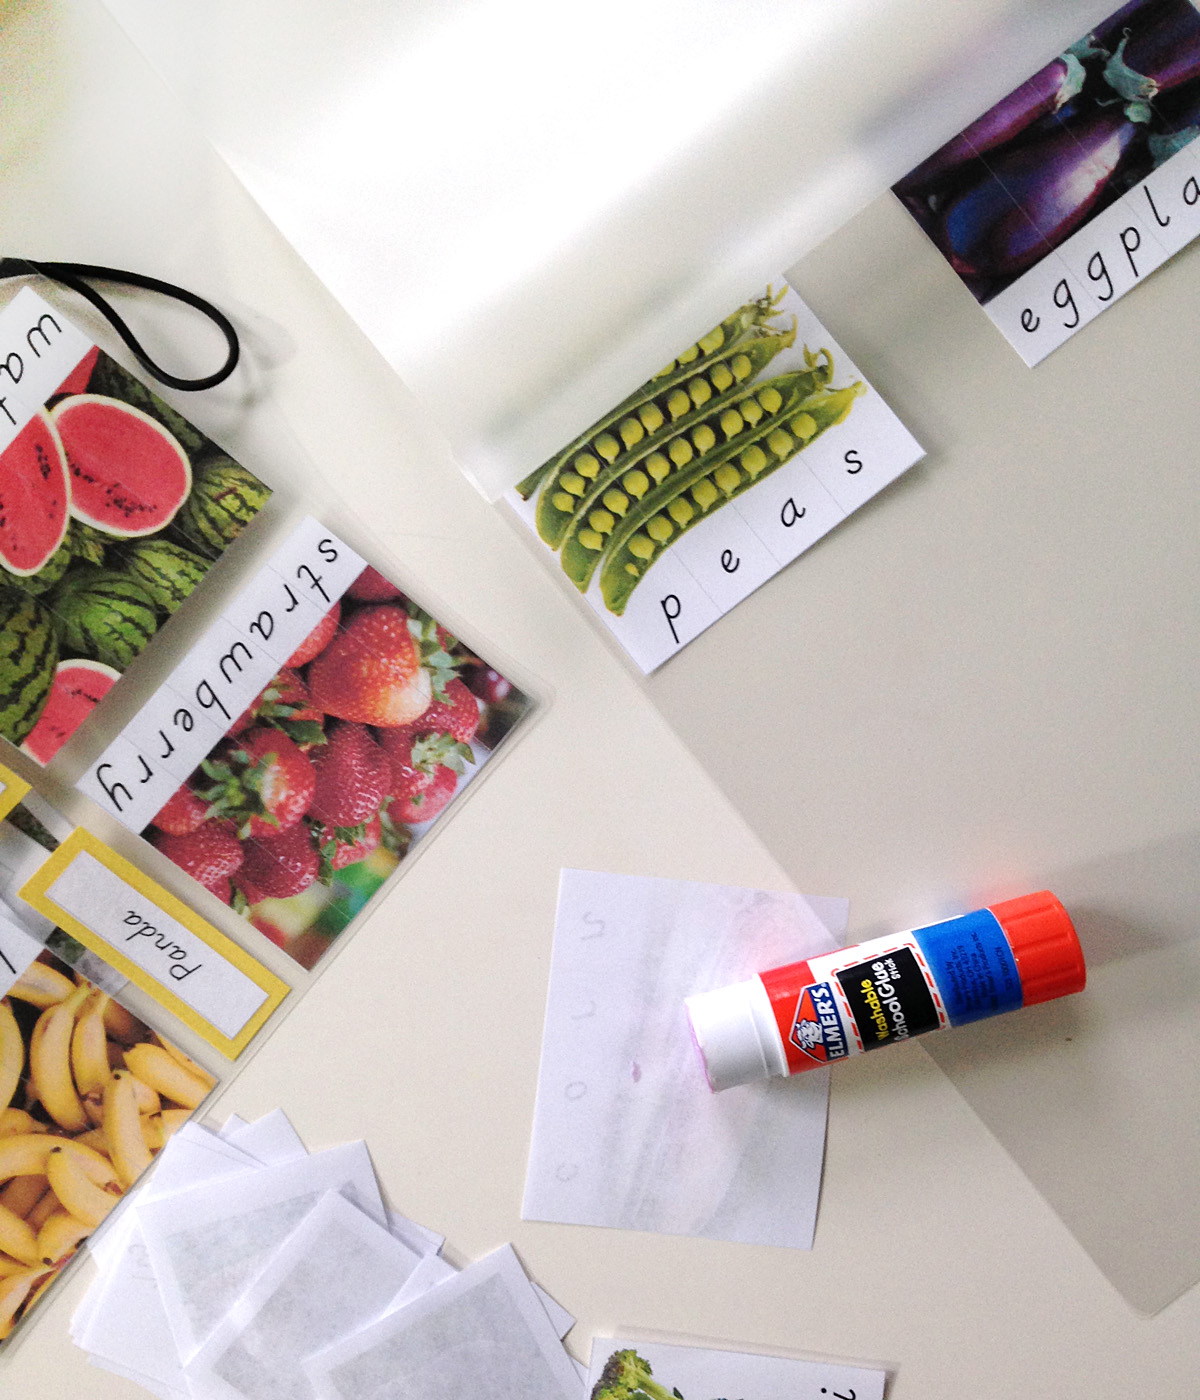
Click here to download my free pdf file to make your own animals of Asia cards. To make mine, I cut them out, glued them to yellow construction paper (to match Asia’s Montessori color) then laminated them. I heart laminator ! It makes everything so shiny and strong! My photos come out slightly blah from the printer (I use normal paper) but turn gorgeous after lamination.

Our main way of using the cards for now is to pull out our SafariLTD’s TOOB figurines and match them to the pictures. We like to watch short videos about an animal, then study some pictures and draw our own. The TOOBs we used for these animal cards are: Rainforest (tapir) , Wild Toob (tiger, brown bear)
 , Arctic Toob (arctic fox, walrus)
 and Pandas Toob (panda)
 . Unfortunately, there are no TOOB animals available (yet!) for the peacock/peafowl and snow leopard. I also used an orangutan from the Monkeys and Apes Toob
 for the cards.
SafariLTD kindly provided the World Landmark TOOB, Around the World TOOB, peacock replica and snow leopard replica for this continent. We are working with them to make this project the best is can be!

Exploring Asia’s Animals
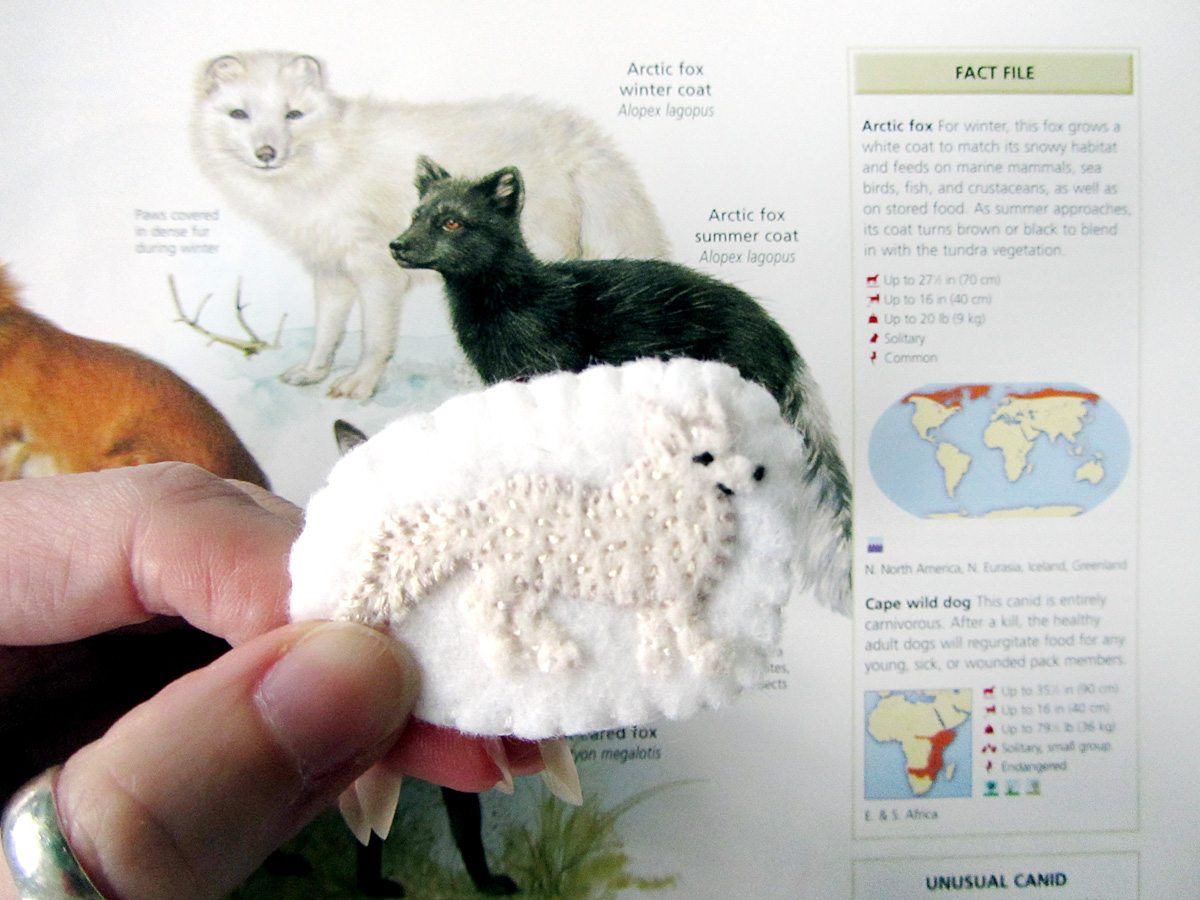
We are once again making use of my The Encyclopedia of Animals: A Complete Visual Guide book! It is very easy for us to flip through to find our animals. While it doesn’t have every animal in the world, it has a LOT of them. The illustrations are very pretty, and there are a lot of facts and little maps with the animals’ territories.


Jax and I will be using it to match up with our 3-part cards or our SafariLTD figurines and read more about the animals. We also use my iPad with YouTube to watch short video clips.

I actually didn’t know until starting this project that peacocks are really peafowls. The males are peacocks and the females are peahens. I’m learning so much homeschooling Jax! I love how this page shows both the peafowl and peahen so we can explore the differences.

I know many of you are sewing along (or about to!) If you are, stop by my Instagram @iolstephanie and leave a comment on one of my photos (I can’t see your photo if it you are private, but I can request to follow you temporarily if you leave a comment on mine about it) or share photos on Facebook. You can also email me. I love seeing others’ take on my patterns!

Please be sure to visit the other ideas featured on Montessori Monday. There are many great links!