Thrift Store Gems

Radio Flyer Scoot 'n Zoom for $7.50

Sometimes it seems like I get an idea in my head for Jax and decide to keep an eye out at the thrift store for what I’d need to accomplish it, only to find it on my very next visit! It happened with the play kitchen and now with a dollhouse.

A dollhouse for boys, you ask?? Why not! My crafty mom was huge into dollhouses and miniatures, making both from scratch. I may have a boy, but I think there are ways to incorporate a dollhouse into his imaginative play time.

We pulled up to the thrift store and I spotted this unfinished wood beauty from the window. I was sold when I saw the $9.25 price tag! This is a $80 Melissa & Doug wooden dollhouse, though it is sold with furniture! I’d originally planned to make him a fire station dollhouse, but the shape of this one lends itself well to becoming a barn. The front door and balcony come off to reveal sliding barn doors. It may not even need those pieces in the end if I do a barn.

Jax keeps saying “House! House!” I really think this would look cute as a red and white barn with faux straw floors and wood beam walls inside. It’s in perfect condition, minus a red paint stain. What do you think?

I think I may hide this away and make it all special and barn-like to put under the Christmas tree for Jax. Maybe with this animal set. There are a lot of cute wooden farm toys that I can add to Jax’s Wish List

These Melissa & Doug Stacking Emergency Vehicles were being sold for $2.50 each, though they were originally a set. I like that they are all wood (except the wheels). Jax is getting into vehicles now, so these stacking puzzles will be fun. So far he is calling them all “Choo choos”. The only other vehicle name he says is “Bus”.

We also got the scooter at the top of the post. He has had a Mickey Mouse car since his first birthday but it is SO LOUD it is driving me a little crazy. There is no volume switch! At the time we got it, all the buttons and lights were more interesting than the actual car to him. Now he is more interested in go, go, going! So this one is perfect both for Jax and mama’s poor ears. And it rolls great outside, which the other one didn’t.

I didn’t look at the books this time. We will be going through ours to see if there are any Jax has grown out of that we can to donate to the library soon.

Sunday Souvenir – Favorite Childhood TV Show

Did you have a favorite tv show when you were little? Mine was The Muppet Show. Especially Kermit the Frog! I think I liked him the most because he sounded like my dad. (My dad also did a great Cookie Monster voice from Sesame Street.) It was such a great show with lots of little skits and musical numbers featuring a famous guest star. I ended up with a lot of Miss Piggy gear as a kid because that is what was marketed towards girls. She kind of annoyed me, though. Hah.

Years later in college, my dad used to tape the episodes they were rerunning and he’d give me the VCR tape every Friday night when I’d visit him. I even made a little mix cassette tape of my favorite songs, though I have no idea where that is now.

The first photo is me watching at 11 months old. My dad looks so 70’s cool in the background! And, if that rocks still exists somewhere, I WANT IT! The photo to the left is my brother and I watching tv together. I was 16 months so he was almost 7. The photo below is from my 6th birthday, which was celebrated at a ranch we used to visit with family in Colorado. The decorations definitely look like the work of my Great Aunt Berta. I’m not sure if they were brought out from Iowa by my grandparents and added to a cake, or if the whole cake made the trip. My Aunt Susan might know.

I haven’t introduced Jax to The Muppet Show yet. His current favorite show is Peppa Pig, which we record for him. Apparently it’s a show that is big in England.

What was your favorite childhood show?

Wearing a Miss Piggy shirt at a sulphur spring

Link-o-rama!

At the Aquarium of the Pacific

We’re back from our California vacation. To read all about it, visit my personal blog. The trip went really great and Jax did awesome on the plane flights and having to eat in restaurants for most meals. (Thank goodness for the iPad!)

I’m now looking ahead to Thanksgiving. We are keeping up our new tradition of sharing a purchased meal with our friends and neighbors Ronalyn and her husband D. But this year we will be eating at our house. I guess that means I need to clean up the sewing madness that has taken over the dining room?

Here are some Thanksgiving inspired links for you:

Loving It – Handmade Baby Lovlies

When I decided to reach out to friends to help with Imagine Our Life while I am on vacation, I knew right away I wanted to ask Lyndall of Royal Milk Tea. We’ve been online friends for a while, despite her living on the opposite side of the globe. She has such a beautiful aesthetic and I just love her drawings, photos and personal style. Lyndall is expecting her first little one and has offered to share some of the handmade baby items that have recently caught her eye.

Hello! My name is Lyndall, and I live in Adelaide, South Australia. I’m a librarian, an artist, a daydreamer and a collector of pretty pictures. I blog over at http://royalmilktea.nu.

Vintage fabric bib, Knitted baby cocoon, Little Baby sweater, Shaped Rattles, Handmade ‘Bathing Beauty’ doll, Baby Fair Isle cardigan.

Thank you, Lyndall! Everyone go visit her right now! I mean it!


Money-Saving Tips

Ronalyn is a friend and neighbor who always impresses me with her ability to save money. I asked her to share some tips in my blog while I am on vacation. It also gives me an excuse to post cute dog photos. Her “kids”, Esa and Zed are friends with our golden, Benny.
 
I don’t think I’ll ever be featured on Extreme Couponing, but hopefully I can learn a few tricks from Ronalyn!


Esa and Benny

I am honored that Stephanie invited me as a guest blogger while she & her family are on vacation!

Stephanie and I are neighbors (there are about 3 blocks between us), and we met because of our pups.  Now, our husbands are constantly together on the weekends watching sports.  I work full-time as the Assistant General Manager at Westfield Concession Management at Dulles Airport where I oversee the retail program and all of the concessions marketing.  I have been blogging since 2005, with Yahoo!360, MySpace and now at The Adventures of Esa and Zed.  I mostly blog about our life, our pups, and how I save money.

  • I consider myself a “moderate” couponer.  I make a game out of how much I can save during a grocery shopping trip.  Where I start – using Coupon Mom to match up coupons with sales items.
  • My favorite “coupon community” is Hot Coupon World.  It lists all the different stores and sales, coupons, freebies…everything!
  • My favorite income/rewards site is My Points. I’ve been a member since 1997 and have earned many giftcards on there.
  • I’m addicted to Diet Coke, so when Coke came out with My Coke Rewards, I was pysched!  I’ve gotten Best Buy gift cards, DVDs, and coupons for free Coke.
  • One of my splurges is on my hobby of scrapbooking – paper & digital.  I love Creative Memories tools and their digital software.  Each Friday, they post free digital downloads.
  • Another one of my hobbies is genealogy.  I have a subscription to Ancestry.com, but even if you don’t have a paid subscription, you can still create an account and research your family tree.  Several times a year, they have free weekends where you can see all the records.  I researched as much as possible before purchased a subscription and I was able to discover a lot this way.

Delicious Vegetarian Recipes

Say hello to my friend Katherine, aka OpalCat! While I am off in California visiting family, I asked her if she’d be willing to share some of her favorite kid-approved vegetarian recipes on Imagine Our Life. I’ve been vegetarian for almost 20 years! My husband was as well, but has since hopped on the meat-wagon, heh. So far, Jax does not like any of the meat we’ve offered him. We are letting him decide for himself if he wants to eats it. Luckily, he loves tofu and eggs!
 
I’m really excited to try out her delicious-looking chimichanga recipe! I love those but restaurants never have vegetarian ones on the menu.
 
Do you have any favorite vegetarian recipes?


Hello everyone, my name is Katherine but everyone on the internet calls me OpalCat. I run a website at www.opalcat.com that has a little bit of everything. I’ve been friends with Stephanie for about 10 years, though I no longer live in the same state so I don’t get to see the family much these days.

I’m an artist and a mother just like Stephanie, and I also like to cook. When Stephanie asked if I’d write a guest post on her blog about food I happily said yes. I’m going to share two recipes with you in this post, both of them vegetarian. The first is a recipe for a broccoli quiche.

This quiche has a lot of flavor. If you prefer a more subtle flavor, just cut back on the seasonings a bit. This recipe makes  two quiches. I use frozen pie crusts because I don’t have time to make pie crusts, but if you want to make your own my favorite recipe is here.

The ingredients you will need are:

6 eggs
1 ½ cups milk
1 package frozen broccoli, steamed and cut into small pieces
½ cup diced onion
1 Tbsp minced garlic
about 4-6oz shredded cheddar cheese
1 ½ tsp nutmeg
3 tsp basil
2 tsp savory
2 tsp sage
½ tsp pepper
½ tsp salt
2 pie crusts, prebaked

Begin by preheating the oven to 375°. Next, in a medium sized bowl, beat together the eggs, milk, and salt and set aside.

In a large bowl, mix the garlic and onion with all of the spices. At this stage it will look a lot like dirty gravel from your driveway—don’t worry! It’s supposed to! Add the broccoli and mix it in well until the mixture is evenly distributed.
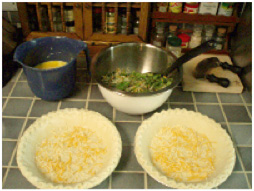
Next take the shredded cheddar cheese and put enough in each pie crust to cover the bottom.  Add the rest of the cheese to the mixture in the large bowl and stir it in well.

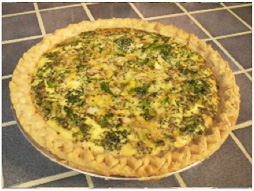
Pour the mixture evenly between the two pie crusts. Pour in the egg mixture, half in each pie crust, using the back of a spoon to flatten out any spots where stray broccoli or other bits are sticking up above the surface.

Bake at 375° for 45 minutes, checking in at 30 minutes  by inserting a knife in the middle. The quiches are done when the knife comes out more or less clean and the surfaces don’t jiggle when you gently shake the oven rack.

I actually recommend making these several hours before you want to eat them, then letting them set up in the refrigerator for a few hours (or better, overnight) because they’ll cut into individual pie slices much easier when they’re cold, and you can reheat them individually in the microwave. Cutting them hot right out of the oven tends to make for messier pieces.
Next I want to share with you a Mexican dish that was invented in my hometown of Tucson, Arizona: the Chimichanga. Our chimichangas will be filled with beans but you can add other things to the filling as you like. I sometimes put in textured vegetable protein to simulate ground beef, or I add some brown rice or grilled vegetables. The filling is entirely up to you.

The ingredients listed are enough for three chimichangas; you can adjust upward or downward depending on how many you want to make. I should note that you can freeze them before frying them and fry them up later, if you want to make a bunch at once and then eat them over time.

Ingredients:

You need the largest flour tortillas your store has. This may be 10” or 12” or if you’re lucky, something even bigger.
1 can of refried beans (or you can make your own quite easily—I recommend making them from canned pinto beans rather than dry because it takes so much less time.)
1/3 cup diced onion
2 cups shredded cheese of any type (I like the Mexican blend cheese in the bags at the grocery store)
1 diced tomato
2 cups shredded lettuce, cabbage, or spinach (this goes on top at the end)
1 can enchilada sauce
sour cream if you like it
1” deep vegetable oil in a sauté pan that is at least 10” across, but preferably bigger
3 feet of paper kitchen twine cut into 1 foot lengths

To begin, pour an inch (or more) of vegetable oil into the sauté pan and set it on medium to medium high heat. You will know it’s hot enough when a single drop of water dripped into the pan sputters and pops.

While the oil is heating, take your tortillas and put them on a paper towel and microwave them for about 10-15 seconds, to warm them up. They are much more flexible and less likely to crack when they’re warm.
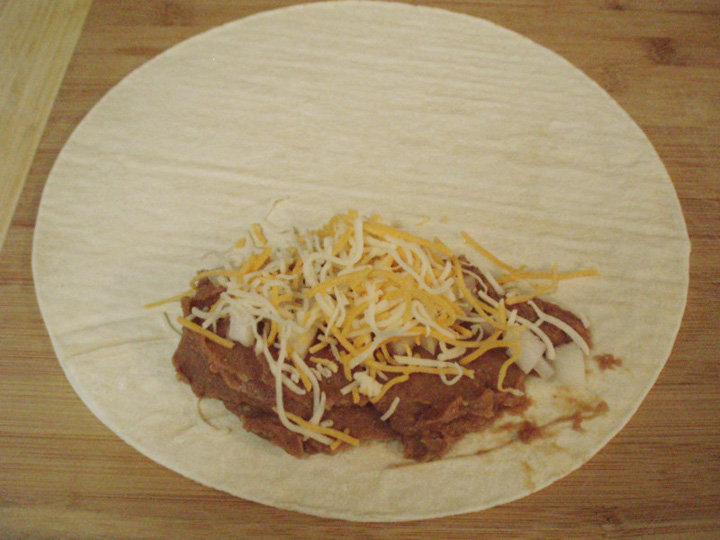
Spoon 1/3 of the beans onto one side of one of the tortillas, and add 1/3 of the onions and 1/3 cup of the shredded cheese. Next you want to roll your chimichanga. You’re basically making a burrito. It goes like this: Fold up the bottom half where the filling is until it’s covering the filling. Next fold in both sides as far as you can. Finish by rolling the rest toward the remaining “flap” of tortilla. You should get about two turns.
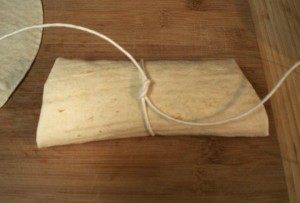
Now it is time to tie the chimichanga so that it doesn’t unroll in the oil. Tie one length of twine around the middle of the chimichanga with a square knot, and set it aside.

Repeat the procedure for the next two chimis. When you have all three rolled up and tied, transfer them to the hot oil in the pan.

Open the can of enchilada sauce and begin heating it in a small saucepan. It should be hot by the time the chimichangas are finished cooking.  Now is also the time to chop the tomato and shred the lettuce, cabbage, or spinach (whichever you chose) if you haven’t already.

Keep an eye on the chimichangas in the oil. You are waiting for them to turn golden brown on the bottoms and sides where they’re under the oil. Once they are golden brown, use a pair of tongs to turn them over and cook the other side.

When your chimichangas are golden brown on both sides, lift them out with tongs and place them on several pieces of paper towel to soak up the excess oil. After a few minutes you can cut off the string and transfer them to serving plates.

Pour some enchilada sauce over each one, then divide up the remaining cheese over the top of the sauce. Finish with shredded lettuce, cabbage, or spinach and a dollop of sour cream and you’re ready to eat!

I hope you enjoy this southwestern favorite. It’s easy to make and tastes incredible. You can change up the filling ingredients for a different taste. (Sorry, in the final picture there is no enchilada sauce—sometimes I make it without.)
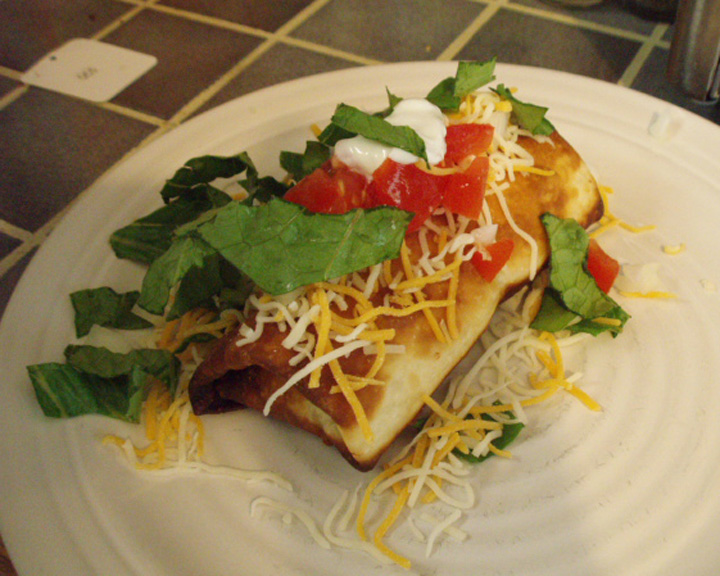
These are both recipes that my son liked from an early age, so they are good for children. The quiche is a lot of stirring, which children are good at helping with, too, so it could be a good family activity. You can find more recipes in the Food section of my website. I hope you’ve enjoyed these two recipes.

Thank you, Katherine! Be sure to pay her a visit at OpalCat’s World Domination Headquarters!

Sewn Paper Mobile Tutorial

This post is dedicated with love to baby S. If you find this post helpful, please consider making a donation to help the March of Dimes fund the research that will get us closer to stronger, healthier babies.
 

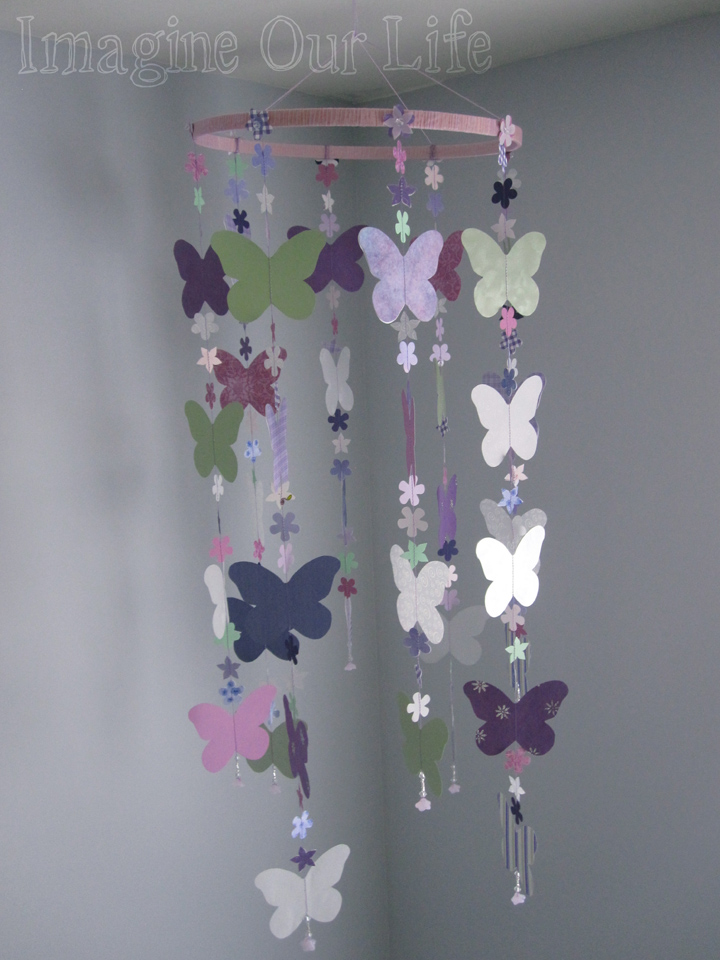
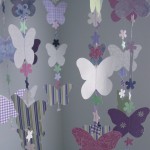
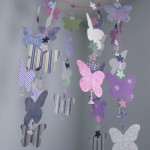
At first I thought I was completely insane and over-ambitious to decide to make a huge paper butterfly mobile. Turns out, it wasn’t bad at all! After late night inspiration struck, I was able to whip this up in no time (*not* counting the time to cut out the butterflies!)

This technique is great for paper garlands as well. I’ll be doing a tutorial for one soon.

You’ll need:

  • Card stock and/or vellum. I used both.
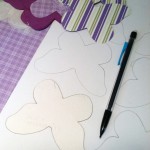
  • Butterfly template. I printed mine on card stock so it was easy to trace.
  • Paper punch(es) for little flowers. I used the McGills Petite Petals Punch
  • Sewing machine, thread and beading needle.
  • Assorted beads, including some drop beads. I used pink flowers.
  • The inner ring of a sewing hoop.
  • Ribbon and glue to cover the hoop.
  • String or ribbon to make the hanger. I used crochet cotton.

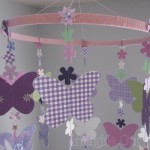
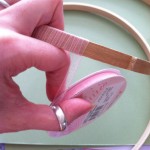
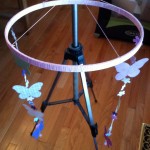
I started by wrapping the inner ring of a wooden embroidery hoop with ribbon and gluing down the end (I “clamped” it with tape overnight while it dried.) I cut two lengths of crochet cotton that were longer than the diameter of my hoop. I tied one so it split the hoop in half, then tied the other perpendicular to that so it split the hoop in quarters. I then grabbed the centers of both strings and tied a ribbon to the center so the mobile could hang from the slack in the strings.

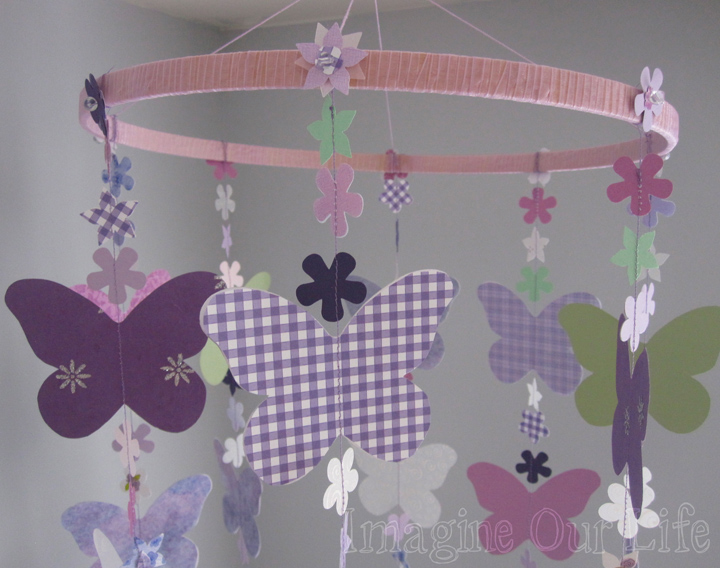
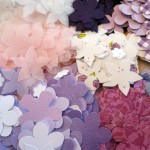
The time consuming part was cutting and punching the paper. You need to cut out at least 36 butterflies for the layout I used, more if you used single-sided paper and use two pieces back-to-back. I did some of both. I punched a zillion flowers since I wasn’t sure how I was going to use them. Luckily, my punch cut out 3 at a time! I used some solid paper, some vellum (solid and patterned) and some patterned paper. They were all from the scrapbooking aisle of the craft store.

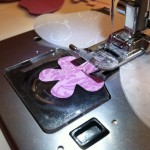
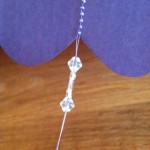
Sewing the strands of the mobile is so easy! I sewed mine from the bottom up. Leave about 10″ of spare thread before starting (you’ll need that for adding beads later) then start sewing as you feed the bottom of a butterfly into the machine. When you get to the top of the butterfly, position a flower the distance you want it from the butterfly and push it under the foot as you continue sewing. My patter was 3 flowers between each butterfly and I ended with 3 flowers on top. I did four strands with 4 butterflies and 4 strands with 5. When you end your strand, back stitch a bit, then leave another 10″ tail so you can tie the strand to the hoop.

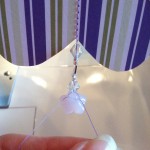
Once you’ve sewn your strand, you need to weigh it down with beads. I made a little pattern I liked and ended with a drop bead. To put the drop bead on, I threaded one strand of my thread through the hole one way and the other strand the other way. then I made a knot above the bead and clipped the tails. You could add some Fray Check to the knots for security. (I used Fray Check on the strings that tie the braids in my hair closed!)

Tie your strands of butterflies and flowers to the hoop. I tied 4 of them right to where my hanger threads were attached, then the other 4 in between. To make it easy, I hung mine from the adjustment arm of a camera tripod.

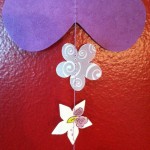
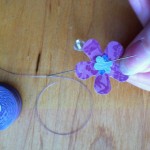
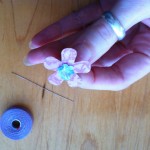
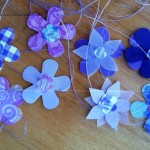
To pretty-up where the strands are tied on, I made some little flower embellishments. You could easily hot glue some purchased silk flowers or butterflies too. I took a length of thread and a beading needle and ran the thread halfway through the center of some flowers. I added a bead then went back down through the center of the flowers with the other half of the thread. I used the two tails to tie each beaded flower over the knots of the butterfly strands.

Then you are done! Hang it by it’s ribbon and enjoy! (Mine is just taped up for a photo. You’ll want a nice hook.)

Sunday Souvenir – Childood Stuffed Animals

I was huge into stuffed animals growing up. I always had a mountain of them. It took me until I was in my mid-twenties to get over the addiction and par down my collection to just a few favorites.

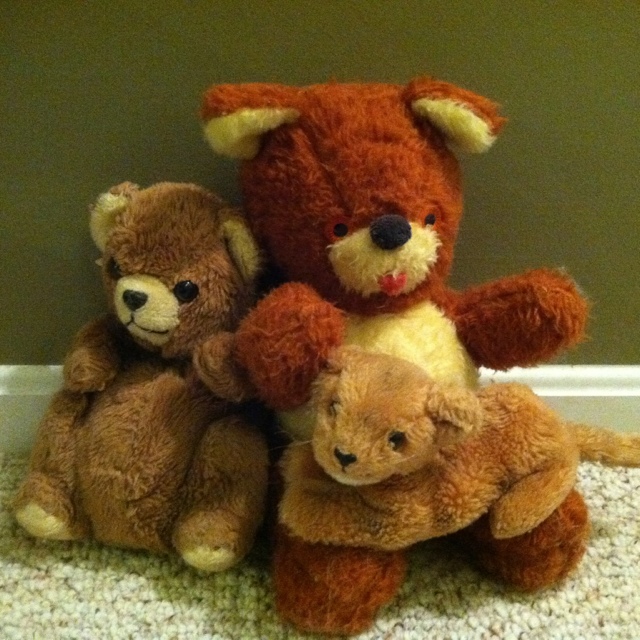
This is Pot Belly Bear and Cuddles (2.0). My brother had the original Cuddles and I adopted this “newer” version. Cuddles went on all vacations and overnights with me through college! He was always warm and snugly under my shoulder while I slept. Once you share a bad with your husband, it’s maybe time to not have stuffed animals in bed, heh.

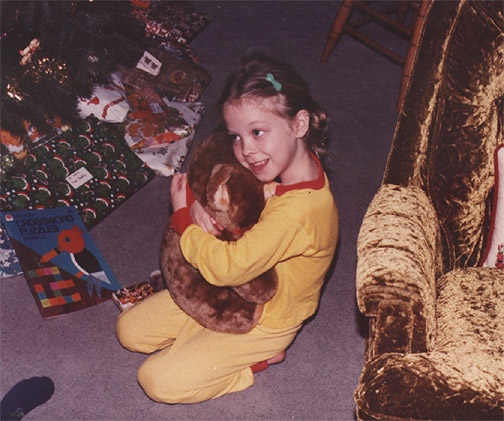
Pot belly was one of my all-time favorites. He was under the Christmas tree from Santa at my grandparent’s house when I was five. I remember not really believing in Santa that year.

Receiving Pot-Belly Bear

On the left is Corduroy Bear (from one of my favorite childhood books). In the middle is Court Rock Bear. I believe I named him after a trip to the Natural History Museum. Most likely miss-named after quartz rock.

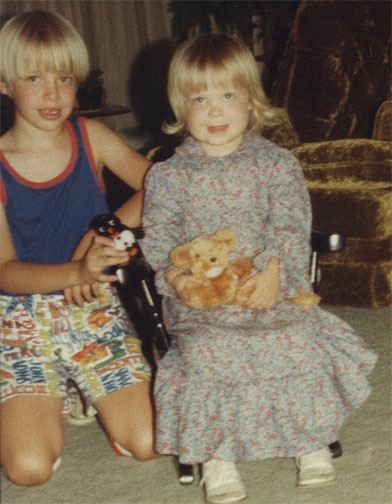
Ont he right is Whiskers, who I’ve had forever. It looks like I am 2 in this photo from my grandparent’s house, so perhaps he was a gift for that birthday.

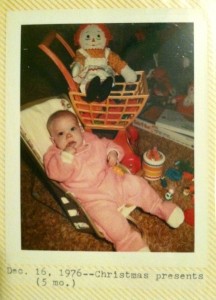
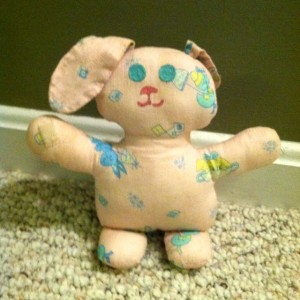
Here is me at my first Christmas with a Raggedy Ann doll. Maybe a gift from my Aunt Susan? This bunny is an example of one of the stuffed toys my mom would make and sell at craft fairs under her little crafty name “Stuff and Such”.
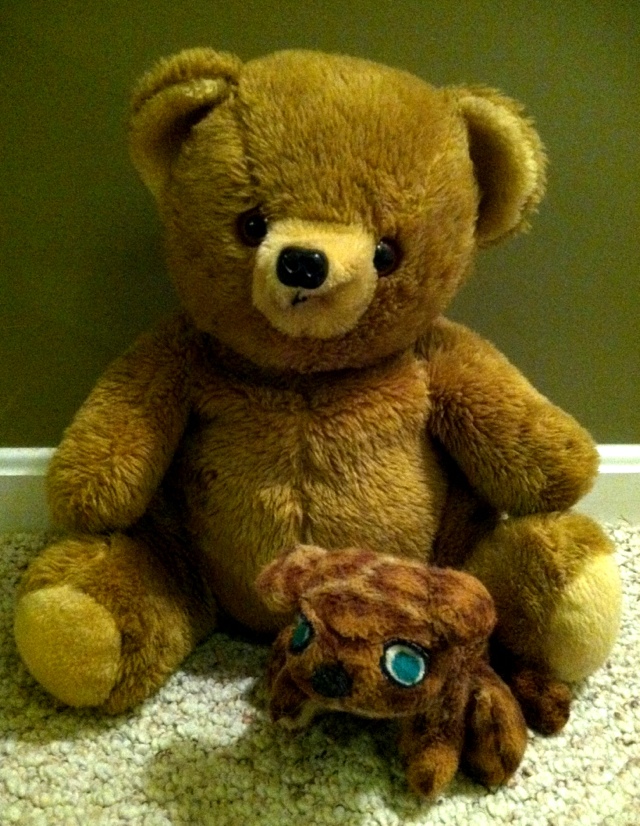
  

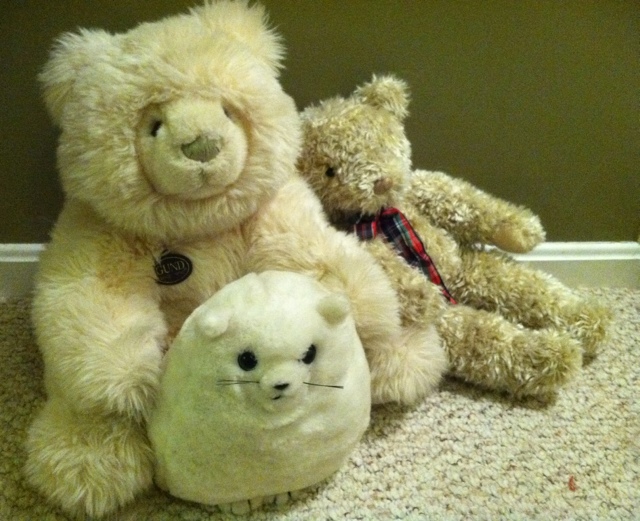
Here are some “newer” stuffed animals. I remember wanting that big bear SO BAD when I was around 12. The pink bear was a gift from my dad when I had my tonsils out at age 16. It was very special since he chose it himself. The little kitty was named Snowball, but I don’t remember how old I was when I got him.
Do you have any of your childhood stuffed animals?

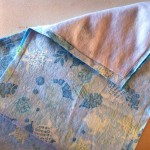
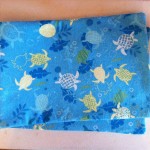
Quiet Book Cover Tutorial

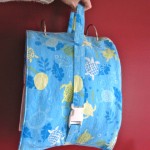
There are a million ways to sew a quiet book cover, but this tutorial covers (ha!) what I did. To see how I sewed together my pages, read this post.

I used 3″ diameter binder rings I bought here. I had 1 yard of flannel and a 29″ x 11″ piece of fusible fleece from my leftovers pile. I also used a white, 1″ plastic buckle from my dog collar supplies. They sell black ones in fabric stores.

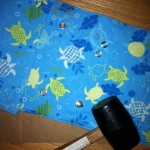
  1. I started with two rectangles of flannel. You could use different fabric for the cover and inside, but I was using some I already had. My width was 30″ and height was 12″. To find your width: (page width x 2) + the diameter of your rings + 2″ for overhang + 1″ seam allowance. To find your height: page height + 2″ for overhang + 1″ seam allowance. I also cut a piece of fusible fleece 1″ smaller and ironed it to the back of one piece.
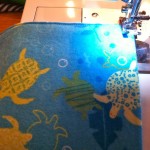
  2. I sewed the two sides together, right sides facing, leaving a 4″ hole to turn it.
  3. Turn it right side out and press. (Clip the corners first if you’d rather they not be rounded. I like that.)
  4. Top stitch all the way around, closing your hole in the process.
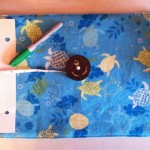
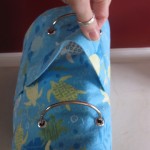
  5. Fold the cover in half to find your center, then measure half the diameter of your rings from the fold. Use the same template you used on your pages to mark grommet holes. Repeat on the other side.
  6. Install your grommets. You will have two sets of grommets centered on your cover piece that are set apart the diameter of your rings (3″ for me.)
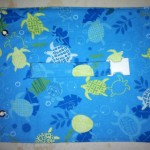
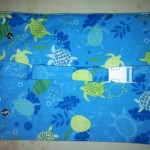
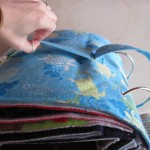
  7. I made two lengths of straps with half of the buckle on the end of each one. I believe my finished sizes were 30″ x 1″ and 8″ x 1″. I attached the short one to the front with the buckle aimed away from the spine.
  8. I attached the long strap right behind the short one going in the opposite direction, across the spine and around the book to hold it closed when buckled.
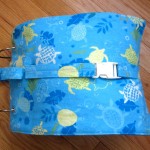
  9. With the buckle closed, I determined how tight I wanted the strap and sewed the extra into a handle by sewed the strap down on the other side of the spine (see photos for clarification.)

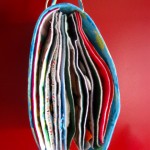
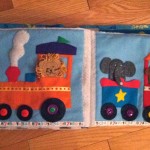
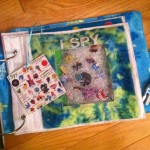
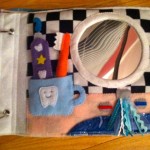
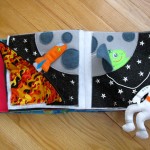
That isn’t even all of my pages! I bought extra rings so I can keep the pages not in use organized. Swapping the pages out regularly will keep the quiet book interesting for Jax.

I’m bringing about half the pages shown there on the plane ride. I chose the ones most exciting to him that don’t have tiny parts. I also punched holes in the top of a freezer bag and have that in there with a notebook, crayons and stickers.

We should be in the air right now as this post goes live. Wish us luck!

Friday Follow-up

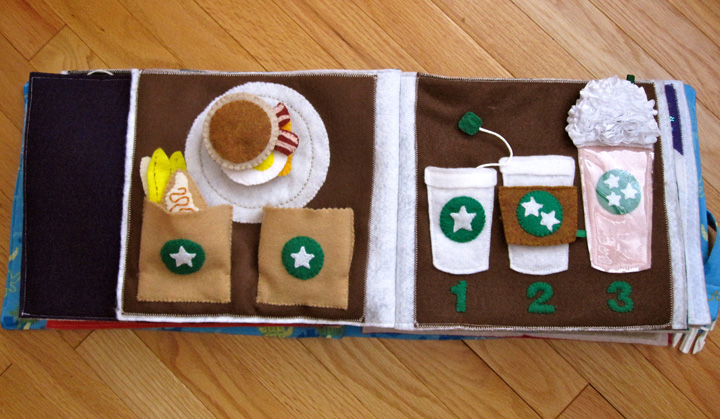
This post is to show some updates to my Starbucks felt food quiet book page (that goes with my Starbucks coffee and tea page.)

When I started the food page, I wasn’t able to find and brown felt to match the background I’d used on the drink page. I went with green and called it a day. But when I decided to make the two pages face each other, I realized I would have to move the pastry bags from the top to the bottom to make room for all that whipped cream. I’d just found that brown again, so I ripped everything off and sewed it to the new background.

I think it came together nicely. It’s still Jax’s favorite page. He is in love with the tiny strawberries!

Make your own with my free patterns at the links above.