Thrift Store Gems

We hadn’t gone to the kids’ thrift store in a while. The last time we went was right after the holidays and Jax had a bit of a tantrum when I wouldn’t let him carry a mirror around. I wanted to go once before his birthday, though, so we risked it today. Luckily, Jax was super well behaved!

My main goal was warm clothes. Jax has had a big growth spurt and has grown out of his 18m gear. For about $8, here is what I got in size 2t:

A cute Carter’s rock t-shirt, 2 long sleeve thermal tops (one in dark blue to wear under the tee), a Baby Gap sweater and a pair of Baby Gap cargo pants. The pants have soft faux-suede on the pockets.

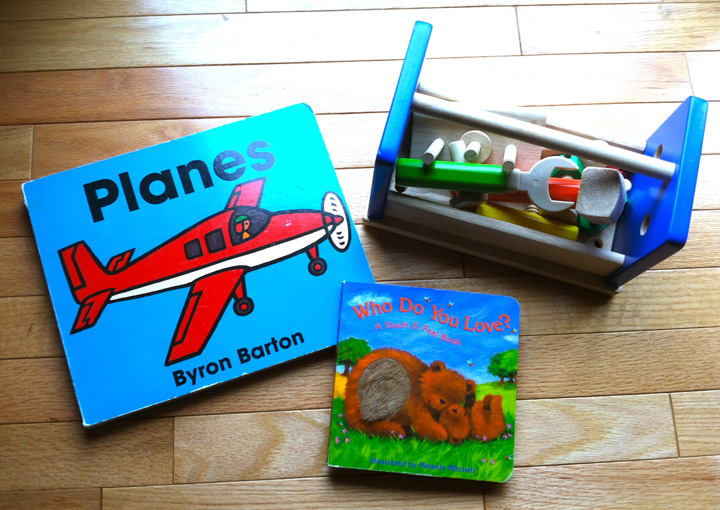
They were having a 10 for $1 book sale, but we really don’t have room for 10 more books! I’ll be getting rid of all his little baby books this spring in a yard sale as it is. I did see two I liked, though. Planes board book and Who Do You Love? touch and feel book.

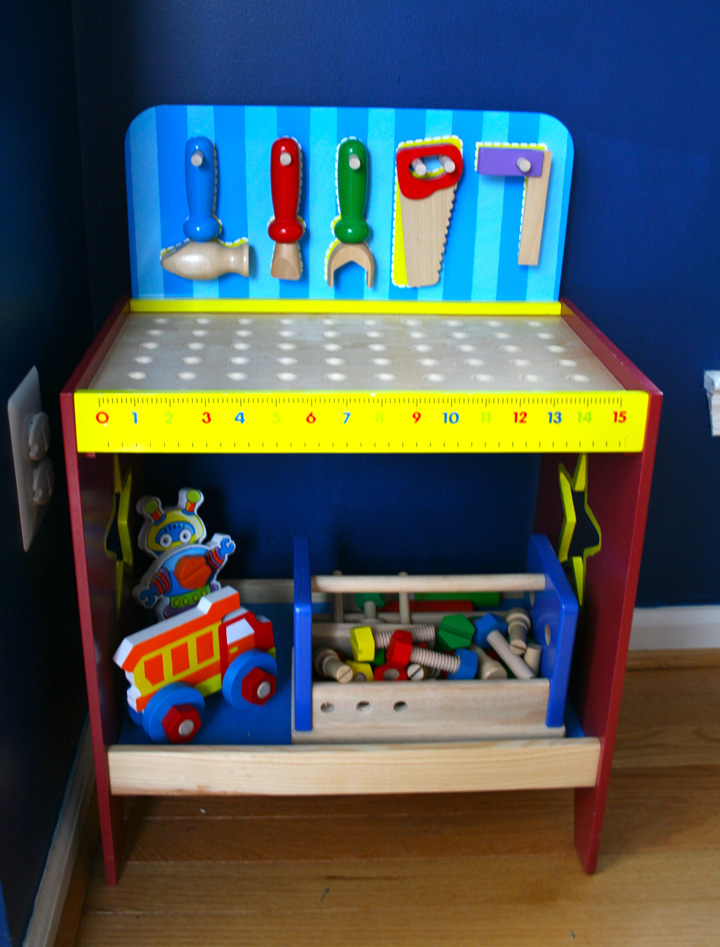
I was excited to see the tool caddy. Jax loves the tool bench he got for Christmas, but I’m not a fan of the nails and bolts not having a proper home. For $2.75 I got a great wooden caddy to store them all, with a few bonus tools and building pieces.

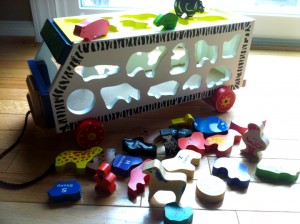
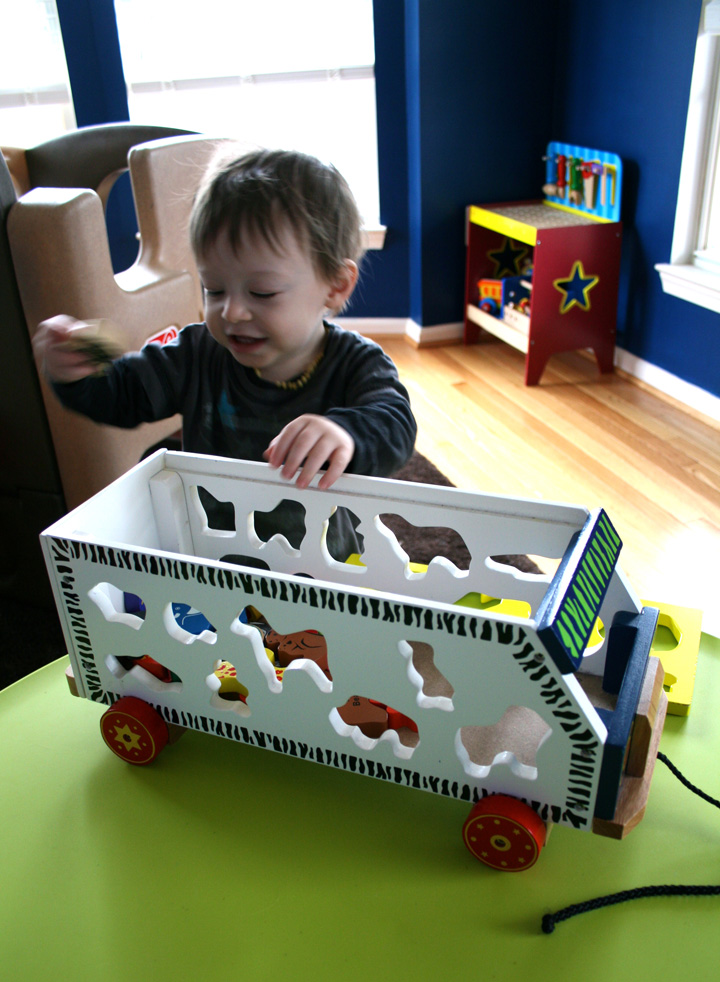
This final item was just one of those steals I couldn’t pass up because it was unique, wooden, a great price and all the parts were there! It is the Battat Safari Animal Bus The bus rolls, has a lid that comes off and comes with wooden animal shapes for each letter of the alphabet. We got it for $5.75.

I can see Jax giving toys a ride in the bus and playing with the animals in his barn. The first thing he did was let several of the animals slide down his playroom slide saying, “wheeee!” Hehe.

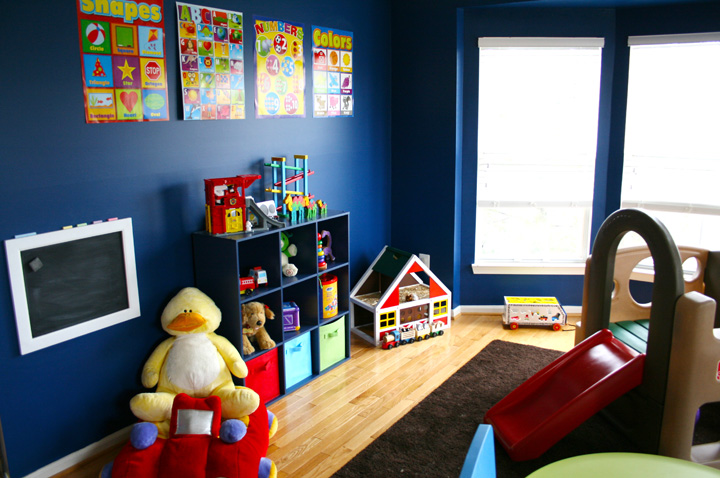
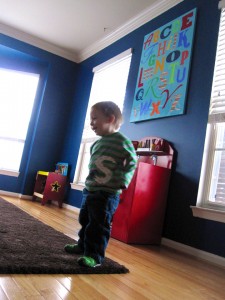
And here is a bonus photo to show a little update we made to the playroom. The dollar store sells teaching supplies, and we came across these great educational posters sold in 2 packs. I love the colors and Jax loves pointing to everything he knows on them.

I was hoping to find some alphabet magnets at the thrift store to go on that little magnet chalkboard I just hung. It used to be in the kitchen of our old house and was impossible to write on. I just gave it a good coat of chalkboard spray and now it works great. I think that will be a good spot for us to practice our letters and numbers.

The $2 Toddler Art Gallery

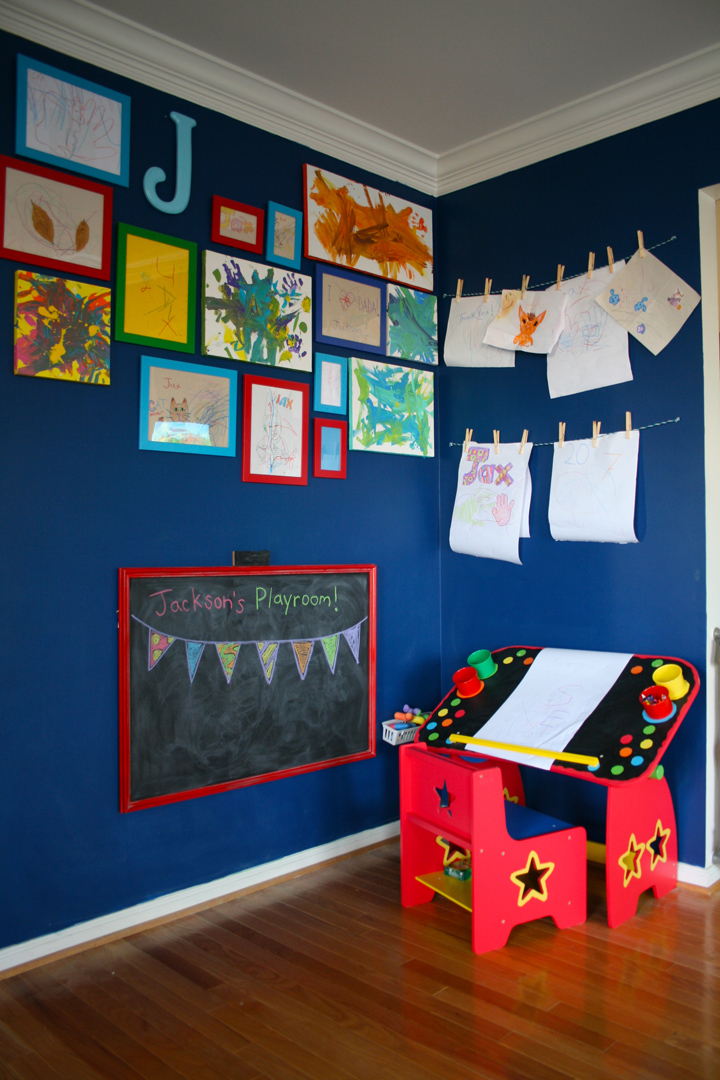
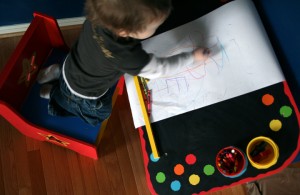
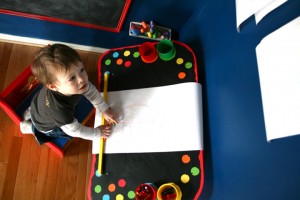
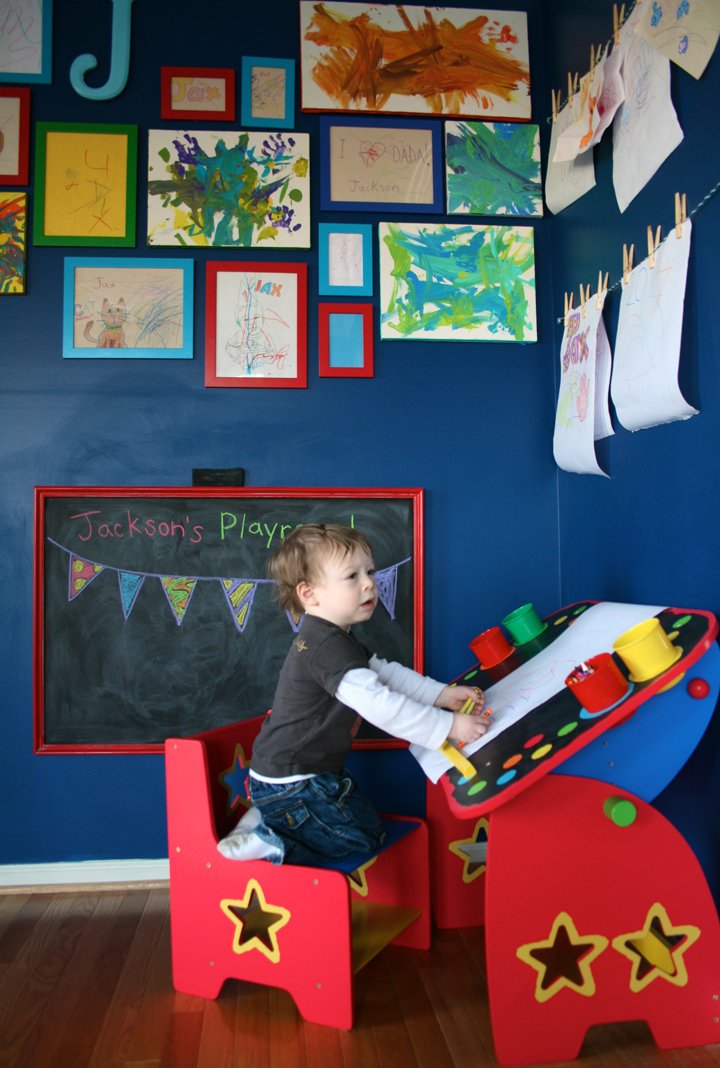
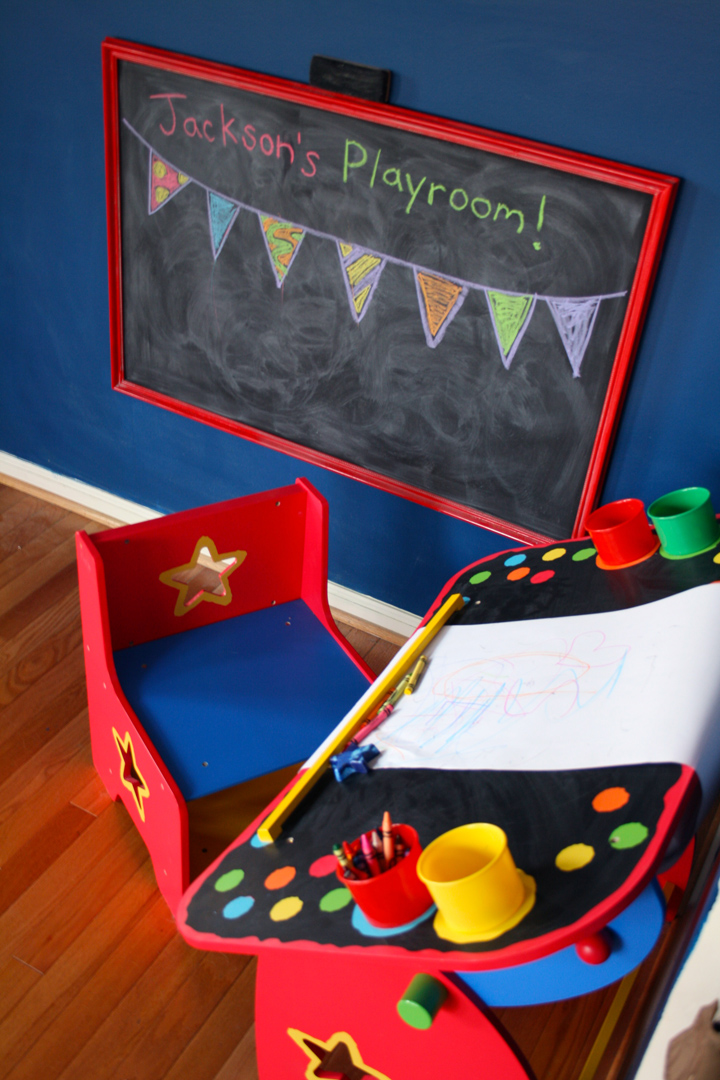
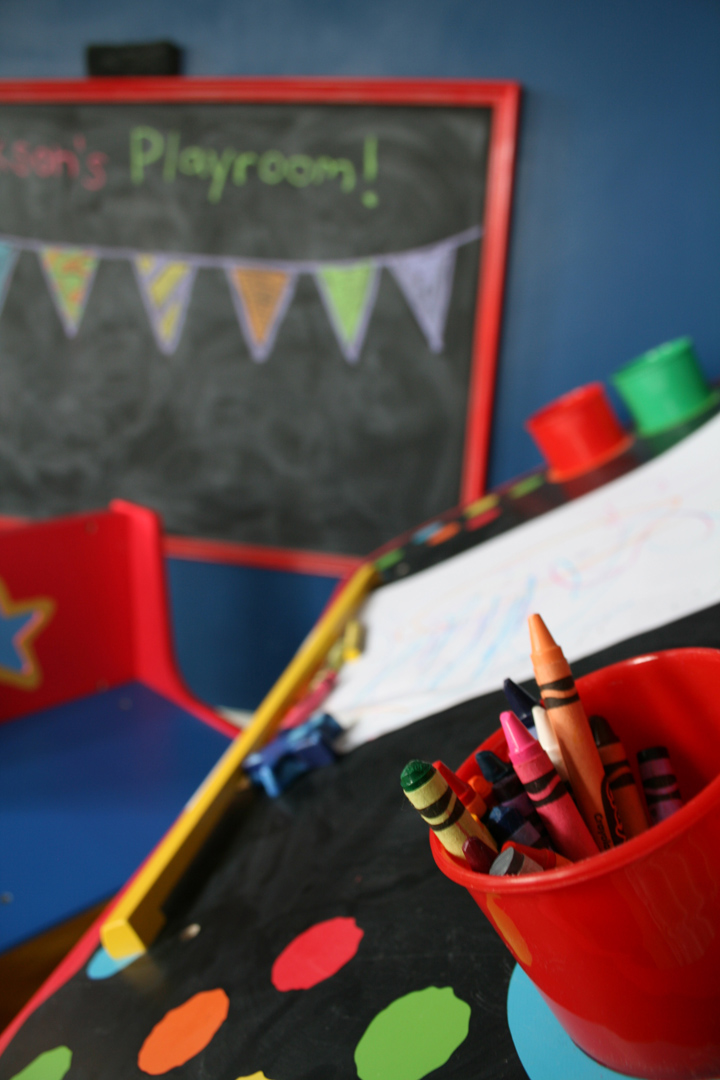
I’ve been working on a creativity corner in Jax’s playroom since last summer when he was just old enough to start coloring with chalk instead of eating it. This past Christmas, his wonderful aunt and uncle bought him an adorable art desk from his wishlist that looks so great with the chalkboard I made for him. The desk comes with a hidden roll of paper, so we’ve been churning out the scribbles together with nowhere to put them when we go to start a new one.


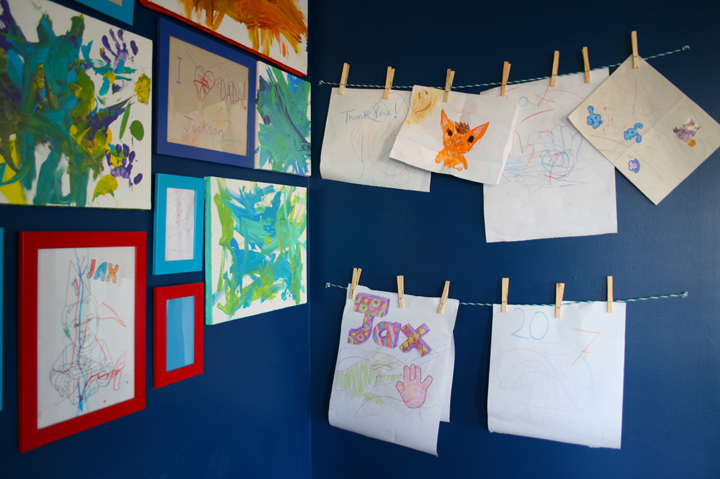
I needed a way to quickly store our new drawings in the creativity corner in a way that lets us enjoy them. Then we could move our favorites into the growing art gallery. Here is what I came up with…

Clothes Line ($1 for 70′ at the dollar store)
Clothes Pins ($1 for 36 at the dollar store)
Nails, Hammer, Level, Scissors (already had them)
Total Cost: $2!

This really couldn’t be easier and doesn’t really require a tutorial. All I did was cut two lengths of clothes line, double knot each end and nail them to the wall through the knots, using a level to make sure it was straight. Clip some clothes pins to it and you are ready to hang your masterpieces!

And I really love how his desk looks with the blue walls and red frame of the chalkboard. I know primary colors aren’t trendy for kids’ rooms right now, but I wanted to choose something a color scheme that would fit in with the already-blue walls, be easily DIY-able and be available in affordable toys and furniture.

Stay tuned for a post with some more playroom updates! In the meantime, pull up a chair and grab a crayon!

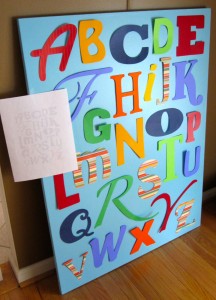
DIY Large Scale Alphabet Art

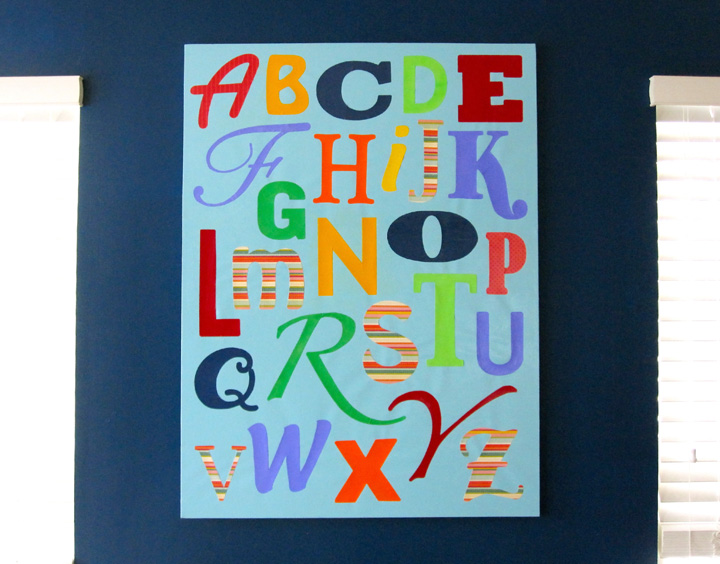
I’ve been wanting some art for Jax’s playroom for quite a while. Large scale art is quite expensive, so it was time for a little DIY. I knew the first piece I wanted to make would involve the alphabet. Jax can recognize 90% of the alphabet and loves to point out the letters he knows.

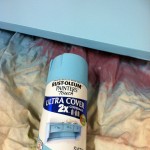
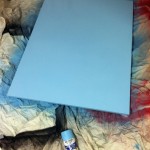
The only thing I bought for this project is spray paint. I got Rustolium Painter’s Touch in aqua satin finish. I already had the 30″ x 40″ blank canvas – a gift from a dear friend before she passed away. The scrapbook paper and Mod Podge is from my craft stash.


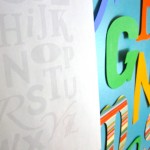
To start, I created a 30″ x 40″ document in Photoshop and started laying out the alphabet in different fonts until I was happy with how it looked. I then cut everything up into templates and printed them out (in light gray to save ink.) If you’d like my pattern, download a zip file here. If you have a different size canvas, you’ll have to scale the templates accordingly.

Spray painting the canvas took all of 5 minutes and I only needed one good coat. I’m planning to use the leftover paint on a smaller canvas for the reading nook.

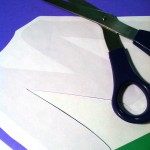
The part that took the longest was cutting out the letters. The templates print out backwards, so I’d lightly tape one to the back of my paper and cut out both the template and paper at the same time. Some letters, like the F and R, were too big to print in one piece. I had to print them in parts and tape it together before cutting the letter out. As I cut each letter, I’d tape it to my canvas using my layout as a guide, choosing colors as I went.


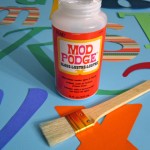
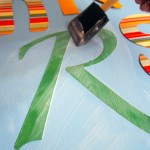
Once everything was cut, I was ready to glue the letters down. I used the leftover Mod Podge from my barn project. I started with a paint brush but it started shedding so I switched to a foam brush. I simply picked up a letter (throwing out the tape), painted a layer of glue on the canvas, placed the letter back down, smoothed it out and painted glue over top. I found heavier scrapbook paper worked better. My very thin dark blue paper wrinkled up as it was drying. I made sure the glue covered the whole canvas for an even finish.


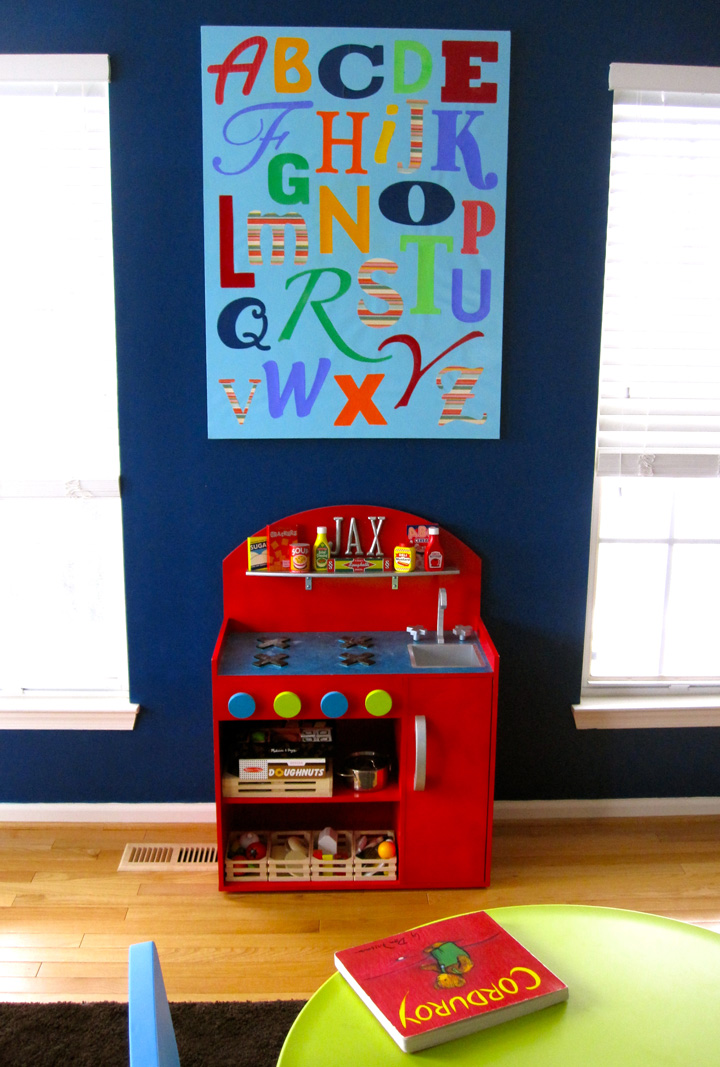
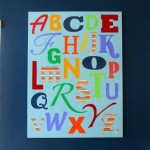
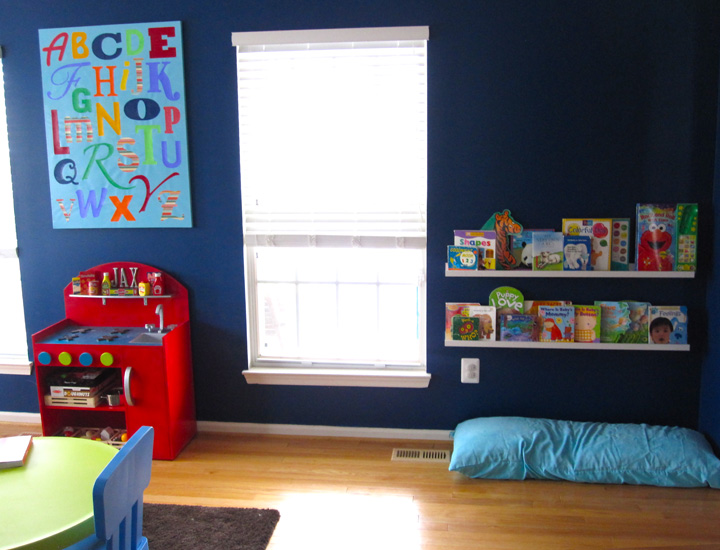
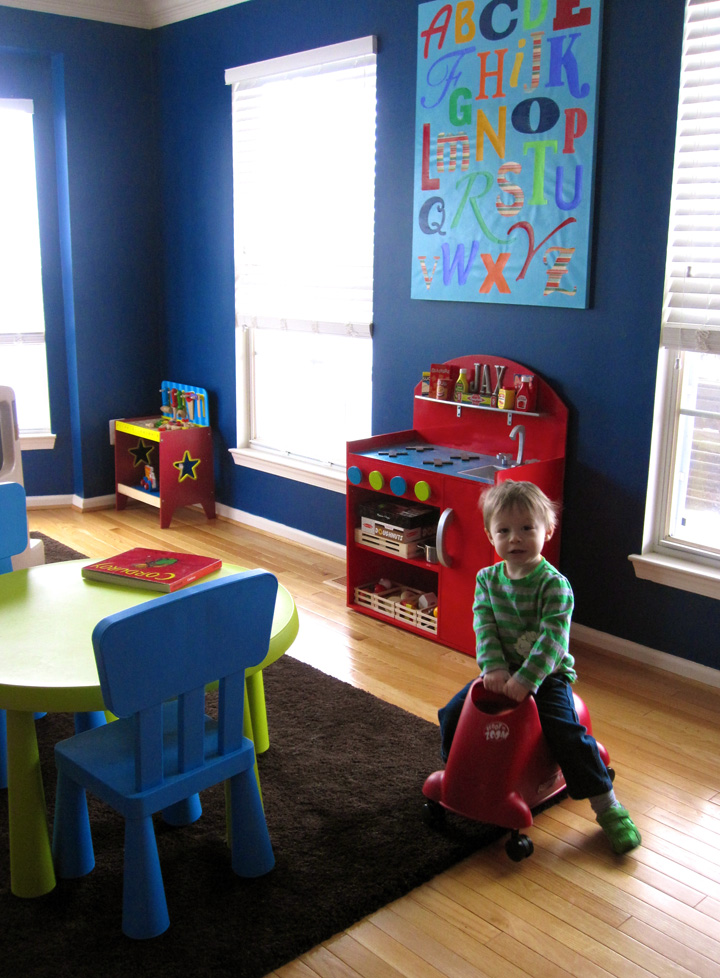
I let the canvas dry overnight and was so happy when I saw the result in the morning light. It looks so colorful and happy in the playroom and fits perfectly between the windows over Jax’s little kitchen. (Side note: I just bought wood to add two more shelves to his kitchen. Those Melissa & Doug food boxes drive me nuts stacked like that!)

What do you think of our ABC art?

Life Via Instagram

I think it will work out best to do weekly iPhone photo dumps on Saturdays. Fridays are so busy with me trying to get in enough work hours for the week, so it is hard to blog regularly.

Life is happily busy right now. Jax turns two on February 5th and I am deep in party prep for his sushi-themed bash. I am painting paper lanterns and folding hundreds of tiny origami cranes! Hopefully I can also get some quiet book sewing in, but forgive me if I don’t get a pattern up before the party!

I have a project I hope to post tomorrow, but I haven’t gotten to work on it today. We got home from errands and the baby has been passed out on me ever since! Tired, growing boy!

Are you on Instagram? Follow me at username iolstephanie.

And The Winner Is…

The winner of my handmade mini Valentine quiet book is Jaclyn S.!

All entries were placed in order (duplicate comments removed) and the number was chosen at random. I wish everyone could have won, but I definitely don’t have time to sew 26 of them! I’m stretched as it is watching Jax and working 30hrs a week, hah.

Want to sew your own? Here’s the free pattern!

Congrats, Jaclyn!

Life Via Instagram

Psst! Have you entered to win my hand-sewn quiet book?
You have until Thursday at noon!

I got behind in my monthly Instagram dumps, so I have a ton to post! I’m thinking I may just start posting them on Fridays. So here is everything up until around last Friday…

Are you on Instagram? I enjoy photos from other crafty mamas. You can follow me at the username punquin.

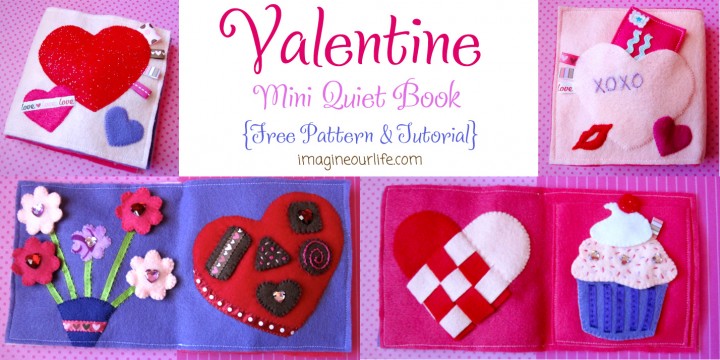
Valentine Mini Quiet Book

Win this book below!

I created a pattern for a sweet and simple mini (6″ square) quiet book to share with you all. Do you have a little one you’d like to give a Valentine to?

Tutorials:
Front/Back Cover
Flowers & Chocolates
Weaving Heart & Cupcake
Book Assembly & Giveaway (this page)

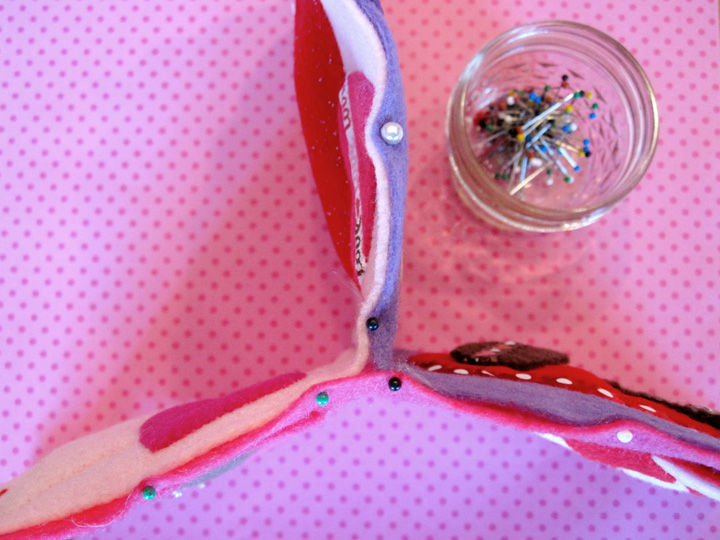
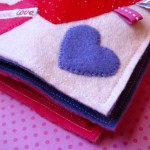
Book Assembly: Fold your three double pages in half – the cover should have the designs on the outside of the folds, the other two pages should have the designs on the inside of the folds. Pin your pages together as shown. They will form a little book.

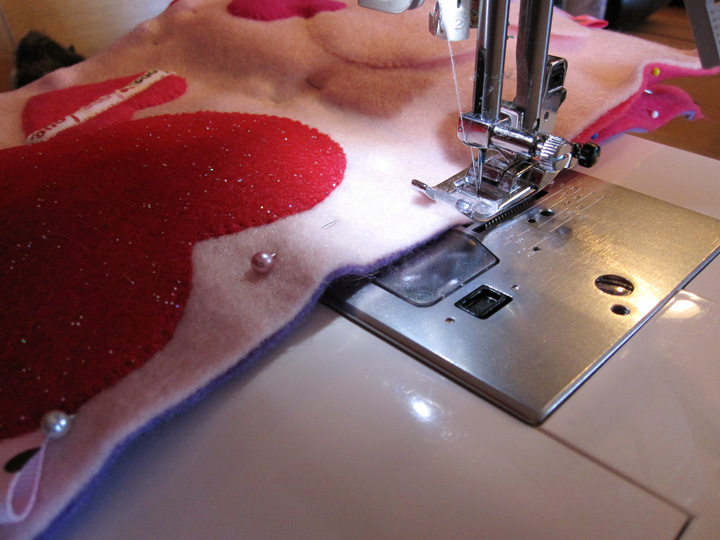
Make three passed on your sewing machine (you can also hand-sew!) – one for each double-sided page. You will be sewing three sides on each page: top, outer edge and bottom. Everything but the spine. Start at the spine at the top of the book, go down the outer edge, and across the bottom back to the spine. Repeat for all three pages. Trim up your felt edges as needed and you’re done!


If you make one of these little Valentine books, stop by the Facebook page and share some photos!

Don’t sew or don’t have time? You could win my sample book shown above!

Just leave a comment here on this blog post. I will be including one felt envelope and letter made from my mail pattern. This book is for children aged 3 and up do to small parts. We don’t want any little ones eating felt chocolates! I recommend adult supervision at all time with any younger child.

Your entry must include: a valid email address (so I can reach the winner) and who would be the recipient of the book if you won. Please use the blog’s comment form, not the Facebook form.

The nitty gritty: I have two hairy dogs, a golden and a chow, so if dog allergies are an issue, please be aware! I’ll take a lint roller to it, but they are shedding like whoa right now! And, you need to have a shipping address I can send the book to, obviously! Comments are held for approval for all first-time commenters, due to spam, but I’ll try to approve them as quickly as possible.

The contest is open to entries until around noon Eastern time on Thursday, January 19th. I will announce the winner that afternoon. I will send it off to the winner the next day if they reply promptly with their address.

Good luck!

Weaving Heart & Cupcake – Valentine Quiet Book

I created a pattern for a sweet and simple mini (6″ square) quiet book to share with you all. I will be posting instructions in sections as I complete my sewing. Do you have a little one you’d like to give a Valentine to?

Tutorials:
Front/Back Cover
Flowers & Chocolates
Weaving Heart & Cupcake (this page)
Book Assembly & Giveaway – coming soon!

Yes, I said giveaway! I’ll be sending off my finished book to one lucky reader in time for Valentine’s gift giving.

These pages use: 12″ w x 6″ h hot pink felt background, a hot pink square slightly smaller than the 6″ page, felt (in light pink, red, lavender, white, brown, and wine), purple ribbon, a ribbon scrap, sew-on gems, sew-on snaps and embroidery floss.


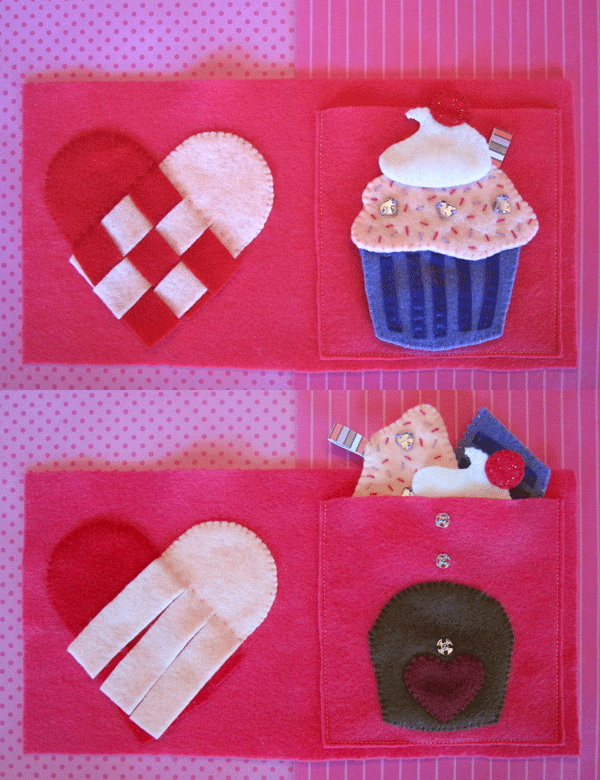
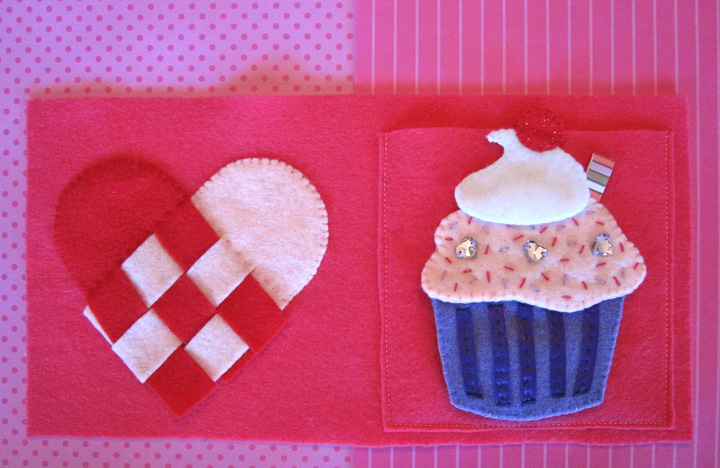
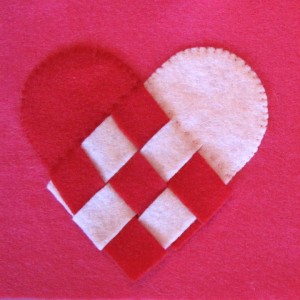
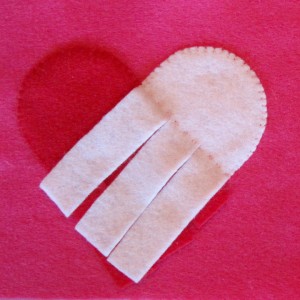
Weaving Heart: This is a very simple page to make! Lay the two halves of the heart on the page in a heart shape as shown. I made the pattern so there is about a 1/4″ extra at the ends of the strips. This leaves some wiggle room for weaving. Weave the two halves together before you pin them so you know you have it just right. Snip the slits between the strips a bit longer if needed. Once they are pinned down, sew the top of each one down in a half circle, leaving the strips loose.


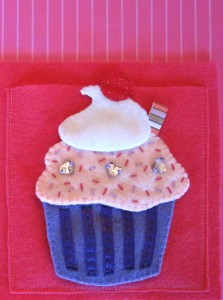
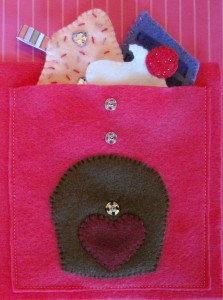
Cupcake: This page features a tasty cupcake you can decorate! I made mine chocolate with a raspberry center (“ras-ras” according to Jax) and you can decorate it with pink frosting, a cupcake paper, whipped cream and a cherry! You could definitely make multiple options from the same pattern in different colors. I designed the page to be a pocket to hold the parts.

First you need to cut a square of felt to be your pocket. Pin and sew down your cupcake and heart filling to the pocket piece.

To make the cupcake paper, first cut the top of your felt pieces with pinking shears to make a zigzag. Sew some ribbon strips to the front piece to look like the pleated paper. Sew half of a snap to the top of the back piece and sew the halves together. Lay the cupcake paper on the pocket to see where the other half of the snap should be placed, then sew it down.

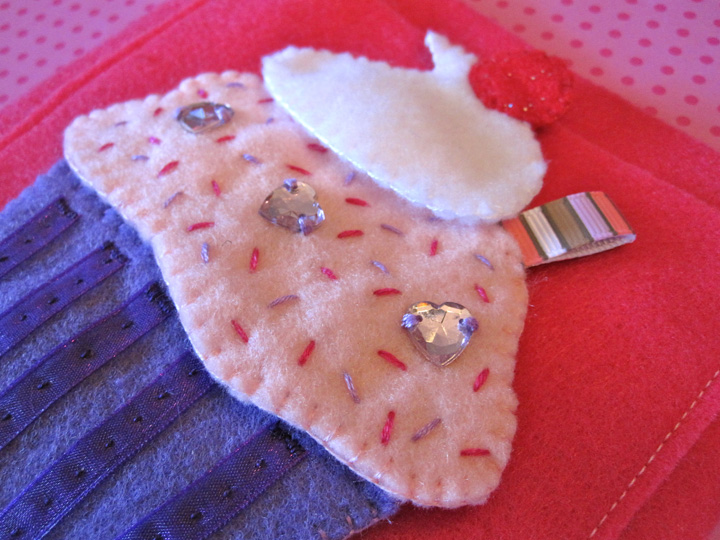
For the frosting, you’ll need to first embellish the front piece. I chose to make stitched sprinkles in two colors and added 3 sew-on gems. Sew half of a snap to the top of the back piece then pin the two halves together. You can add a loop of ribbon like I did to be a little candle. Sew the two sides together and add the other half of the snap to the pocket as you did before.

The whipped topping is sewn together with the snap sewn on the back. I then wrapped the two sides of the cherry around the whipped cream and sewed it in place. Sew the other half of the snap to the pocket.

I sewed my pocket to the page with the sewing machine as I was planning to sew the book together right then anyway. You could hand-sew it if you prefer.

I love the cupcake! I might have to reuse that pattern to make a full cupcake page. Jax is into anything food or baking related, so I know he’d like it.

Our next post will be on sewing it together and our big giveaway of my sample book!

Flowers & Chocolates – Valentine Mini Quiet Book

I created a pattern for a sweet and simple mini (6″ square) quiet book to share with you all. I will be posting instructions in sections as I complete my sewing. Do you have a little one you’d like to give a Valentine to?

Tutorials:
Front/Back Cover
Flowers & Chocolates (this page)
Weaving Heart & Cupcake – coming soon!
Book Assembly & Giveaway – coming soon!

Yes, I said giveaway! I’ll be sending off my finished book to one lucky reader in time for Valentine’s gift giving.

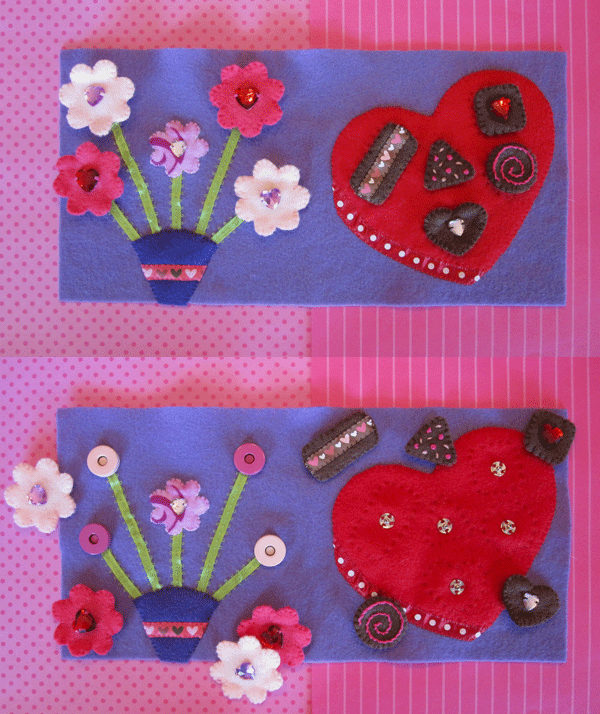
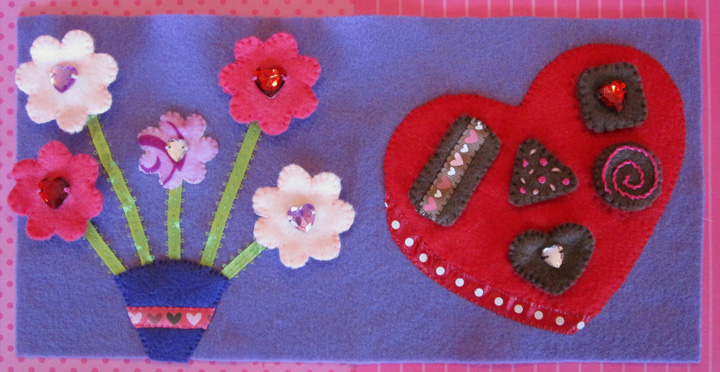
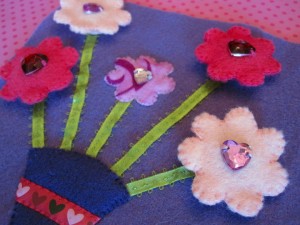
These pages use: 12″ w x 6″ h lavender felt background, felt (in light pink, red, hot pink, brown, a lilac floral and purple), green ribbon, ribbon scraps, sew-on gems, sew-on snaps, 2 hot pink & 2 light pink magnetic purse snaps (found at Joann’s in the purse-making aisle) and embroidery floss. You could use buttons or snaps on the flowers instead. I really loved the cute colored purse snaps and wanted to try them out. I used regular snaps on the chocolates. I find that Velcro snags the felt so I’ve been avoiding it lately.

Because of the smaller parts (flowers and chocolates) I’d recommend this book for the three and up crowd unless supervised closely. No eating felt chocolates, kids!


Flowers:
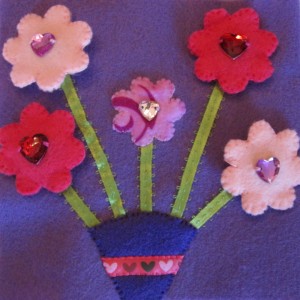
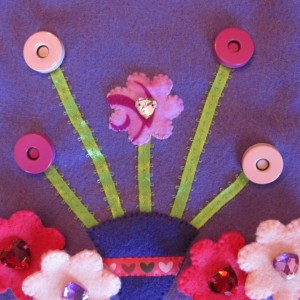
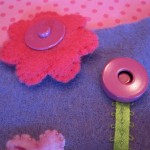
Embellish the front pieces of the 4 removable flowers (skip this or just use felt to decorate if you are sewing buttonholes later.) Attach one half of a magnetic snap to each flower back. I put the thinner side on my flowers and the thicker side on the page. I pressed each flower against the prongs on the snap half to make marks where I needed to make holes. I made two tiny snips where the marks were then pushed the snap prongs through and slide on the washer. Using the flat, closed metal blade of my scissors, I folded the prongs in to hold the snap in place. (Skip all that if you are doing buttons!) Sew the two sides of each flower together. (Here is where you would add buttonholes if that was your choice.)

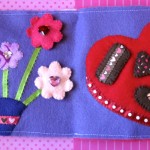
Flower Page: Start by laying out your ribbon stems in the arrangement you like. Make sure you lay out the flowers and vase as well to make sure everything fits. Trim the ribbons as needed to fit the page and sew them down. Sew down the vase. (Really its the paper that bouquets come wrapped in but I have no idea what that’s called!) I added a ribbon scrap before I attached mine to add a little detail. Sew the small flower to the center stem. I used a scrap of a floral patterned felt sheet because I liked the shade of lilac. You could use any color you like. Attach the other half of your magnetic snaps (or your buttons) over top of the ends of the ribbon stems.


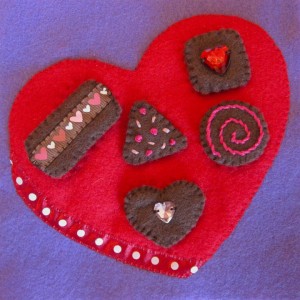
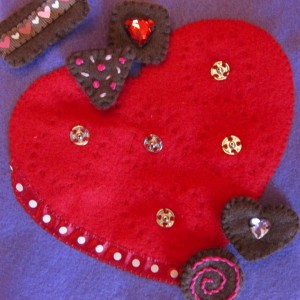
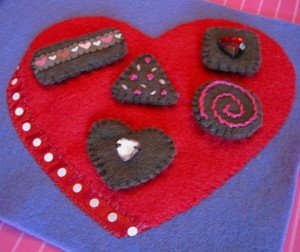
Chocolates: Embellish the front pieces of your chocolates. For the rectangle, I used a scrap of brown ribbon with hearts. On my square and heart, I used sew-on gems. I stitched a stem stitch spiral on the circle, and I did French knot and straight stitch sprinkles on the triangle. Sew one half of a snap to the back piece of each chocolate. Sew all the halves together.

Chocolates Page: Start by pinning your chocolates patterns down on the box heart how you’d like them to be arranged. There’s no right or wrong! Then stitch around the paper to make shape outlines. I used a darker red floss, but you could make it more obvious and use light pink or a dark brown. Sew the other half of each snap down in the center of each shape. Pin the heart down to the page and add a bit of ribbon along the lower left side as shown. I didn’t worry about trimming the ends of my ribbon when I pinned it. I sewed the ribbon along the side that is against the box, making sure to catch the box’s felt in each stitch. Then I took my scissor and snipped the ribbon ends off into angles that matched the box’s. Sew down the other side of the ribbon and all the way around the box.

Note: Turns out the ribbon I bought for this page was sticky-back scrapbook ribbon. Oops! It was a little slower to sew through, but worked great when I was laying it out on the page. I didn’t have to pin it and it stayed in the curve I placed it in. Martha Stewart makes some cute Valentines ribbons.

What do you think of these pages?

Almost done the mini book! Next installment will be the weaving heart page and cupcake page. Stay tuned, and stop by the Facebook page for sneak peeks.

Cover – Valentine Mini Quiet book

Would you like to sew along with me?

I created a pattern for a sweet and simple mini (6″ square) quiet book to share with you all. I will be posting instructions in sections as I complete my sewing. Do you have a little one you’d like to give a Valentine to?

The sections will be: the front/back cover, page 1 (flowers) & 2 (chocolates), page 3 (weaving) & 4 (cupcake) and book assembly & giveaway. Yes, I said giveaway! I’ll be sending off my finished book to one lucky reader in time for Valentine’s gift giving.

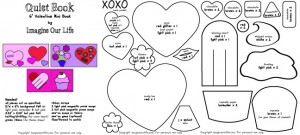
I am posting the entire pattern now so you know what you’ll need. I cut all my felt and ribbons and sorted my notions for all the pages at once. I’m keeping each page’s goodies in a ziplock bag till I’m ready for them. If you want to take a look at all the layouts, there is a photo on the Facebook page showing everything pinned (and unpinned) in place. Most of my ribbons were from the $1 bin at Joann’s Fabrics. I also got my purse snaps and gems there with a coupon.

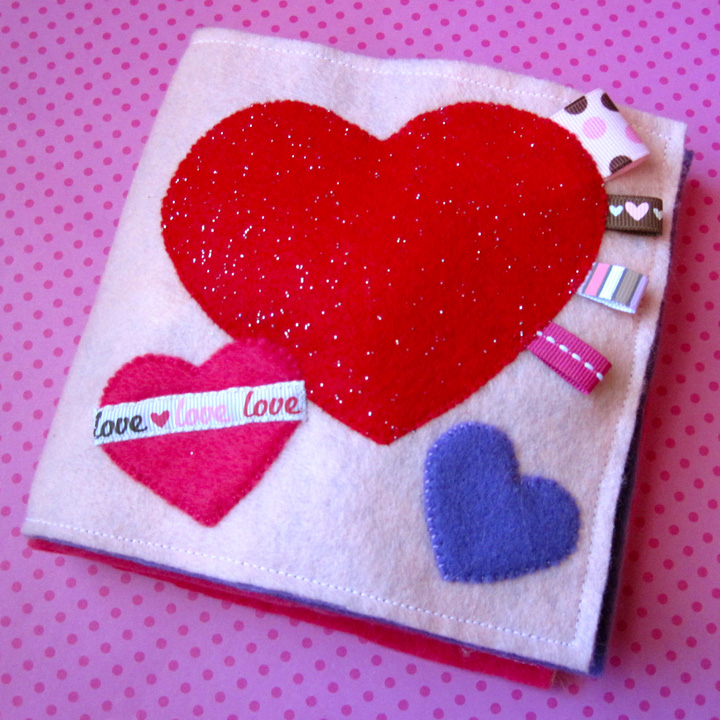
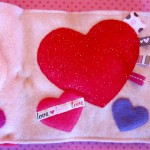
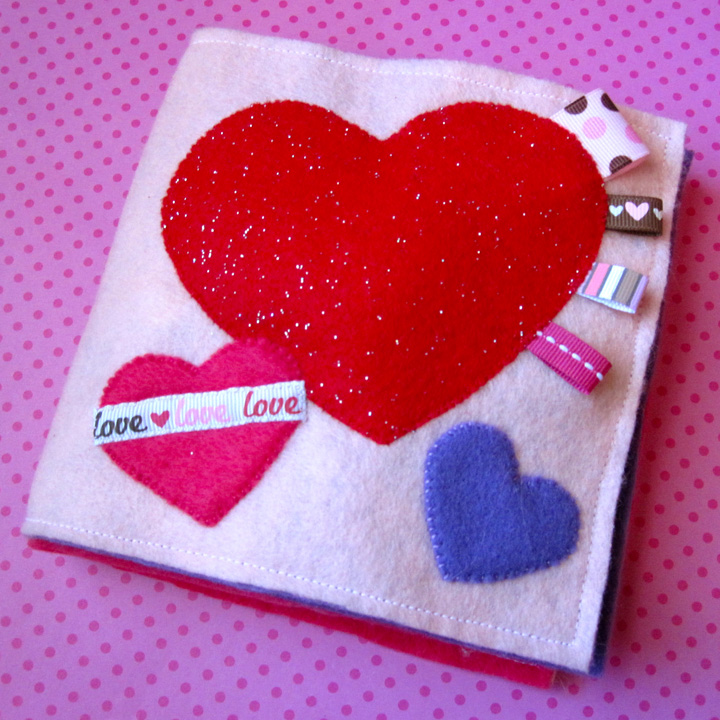
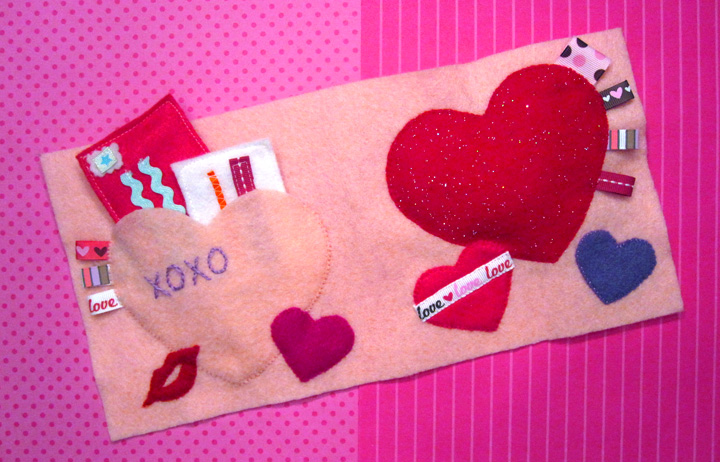
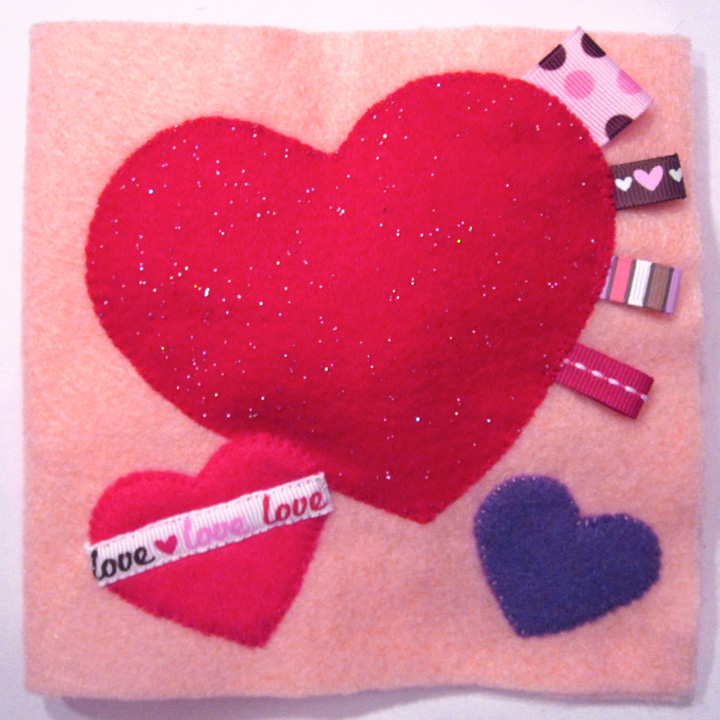
The cover uses: 12″ w x 6″ h light pink felt background, felt (in light pink, glitter red, red, hot pink (I had two shades) and purple), ribbon scraps, batting or stuffing and embroidery floss. You can add a paper valentine to the pocket on the back, or make a felt one like I did from my mailbox tutorial.

To make the front cover, pin everything in place on the right half of your background felt. You’ll want to put some batting or stuffing under the big heart to make it puffy. Fold the ribbon behind the hot pink heart before you pin it down. The rest is simple – sew it all down!

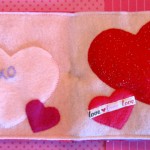
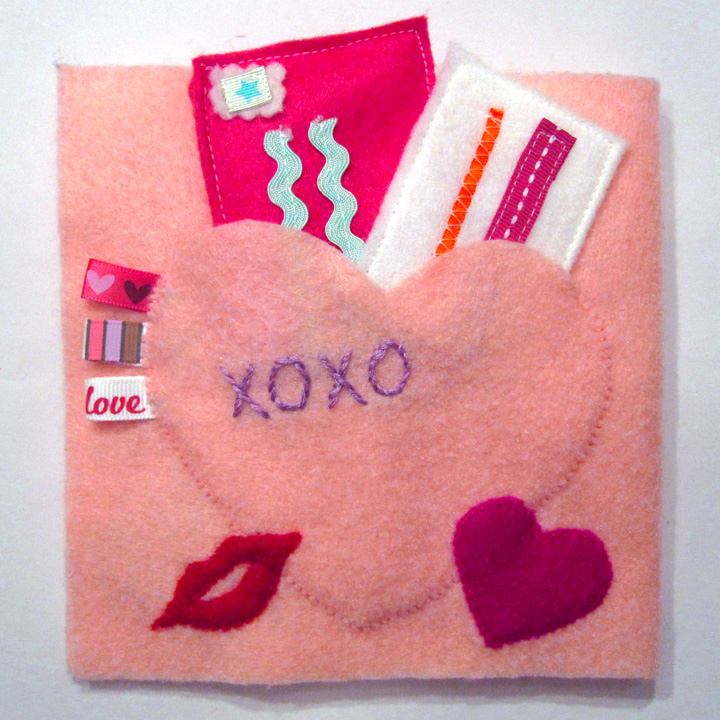
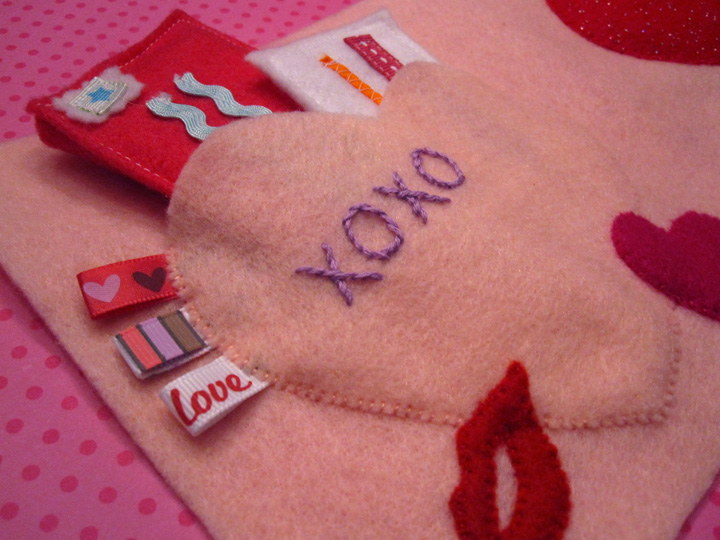
The back cover is on the left half of the background felt. It has a pocket to put valentines or a note from you to the book’s recipient. Start by pinning your “xoxo” pattern to the pocket piece. I sewed right through the paper using stem stitch. Once it is all stitched, you can gently rip the paper away.

Lay your pocket and other felt pieces on the page and pin the kiss and little heart to the pocket where they overlap it. Sew them to the pocket. You can leave your thread tails in place (just pull off the needle) so that when you pin it all down to the page, you can re-thread the needle and sew the rest down. Sew the pocket down with ribbon scrap loops on one side. Simple!

I think it looks adorable with a little play letter in the pocket!

Next installment will be the flower page and chocolate page. Those have a lot more little parts, but will be so cute!

Thrift Store Gems

Sometimes I think I have some sort of thrift store “spidey sense” because I get the sudden urge to go look for something and I find it. Like the kitchen or dollhouse I found for Jax.

Today I woke up with the urge to go to the regular thrift store (I usually visit the kid one) to look for trays and plates for Jax’s birthday party. I am doing a Japanese theme because he LOVES sushi. But I didn’t have any trays or square/rectangular plates to use to serve the sushi cupcakes I plan to make, and my budget is super small.

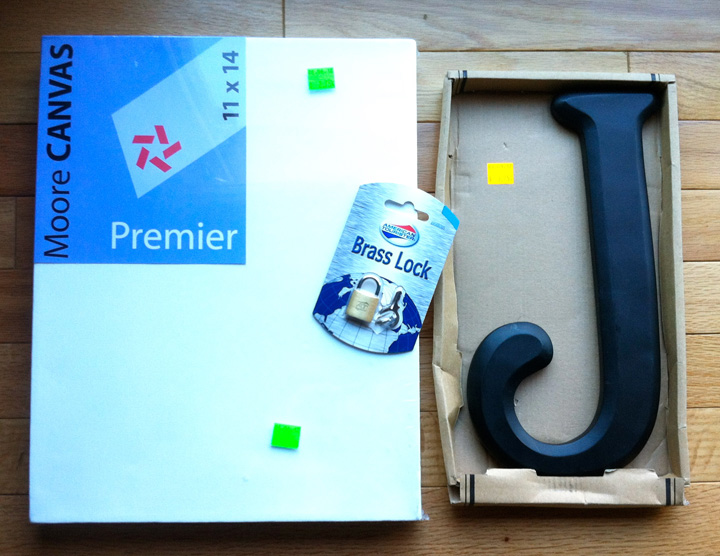
So, starting with the non-party finds… We found a blank canvas for a couple dollars that Jax can paint for his grandpa’s new condo. We had to stop doing his monthly paintings while the weather is too cold to be stripped down outside. I got a brass lock for the treasure chest quiet book page and a solid wood “J” that is normally $13.

This green bamboo placement was all alone but only 25 cents. It could be good for the party set up. The gorgeous green plate was only $1.75 and could be used for sushi or snacks.

The little Japanese box was one of the first things I saw when I walked in the door. I opened it up and wasn’t sure if it was wax or ink/paint, but at the very least, I loved the box. Everything was perfect and unused, and it was $2.75. I figured I could look up what it was for.

When I checked out, the cashier was excited I chose it. It had just arrived the day before and he told me that the sticks were rubbed on the stone and mixed with water to make ink “like in Japanese movies.” So it looks like I’m the proud owner of some sumi ink sticks and an inkstone!

This final find was just meant to be. I went to the thrift store hoping to find trays I could spray paint black or cover somehow, and they had a Japanese lacquer tray set waving to me from the top shelf. They were $6.75 for all three. Perfect!

Now I just need to fold a zillion origami cranes before his birthday weekend when I’ll string them and paint a bunch of paper lanterns to hang!

Treasure Quiet Book Page

When a treasure chest was requested on the Facebook page, all kinds of ideas started popping into my mind. Maybe I went a bit overboard, but I’m not one to craft something halfway!

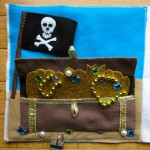
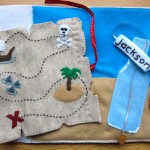
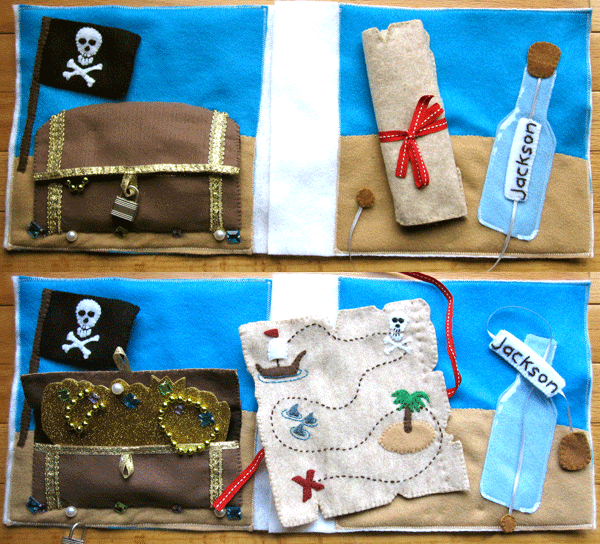
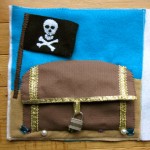
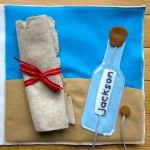
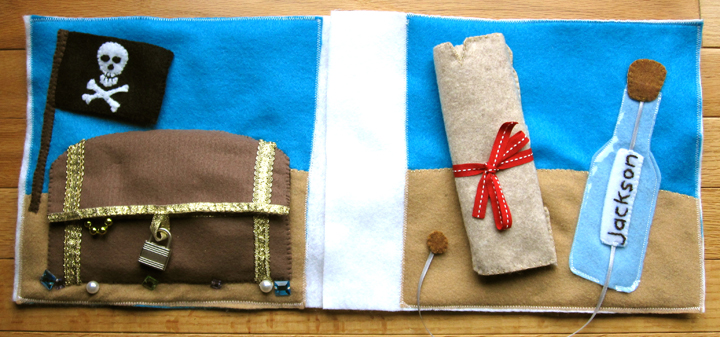
This page engages a lot of skills: tying a ribbon (on the map), unlocking a lock (on the chest) and pulling things in/out (the bottle and treasure.)
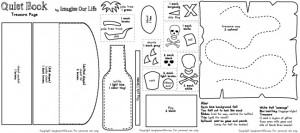
To make this page I used:
Aqua blue background felt (two 9″ squares), tan felt cut to look like sand, felt (in natural, light brown, brown, dark brown, light blue, burgundy, green, tan, gray, black and white), clear vinyl, gold trim, ribbons, sew-on gems/pearls, a luggage lock and embroidery floss.
     

Background:
Very simple – just cut out some tan felt in gentle slopes to make the sandy ground. Make sure the pages line up, though! I actually just pinned my “Sand” in place at the beginning and sewed the other elements down over top. At the end, I went back and stitched down the “sand” wherever it wasn’t caught under something else. That saved me a lot of time because I was hand-stitching on the couch.
Message in a Bottle:
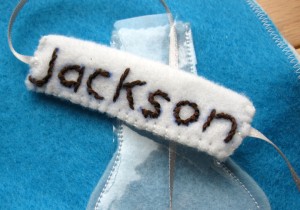
To make a “message”, cut two skinny rectangles out of white felt. Make sure they are narrower than the neck of your bottle. Write the word you want on one of them (preferably in a pattern pen), then embroider it. I wrote Jax’s name, but you could write “help!” I used stem stitch and dark brown floss. Cut a piece of ribbon about twice the length of your bottle and sew the two cork pieces onto one end (sandwich the ribbon.) Sew the matching circles onto the other end of the ribbon in the same way.
Pin the light blue bottle piece in place, then sew the top and bottom down. Sandwich the ribbon, cork side up, in between that and the clear vinyl bottle piece. Sew the sides and part of the bottom on a machine (it’s tough the hand-sew vinyl) according to the pattern, letting the ribbon go through the top and bottom holes.

With the cork down in place, make note of where you want your message to be. Pull the ribbon up and sandwich the message pieces around the ribbon. Pin and test that the message fits through the bottle neck (trim if needed.) Sew the message pieces in place, making sure to catch the ribbon on both sides so it doesn’t slide.
Map:
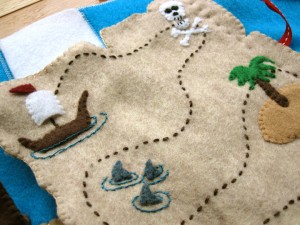
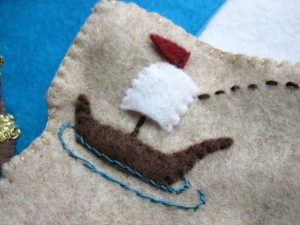
Transfer the map path to the top piece of the map, or pin the pattern down and stitch through the paper. (If you do this, as I did, you’ll need to cut away the paper afterwards and pull bits out of the stitching. Annoying, but my stitches came out very even.) Sew down each map element using the photos as a guide. The boat mast is sewn in dark brown stitching. The skull’s eyes/nose are stitched on in black since they were so tiny. I stitched some blue-green waves around the boat and sharks to show water. Once everything is on the map, sew the front to the back.

Roll up the map and figure out where you want it on the page. Take a length of ribbon and lay it under the rolled up map so that it will be centered behind where the map is. Stitch the ribbon to the page with a couple stitches to the center. Unroll the map and lay it so the center of the ribbon is 1″ from the right edge of the map. Sew the map to the page in a straight line 1″ from the edge. You should be able to roll it up from the left afterwards and tie it with the ribbon.

Flag:
Sew one skull & crossbones to each flag piece if you want a two-sided flag. I actually only put it on the front. The eyes on this one are little bits of felt I cut out and stitched down. Sew the two sides together along the top, right and bottom. Pin it on the page and sew down the flag pole over top.
Treasure Chest:
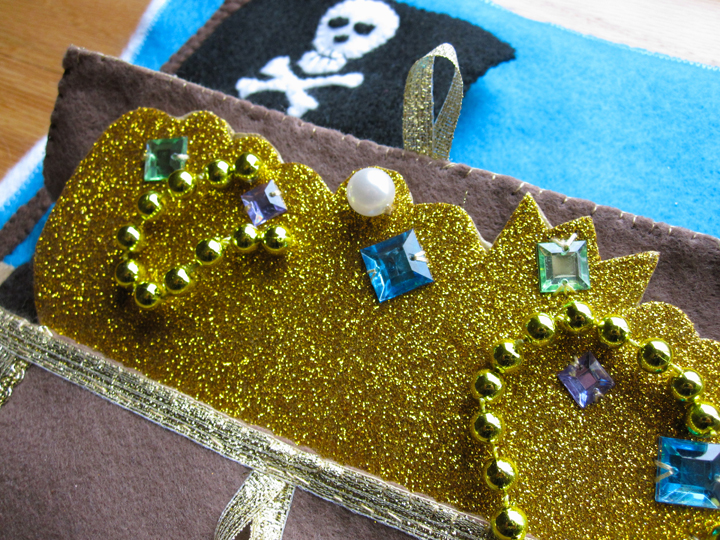
Sew the dark brown inner chest piece down to the page. To make the pocket, embellish the pocket piece with gold trim. I used a 1/4″ ribbon with an 1/8″ trim on either side to make two vertical bands. I sewed a loop of ribbon that the lock will hang on and pinned it hanging down from the center top of the pocket piece. I sewed gold ribbon along the top, holding the loop in place. Sew the pocket piece down to the page along the left, bottom and right.

Embellish the top piece of the chest lid in the same way as the pocket, but have the ribbon along the bottom instead of the top. The lid’s ribbon loop should also hang down. Sew the front and back of the chest lid together then sew it to the page along the top, starting where it starts to curve.

This part is optional/changeable. I used sew-on gems and a few plastic pearls to add some spilled treasure around the chest. If you are concerned about choking hazards, omit them or cut out little felt shapes instead. I triple-stitched mine on and Jax does not play with his quiet book alone.
Treasure:
I didn’t include a pattern for this. If you have some play gold coins and necklaces, you could just put those in. You could also cut out circles of gold felt to make your own coins. I made my treasure all one piece for now. I used gold glitter foam and cut out a rough shape of a pile of gold and a crown. Leaving the sticky back paper on, I stitched some on jewels and bits of Mardi Gras beads I cut up from the dollar store. Then I peeled of the backing (ripping it around my stitching) and stuck it to the back of another piece of glitter foam (with the backing off.) I cut around the second piece of foam to match and was done! The glitter sticks a bit when you pull it out of the chest due to the roughness of the glitter, but it works fine.
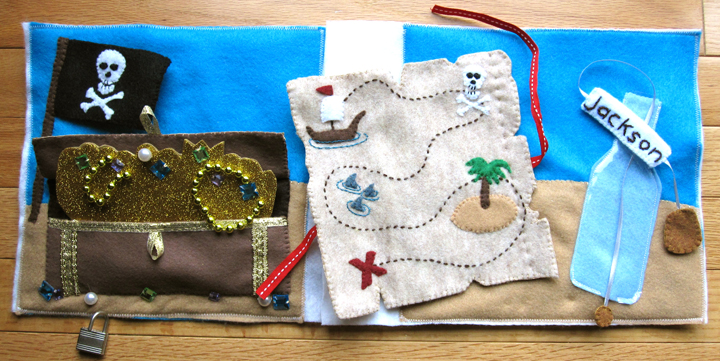
The lock I have is not the one I want to use permanently. It’s just one I already had. I’d like to find a gold tone one. Once I have the one I will use for real, I’ll sew a ribbon to the edge of the page and attach the key. Jax is too young for the lock still, anyway.

Hope you enjoy this pattern! You could certainly use bits and pieces of it since there is a lot of elements. If you sew this page, I’d love to see it! Leave a comment here or post a photo on the Facebook page!