Baby Sebastian, and How I Became a Stroke Survivor

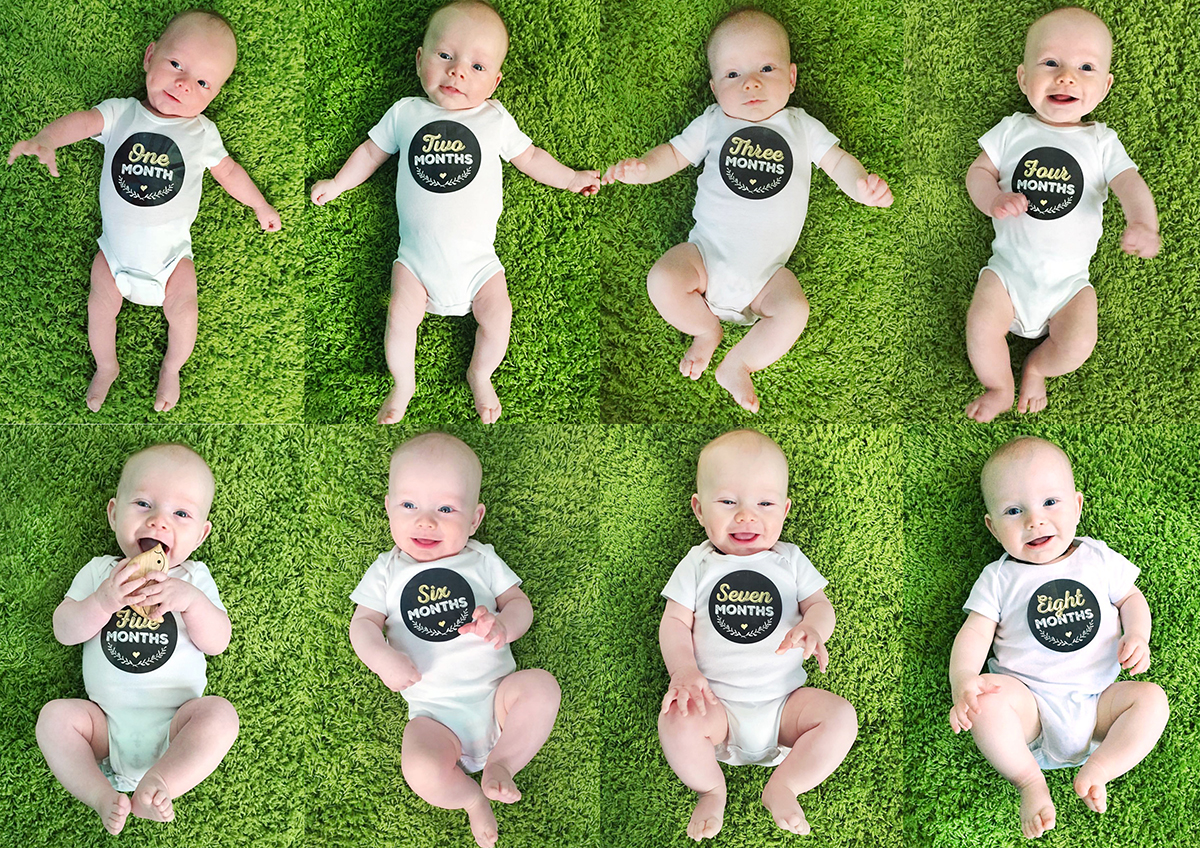
Valentine’s Day marked 8 months of having baby Sebastian here with us. 8 months of dimpled smiles. 8 months for sweet breastfeeding snuggles. 8 months of being a mama to two sweet boys. And, 8 months of daily shots.

SebastianMonthly-sm

Sebastian’s birth was easier on me than Jax’s. I didn’t need Pitocin and everything progressed steadily on its own. When it was time to push, he was out in 10 minutes because his heart rate was dipping with every contraction and I wanted him safely out. He was healthy and beautiful. The hospital was amazing about skin to skin and breastfeeding time right away. We had quiet time to meet him and decide his name. We spent one night after his birth and got permission to leave late the next day.

He’s so perfect! Sebastian William Segall, 7lbs 8oz at 7:08 on June 14th 2016. ???? #2016iol366 #2016baz366iol

A post shared by Stephanie Segall (@iolstephanie) on

The next day, as we rushed to go to Jax’s science class graduation with our newborn, I suddenly felt funny. The room spun, my arms moved in stuttered slow motion and I couldn’t get my mouth to move. It was like a bad dream when you can’t speak or run away, but it was real life. It only lasted a few seconds. I called my OB’s nurse from science class and she suggested I was tired and hungry, but to watch for it to happen again. Later that evening my left hand went numb and tingly. I was sore from nursing and assumed I’d pinched a nerve. It became clear when I woke up the next morning that it was much more serious than that. I couldn’t move the lower left side of my face much. After a hot shower while my big boys slept to help me build up courage, I called my OB again. She sent me to the ER.

After hours of tests, doctors and uncertainty, they confirmed that I’d had multiple mini-strokes (TIAs) based on tiny infarcts seen on my MRI. It being Friday, I was told to expect to be there all weekend waiting on testing. Imagine being told you’re getting admitted back into the hospital while holding your 3 day old baby you’re determined to breastfeed. Luckily, they did not stop us from keeping Sebastian with us. We just had to always have an adult with me in case I was taken off for testing without warning. (And I was.) They provided a bassinet from the mom/baby floor and my OB visited and had postpartum supplies and a pump sent to my room, as I had nothing and the PICU was not at all prepared for my situation.

One of my many brain scans that I go copies of this past autumn:

Idk what the heck this is besides my head, but it’s hypnotizing. ¯\_(ツ)_/¯

A post shared by Stephanie Segall (@iolstephanie) on

I stayed in the hospital Friday through Monday, begging each day to go home. I missed Jax so dang much!! I had many, many tests. Every sort of heart, head and neck scan possible, it seemed. So many blood draws that once a second blood cart arrived within minutes of a big draw and I sent her away because I was near tears from being overwhelmed. Everything was looking normal, besides my brain, but they wanted a closer look at my heart. Clots normally go to the lungs, from the heart – not the brain. On Monday they put me under general anesthesia and did a TEE (trans esophageal echocardiogram) and discovered a congenital hole in my heart. They have been calling it a PFO, the slightly milder type, but the cardiologist says it acts like an ASD, with blood mixing back and forth between my heart chambers constantly. This is how the clots found a way through to my brain.

No one has been able to say why I clotted. One could guess that pregnancy caused a hyper-coagulated state (thicker blood), as it could. But with additional strokes such a huge risk, every possible blood disorder has been tested for They’ve all been negative. I have been on coagulants that I inject every morning. It isn’t the most fun thing in the word, but other options are less breastfeeding friendly. I may switch the baby aspirin at some point, as a consultation with a breastfeeding and medication expert informed me that if I can wait a few hours after taking it it would be gone from my blood/milk but I’d still get the thinning benefits. This is likely to be life-long.

#2016jax366iol July 4th. All about his baby brother today. He was upset when I moved him away.

A post shared by Stephanie Segall (@iolstephanie) on

Throughout this all, I’ve felt good. By the time I’d been admitted to the hospital for the TIAs, I’d been down to one fingertip numb and a slight tingly feeling in my cheek. These remain 8 months later. I otherwise feel healthy. Breastfeeding has been a joy and a privilege I won’t be taking for granted.

The part that hurts the most about this is that I am too high risk for any more babies. It doesn’t matter that we’d decided on two… I love babies, and having the what if’s taken away… Oof.

????

A post shared by Stephanie Segall (@iolstephanie) on

But I am blessed! So blessed! Sebastian is a dream come true for me. He is sweet and smiley. The best dimples ever! Jax has been such a good big brother. These two boys complete my heart, even though I never thought I’d be a “boy mom”.

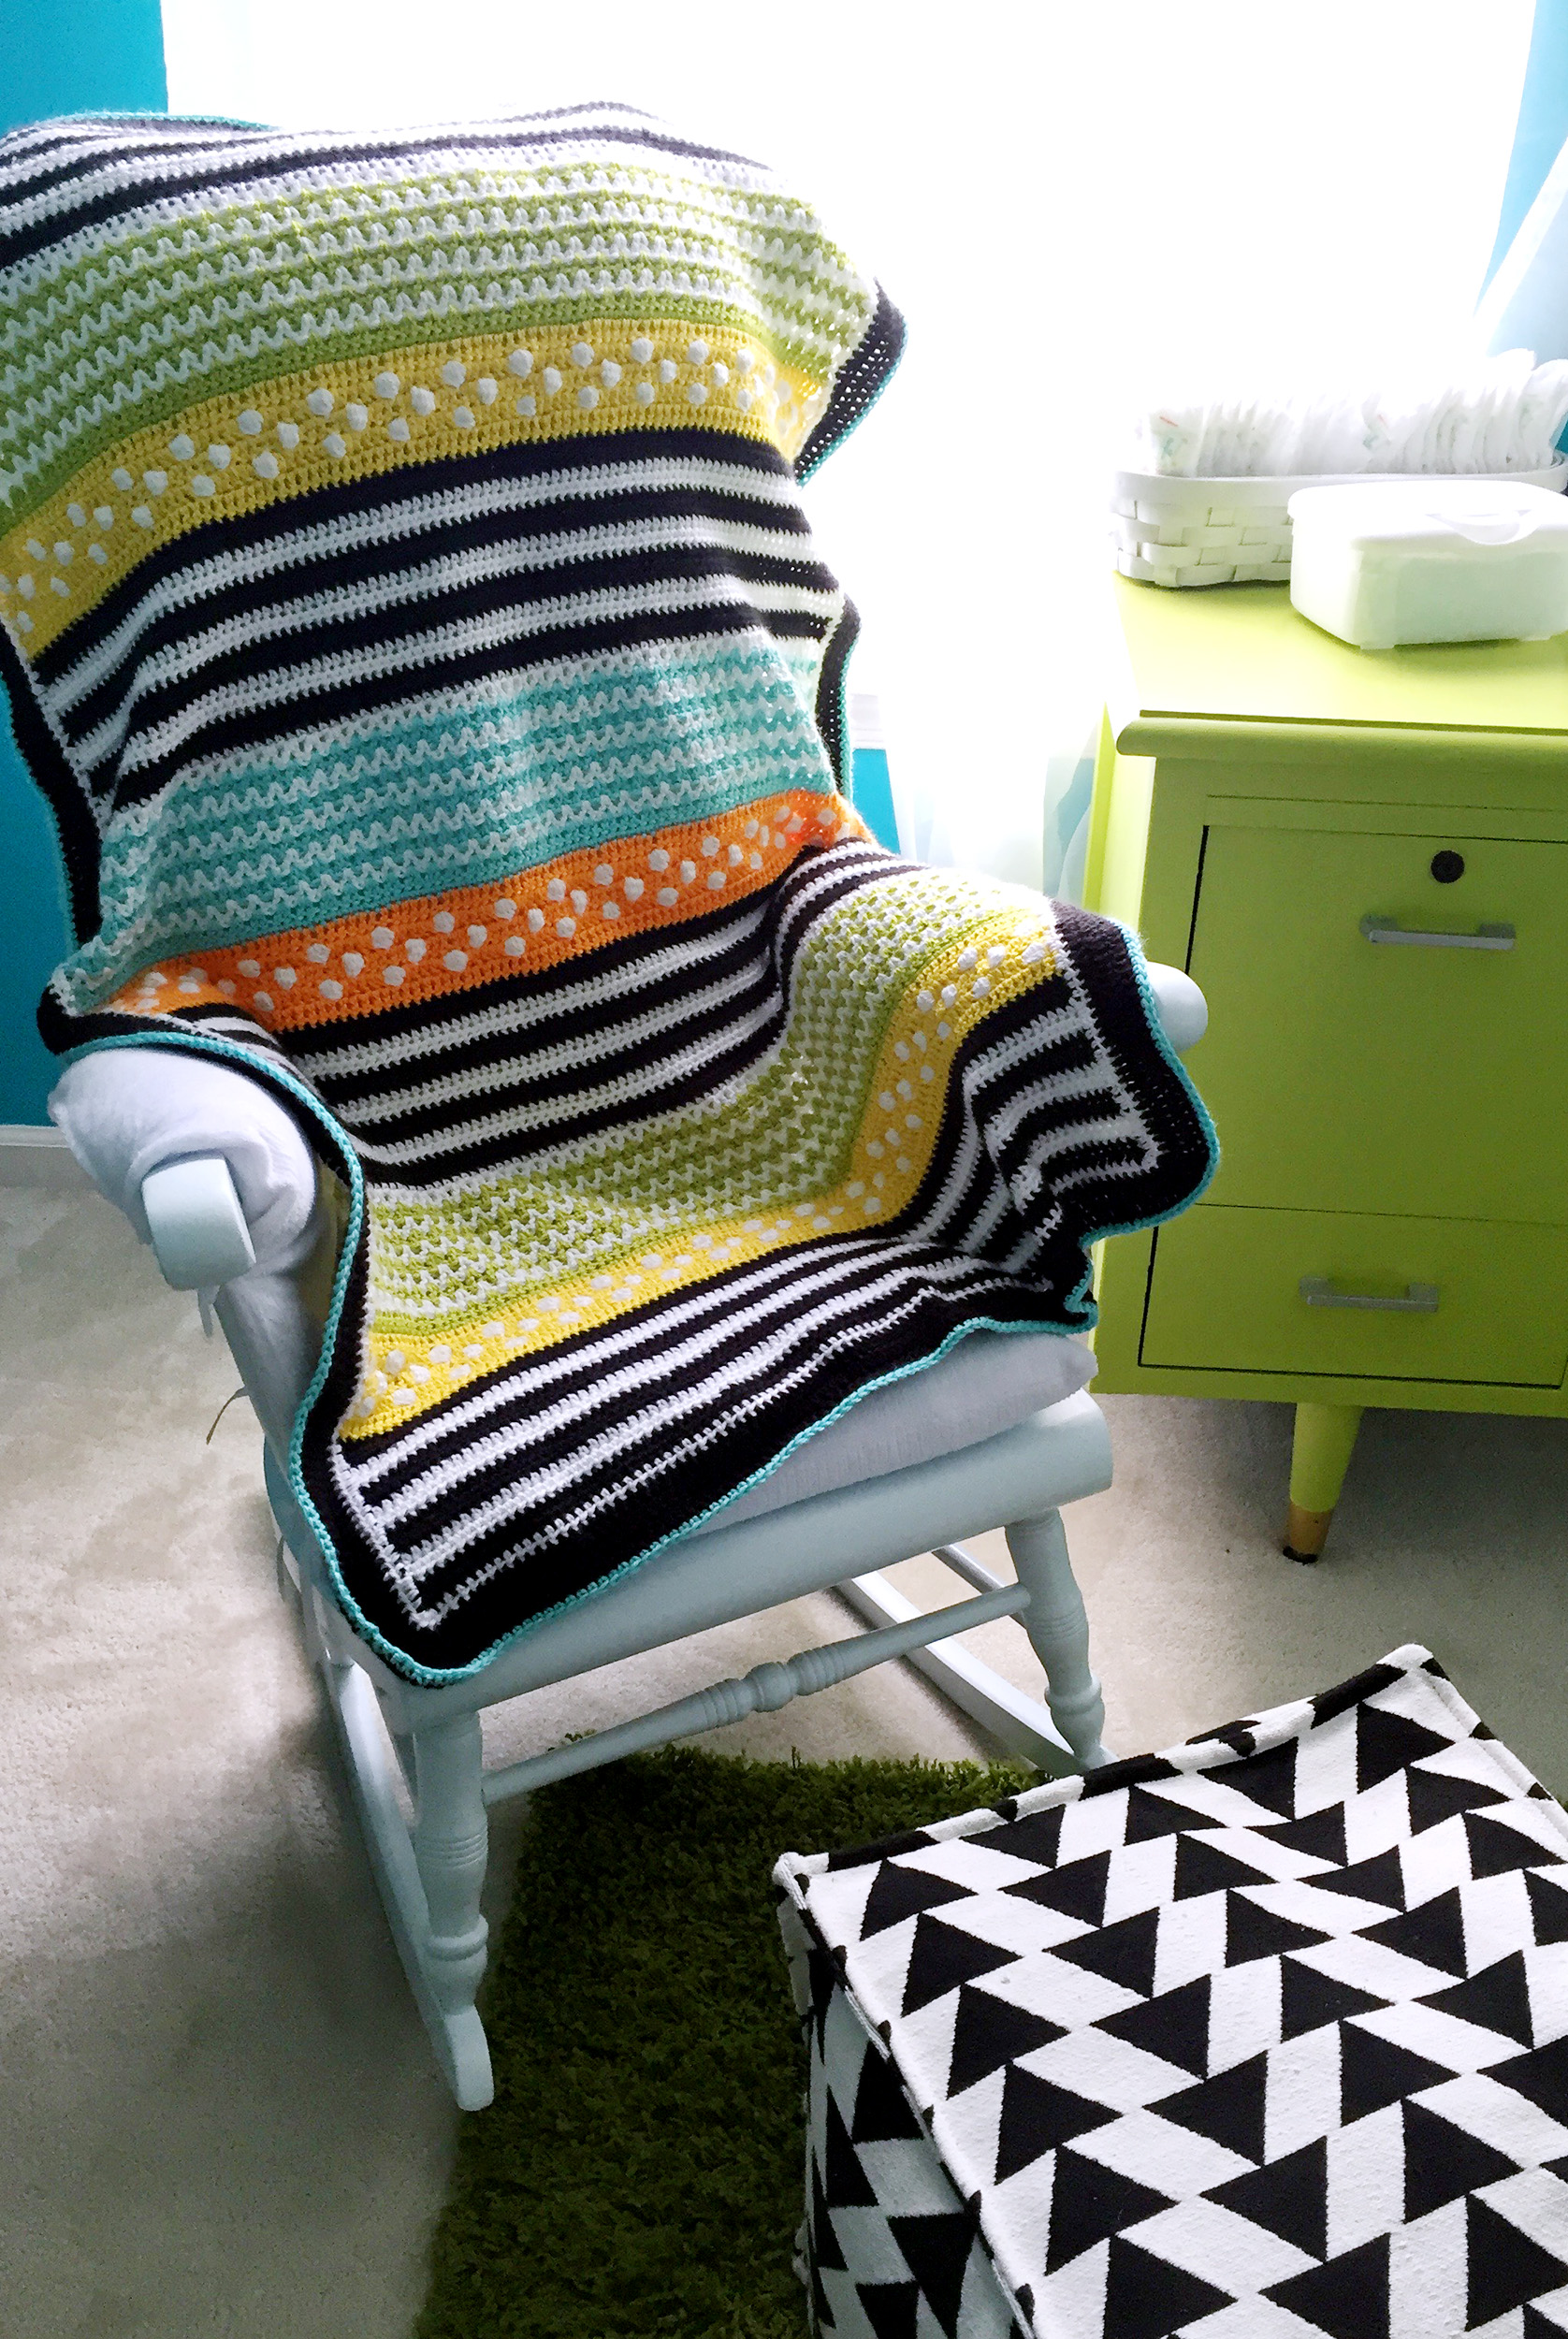
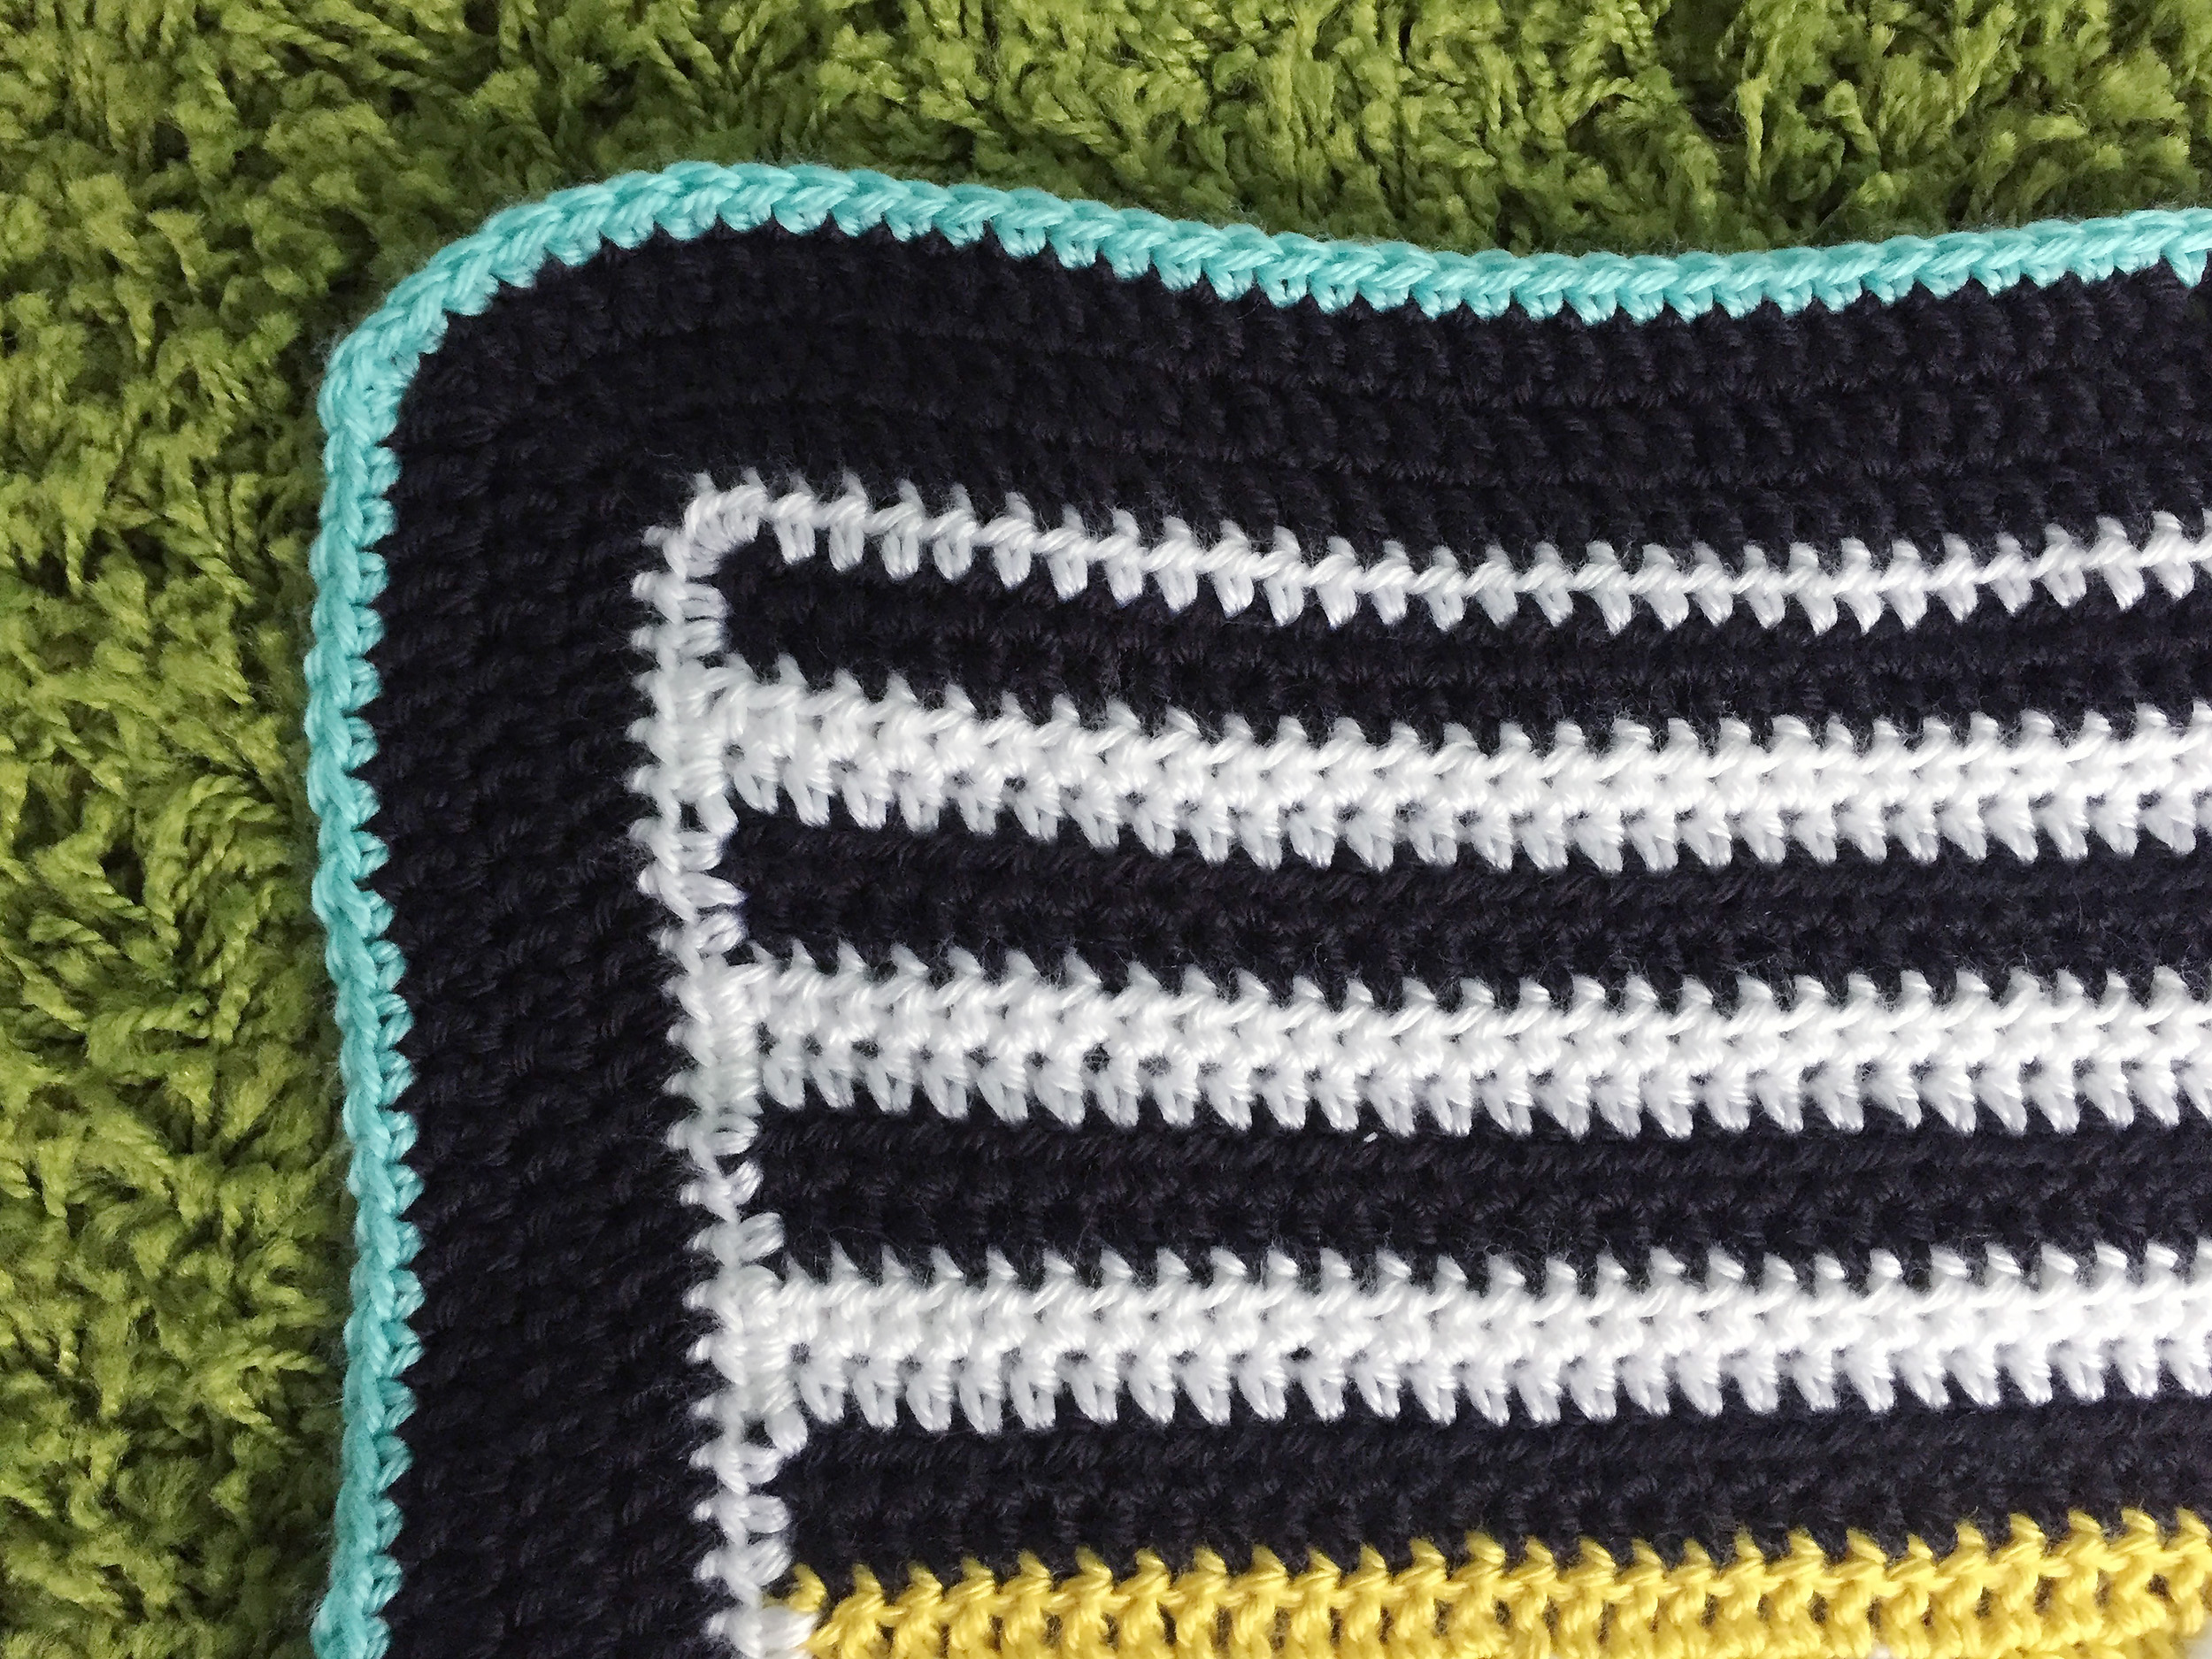
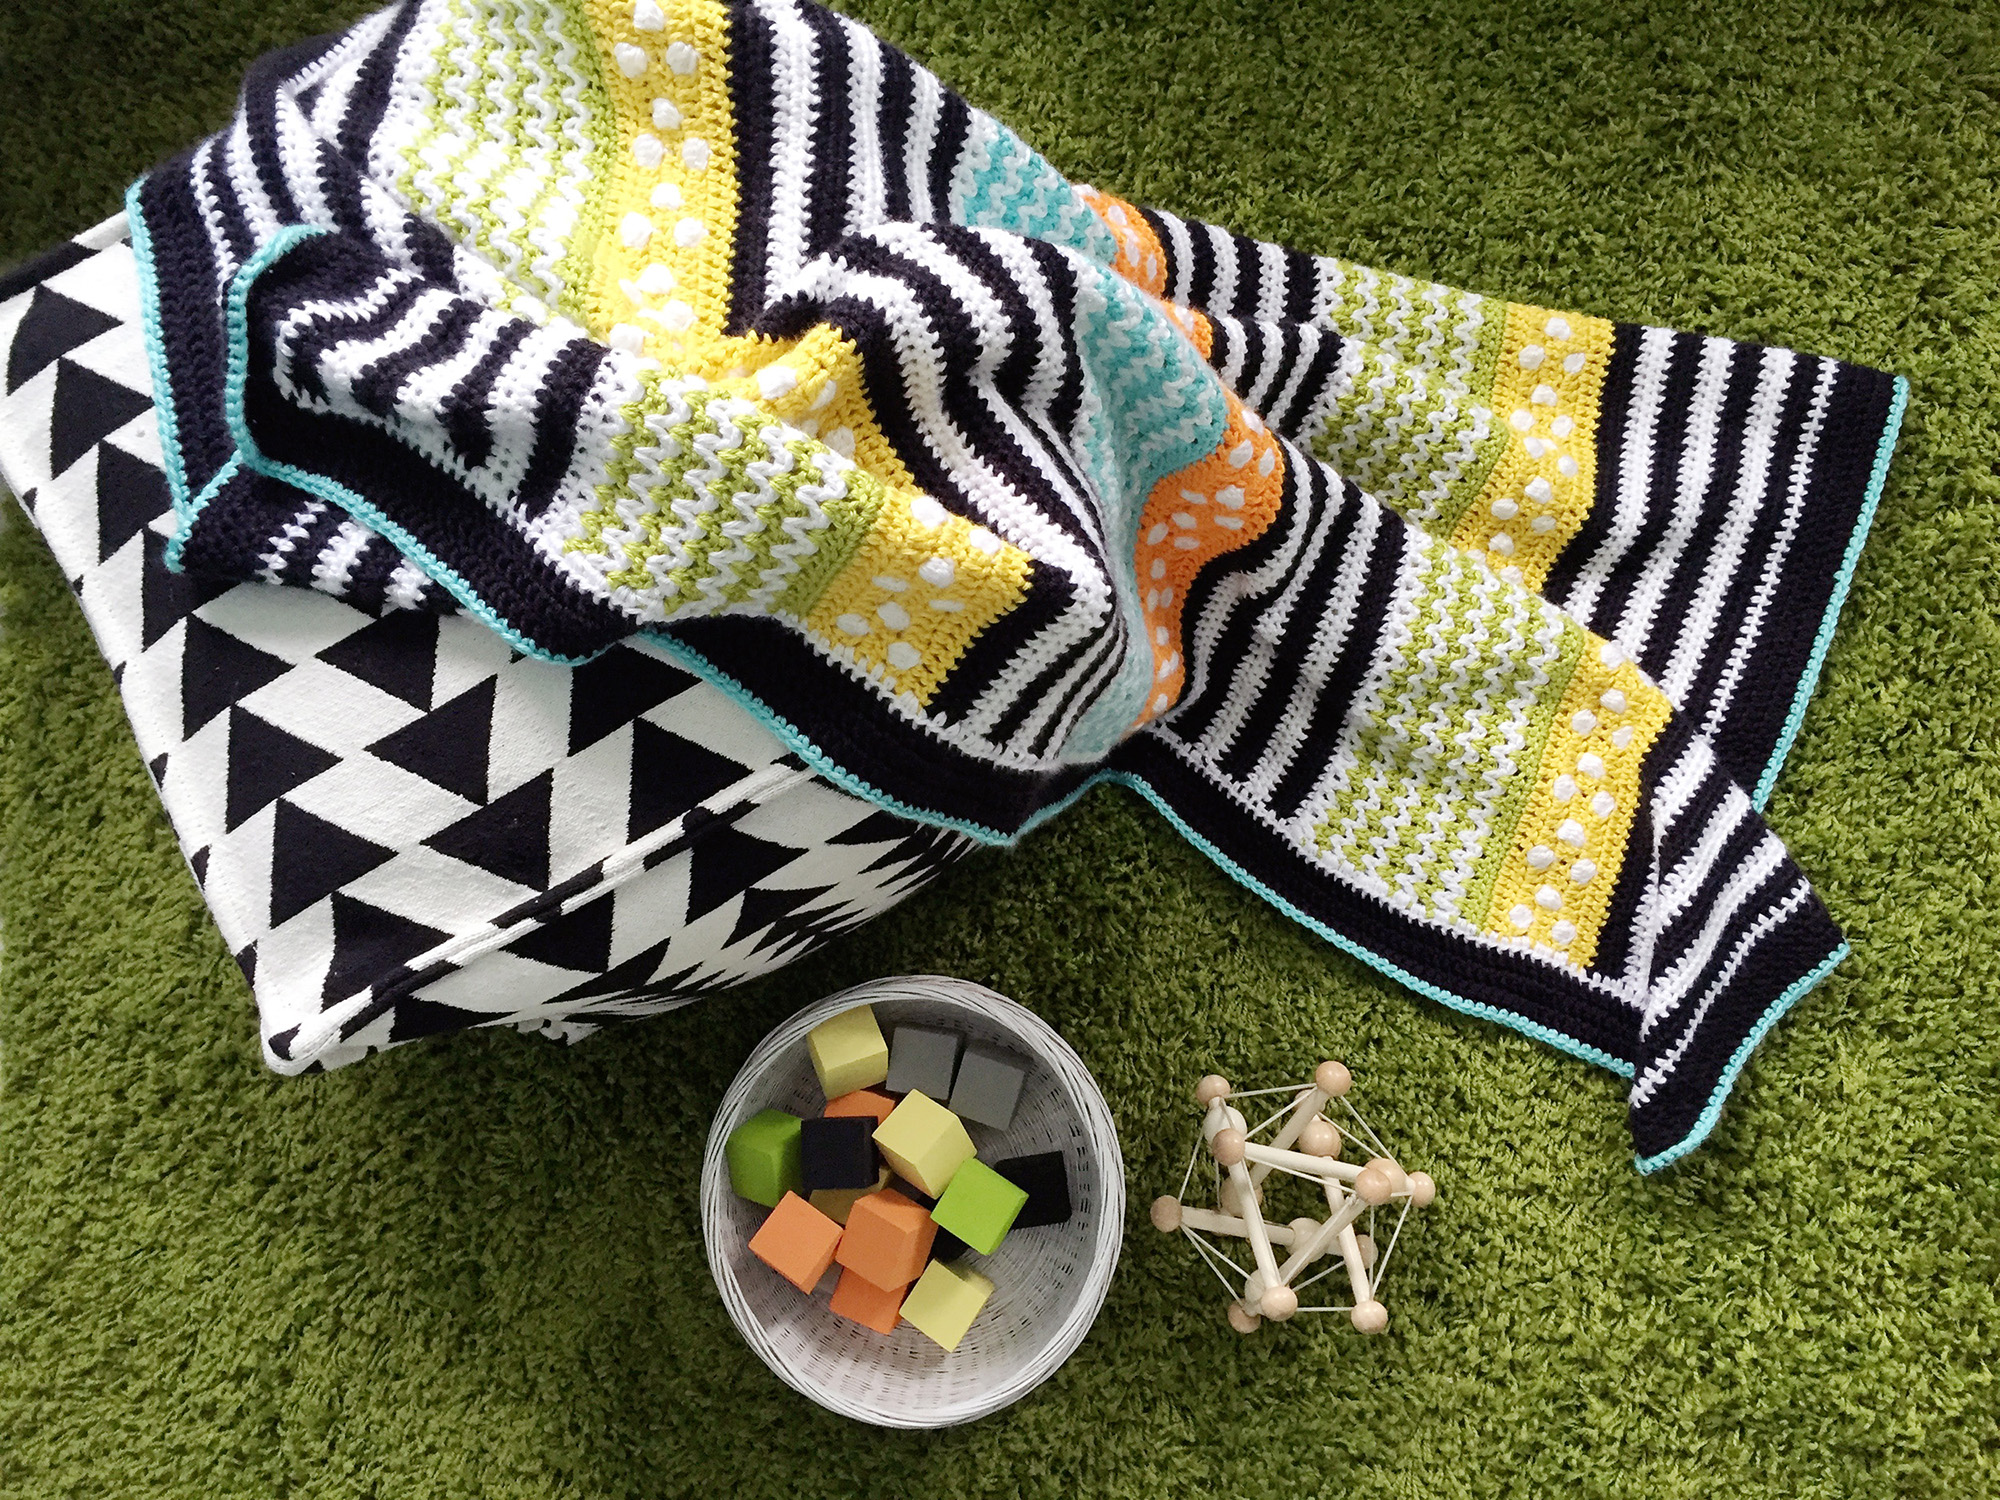
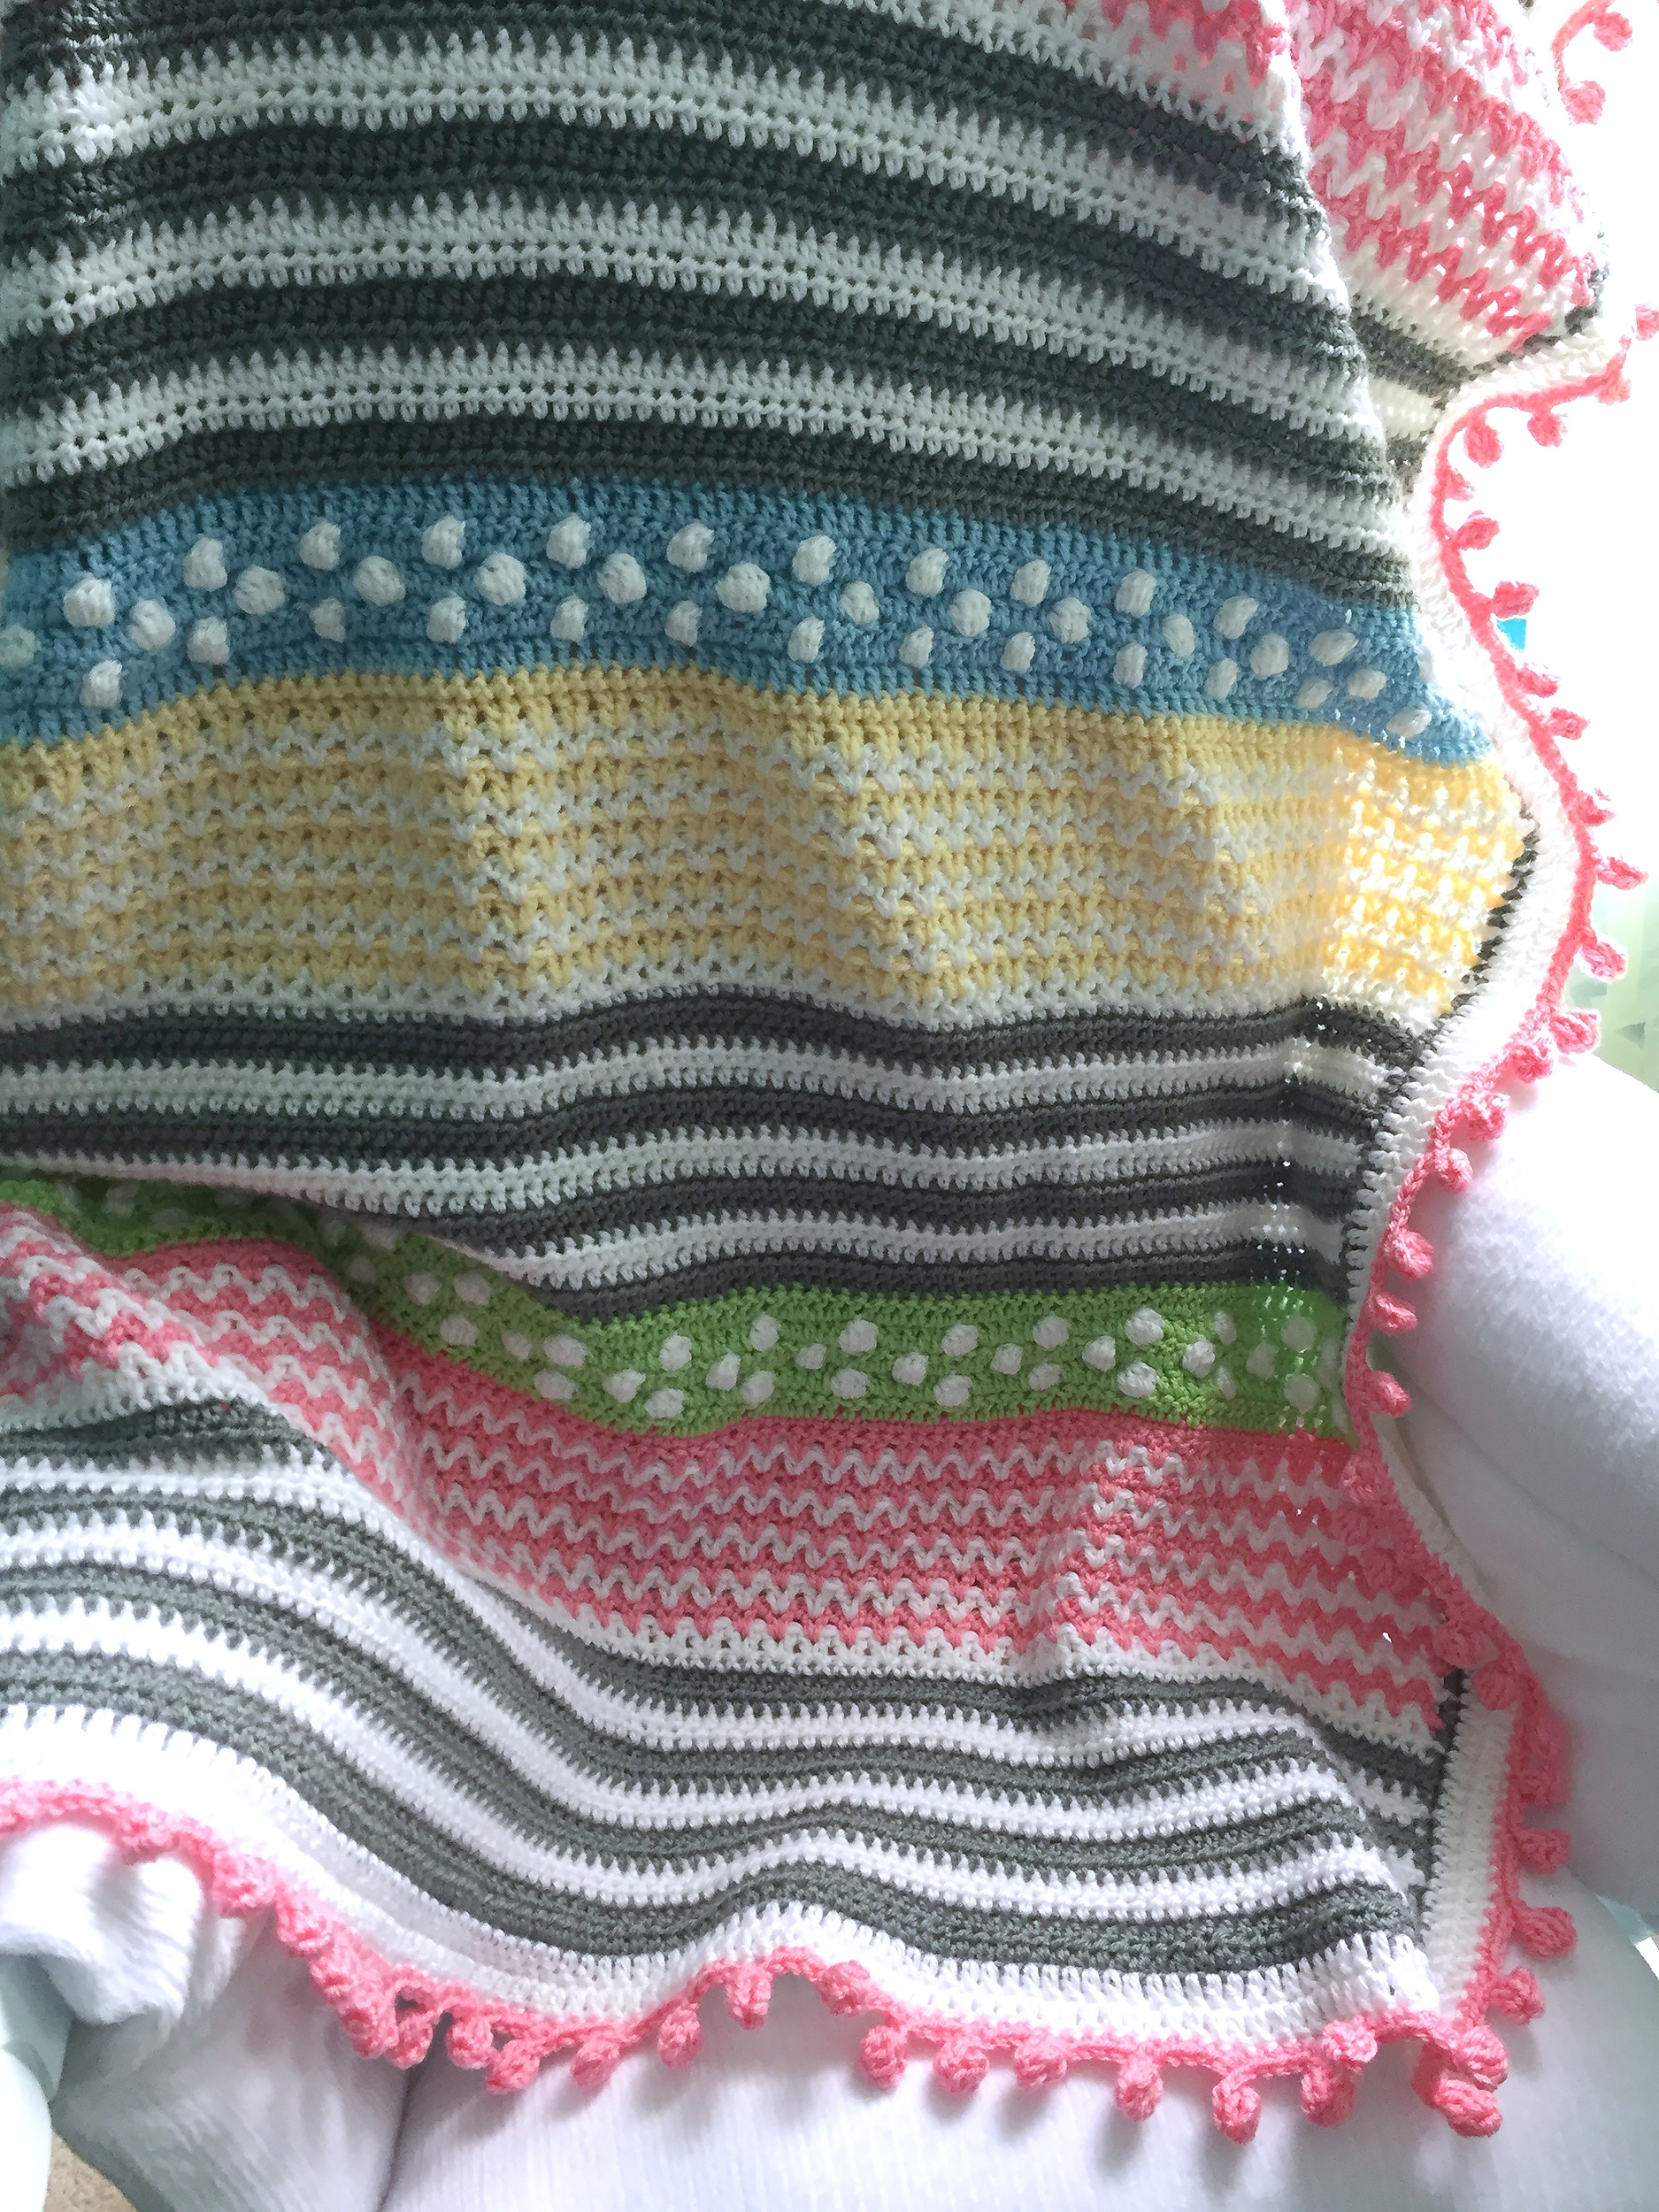
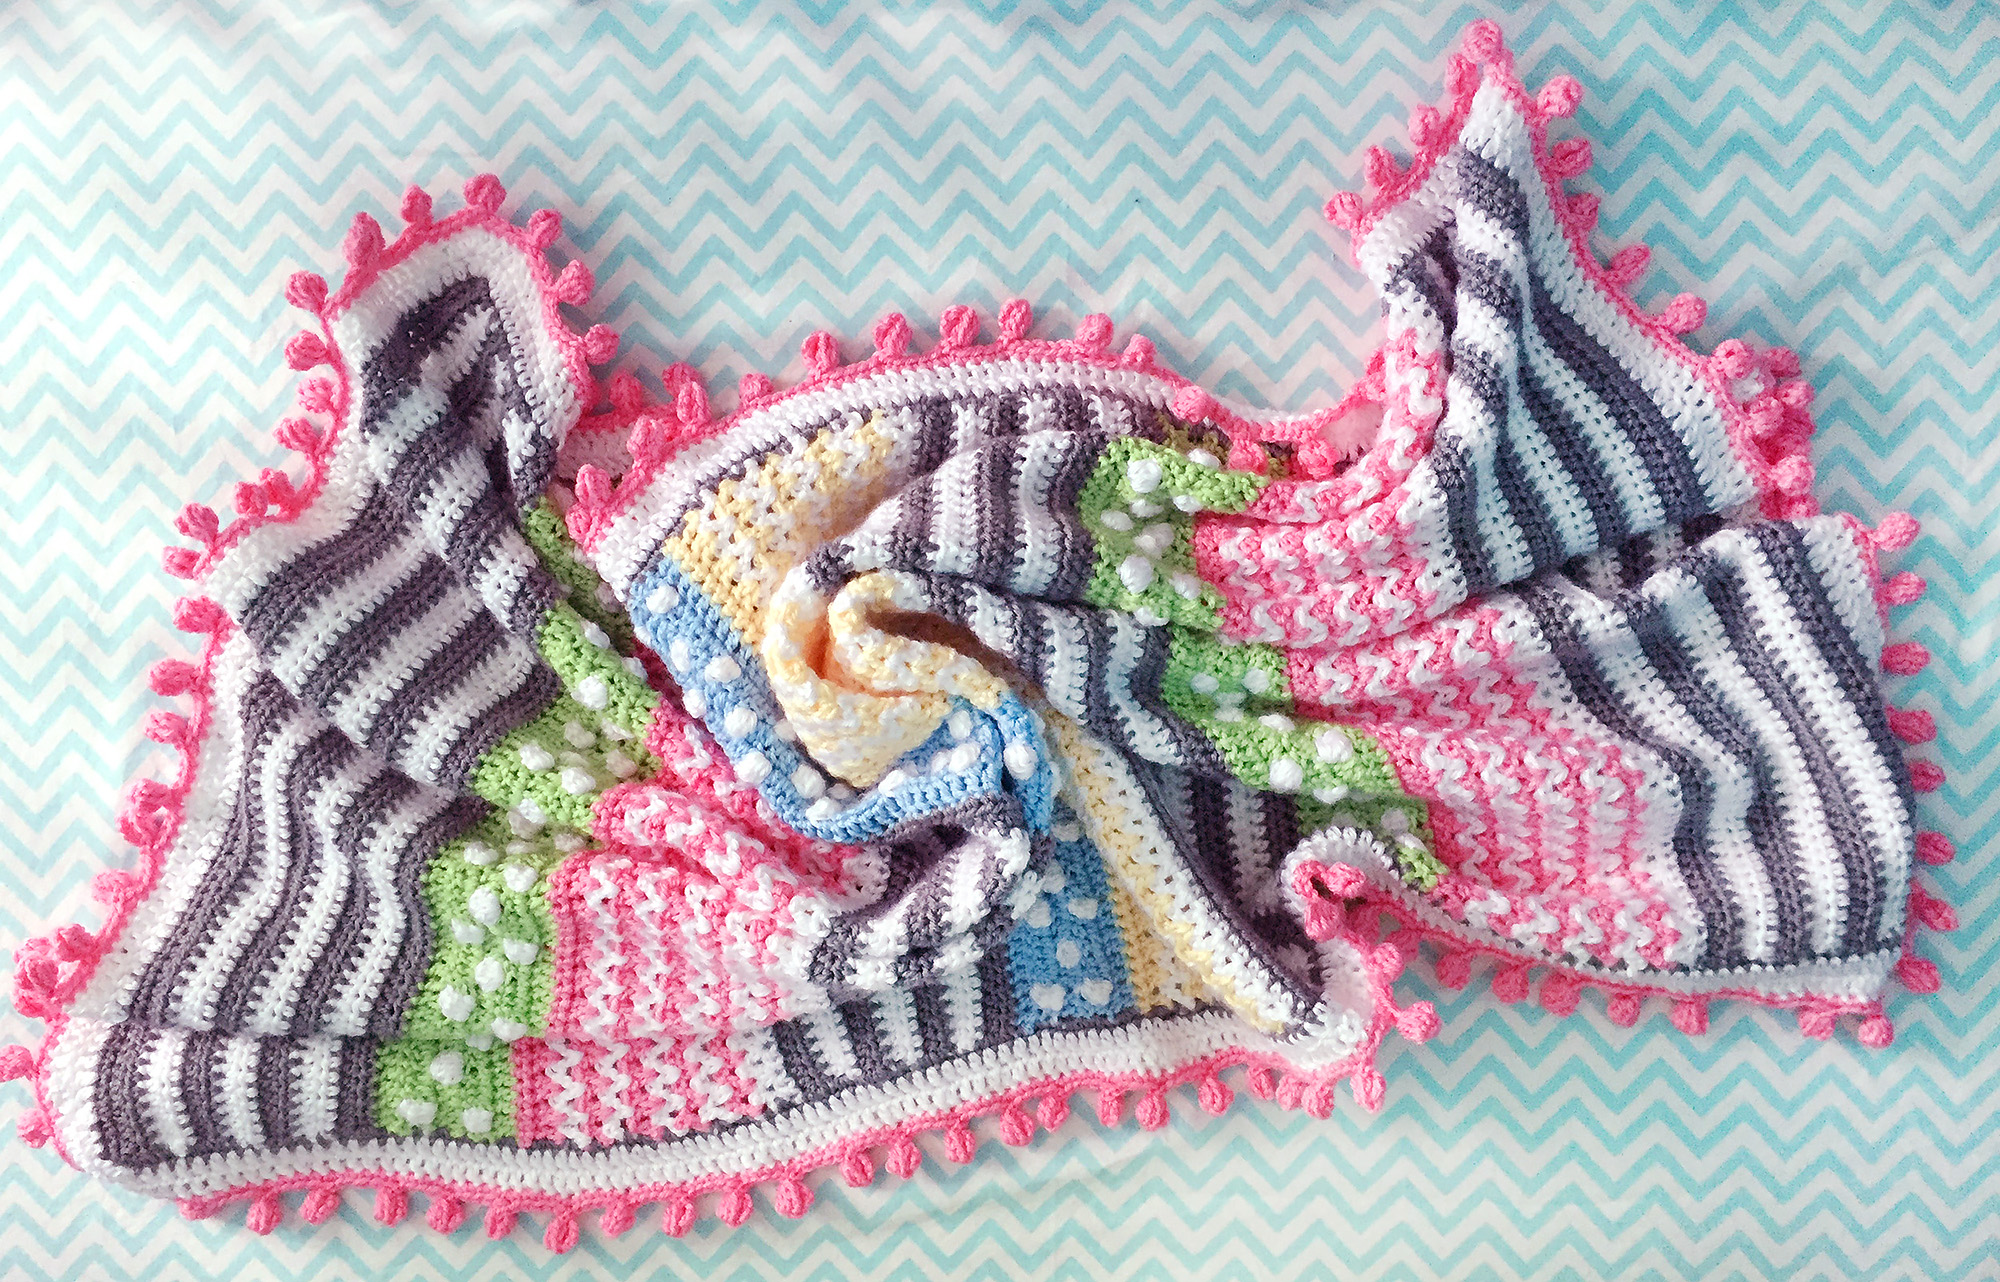
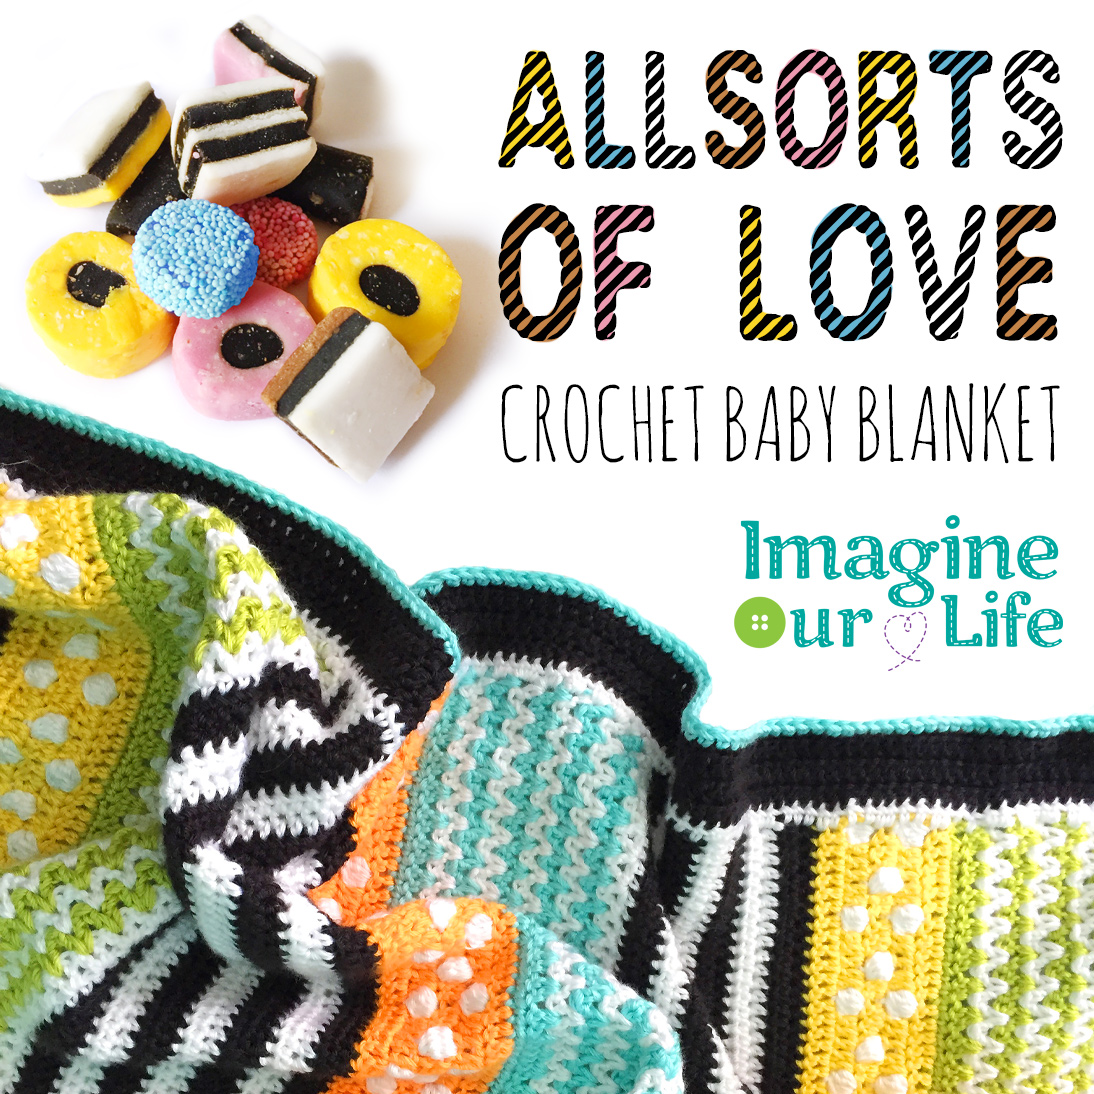
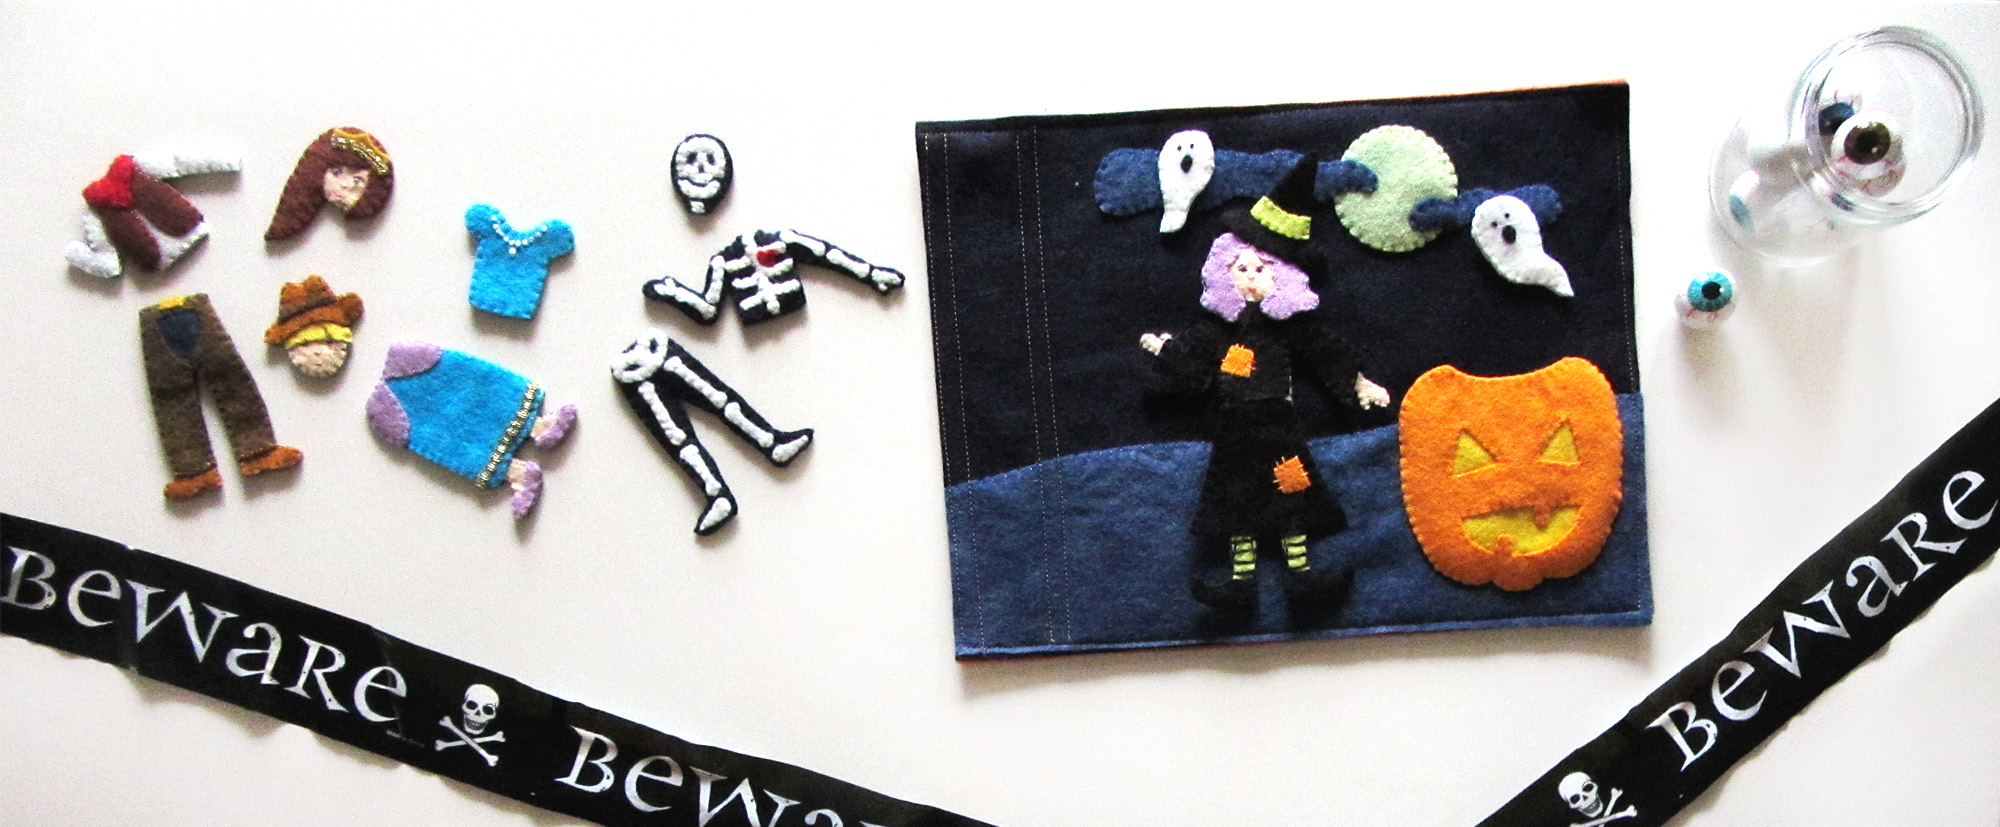
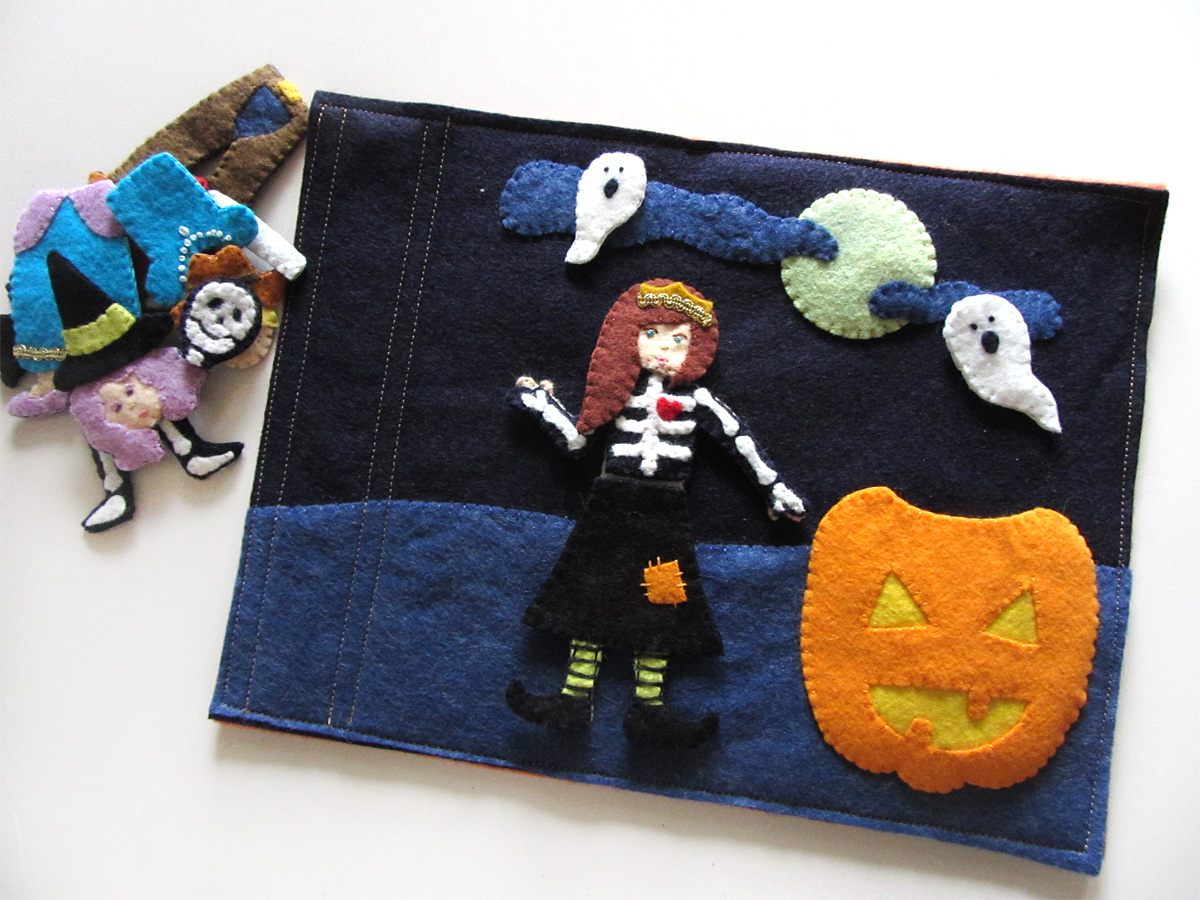
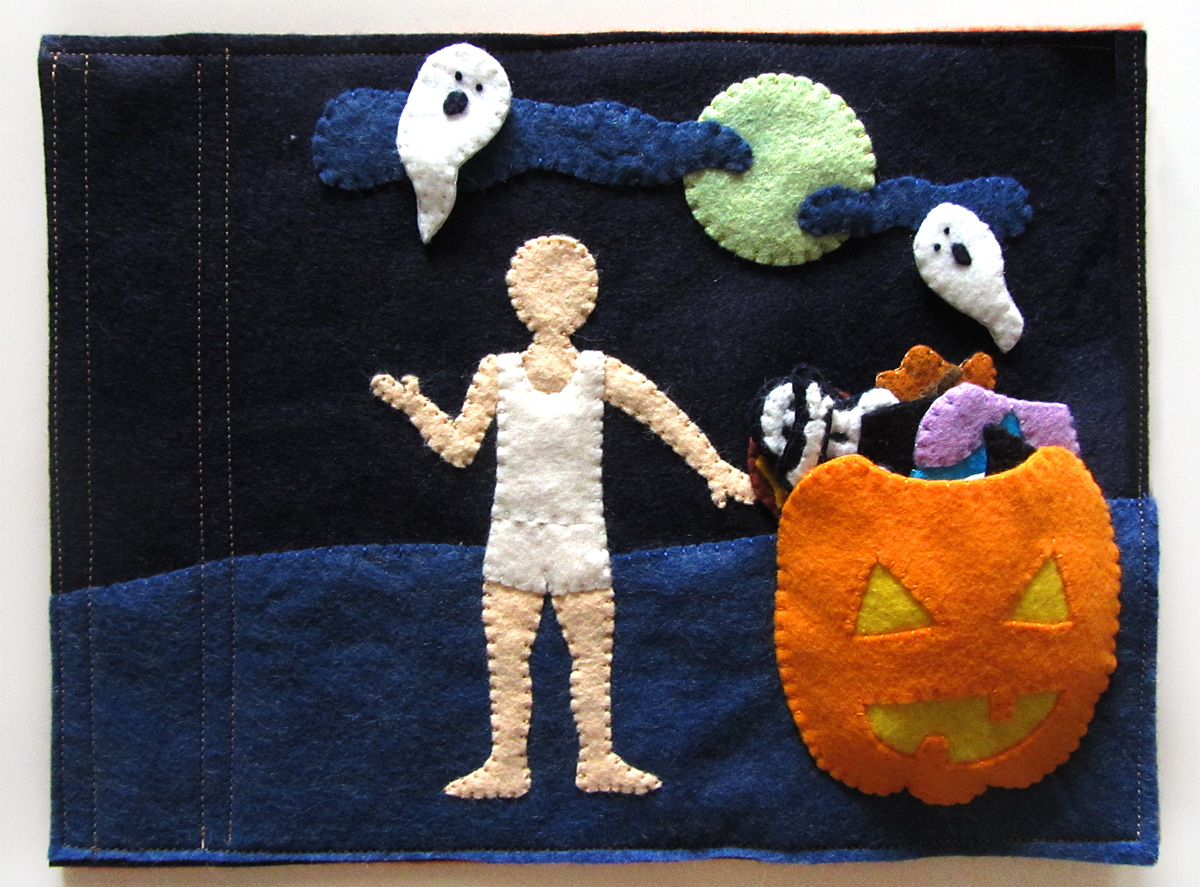
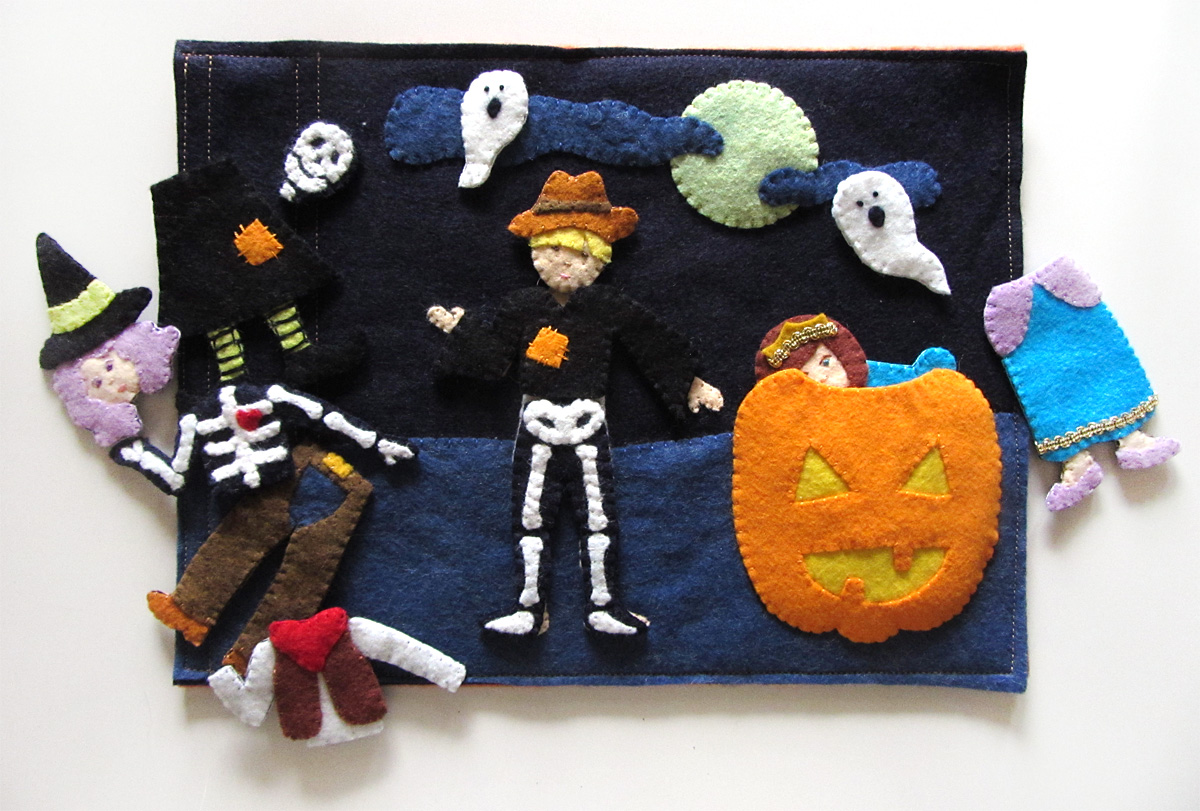
I hope this new year has found you well! I’ve been crocheting – and now knitting – as it is easier than sewing with a baby in your lap. I’ll be sharing my projects soon! As Sebastian grows, I’ll be designing him his own quietbooks. I’m really looking forward to sharing that chapter with you!

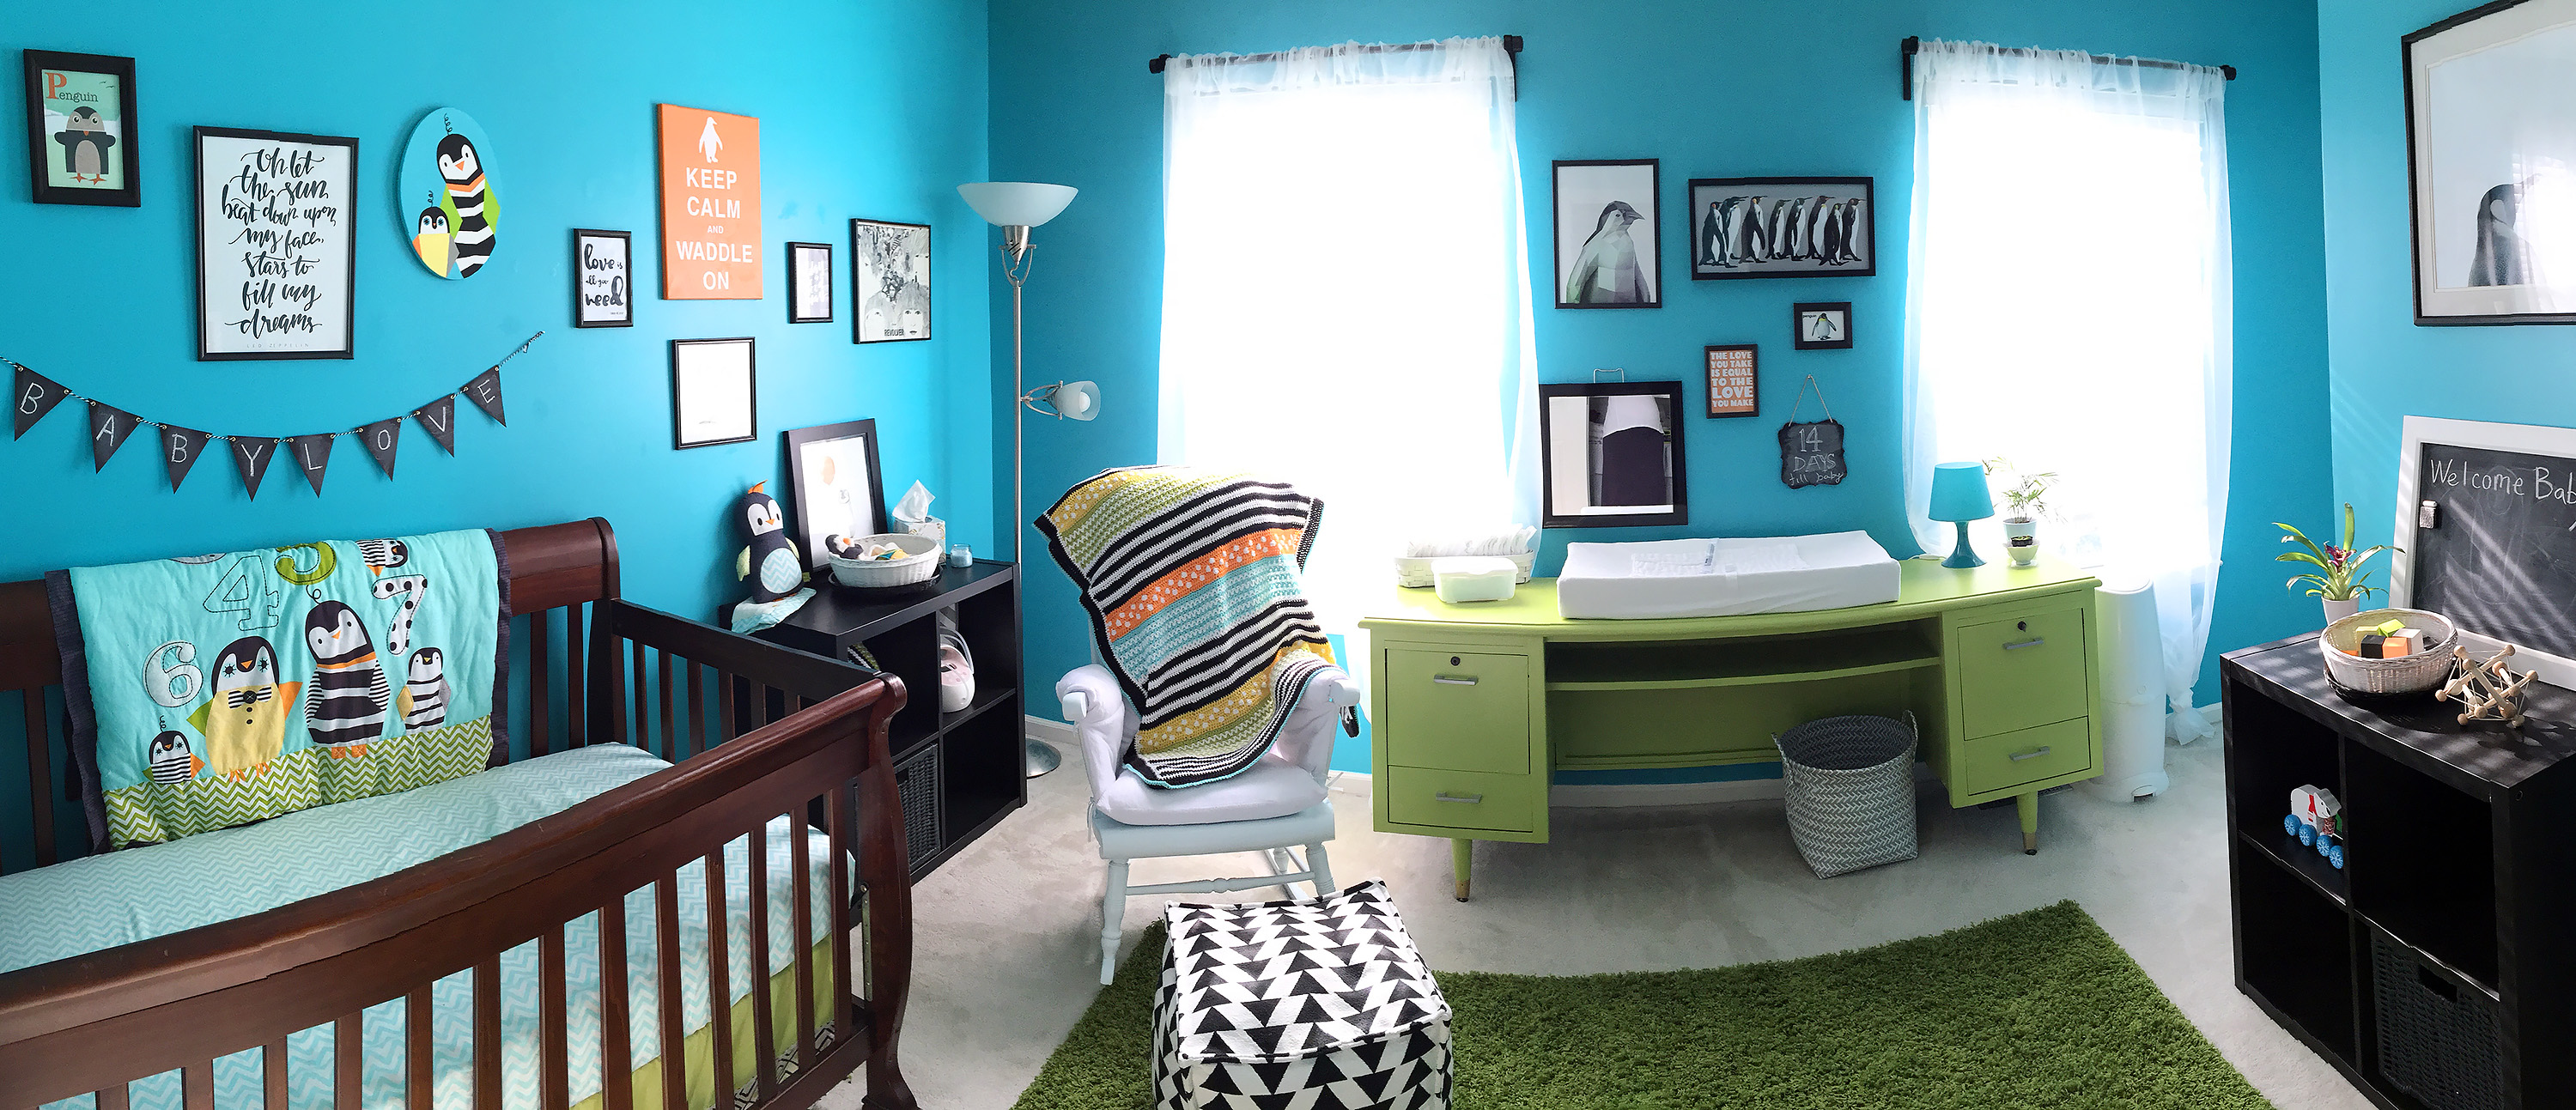
I’m queuing up post ideas and leaping back into the blog! On my list: our current homeschool shelves, my recent crochet and knitting projects and Jax’s 7th birthday penguin party. (Speaking of my now 7 year old (what??!), he has this biggest heart ever, and is raising money to save penguins!)

Allsorts of Love Crochet Baby Blanket

Allsorts of Love Crochet Baby Blanket

I adore crochet, and while pregnant, I seem to have super speed with it. Jax homeschools, but I enrich his learning with outside classes. That means I have times when I’m waiting outside classrooms – sometimes twice a day. Our nursery bedding was so cute with its fun colors and patterns, that I felt inspired to design a blanket to crochet to match.

Allsort of Love Crochet Baby Blanket

Let me preface this by saying I can’t write crochet patterns. I’m terrible at keeping track of what I do while I’m crocheting, as I tend to make it up as I go along. I’ll be giving an overview of what I did for each pattern area, as well as the basic materials and starting size I went with.

Big thank-you’s to two Instagram friends who helped me name this pattern after fun and colorful licorice allsorts candies!

Allsorts of Love Crochet Baby Blanket

What I Used:

Allsorts of Love Crochet Baby BlanketI used Caron Simply Soft yarn in: Black, WhiteLemonade, Mango (Brites series), Chartreuse, and Robin’s Egg. I ordered mine from Joann’s during a sale for under $3 each. I used 2 each of white and black, one each of the colors. I did buy an extra skein of each, and have been doing small projects with those. I used this exact 4mm hook, ordered from Amazon. Very comfy! I also used metal yarn needles to weave in the 10 bazillion ends.

Stitches I Used:
sc, hdc, dc and bobble

Allsort of Love Crochet Baby Blanket

Starting:
I started with a chain of 102 in black. (I actually did my blanket with a chain of 100 and the dot pattern divided awkwardly, so in the second blanket, I used 102. These instructions assume a starting width of 102 chains.)

Allsort of Love Crochet Baby Blanket

Stripes:
The stripes are made with two rows of hdc, alternating black and white. I did 4 black and 3 white. To transition to the zigzags, I did one row of white sc under the final black stripe.

Zigzags:
The zigzags are V-stitch. I already had a row of white sc. V-stitch is made by doing 2 dc in one stitch, skipping a stitch, and repeating. In the following rows, make your 2 dc in the space between the 2 dcs below. (I like to start my dc rows with a chainless dc.) I did 5 rows of white and 5 rows of aqua/lime. After the last row (aqua or lime), I did a row of sc in that color.

Allsort of Love Crochet Baby Blanket

Dots:
A note about the three dot rows: I carried the white yarn along as I went so I could switch colors, stitching overtop of it with the yellow/orange until I needed it. To switch colors, I’d do all but the last yarn-over of the stitch before the color change, then switch threads to the next stitch’s color and do the final yarn-over. (In the linked video, she doesn’t enclose the carried thread in her stitches as I did.)

I started this section with a full row of dc. Row one of the dots was 2 dc in the color, followed by a white bobble stitch and 5 colored dc, repeated across. I ended with 2 colored dc. The middle dot row was 5 colored dc and a white bobble repeated across, ending on 5 colored dc. The final dot row is the same as the first. I ended the section with a full row of dc.

Allsort of Love Crochet Baby Blanket

Allsort of Love Crochet Baby BlanketMy Layout:
Here is what I ended up doing (from the bottom up).

  1. Black and white stripes
  2. White and lime zigzags
  3. Yellow and white dots
  4. Black and white stripes
  5. White and aqua zigzags
  6. Orange and white dots
  7. Black and white stripes
  8. White and lime zigzags
  9. Yellow and white dots
  10. Black and white stripes

Allsort of Love Crochet Baby Blanket

Border:
For my border, I worked white sc all the way around. How many you do isn’t a big deal. You just want good coverage and to be consistent. I then did three black rows of dc. I ended with a row of aqua sc. (In all the rows, I did 3 stitches in each corner. In the next row, the corner stitch will be the middle of those three.)

Allsort of Love Crochet Baby Blanket

This blanket came out so colorful and fun! And it is a very versatile pattern in terms of colors and the order of the sections.

I was so excited to have the opportunity to also make a girlie version of this blanket as a gift. Being on my second boy, there isn’t a lot of pink in my life, so this one was a lot of fun!

Allsorts of Love Crochet Baby Blanket

I made the body of this blanket the same way as the original, but changed the colors around. Black was swapped for grey and pink for the orange. I rearranged the colors so pink and yellow were featured. The yarn for this one is Knit Picks Brava Worsted.

Allsorts of Love Crochet Baby Blanket

The biggest change was the border. I started with a row of grey sc, followed by two white rows of dc. I made 3 stitches in each corner, as with the original. My final row was time consuming, but super sweet! I did a pompom border, modified from this tutorial. For mine, I did 4 sc in between each pom. I started the pom with 4 chains, then did the step for 3 dc in the 3rd chain from the hook. I made the second cluster as instructed and after I slst’d it to the bottom of the pom, I chained 1 and then made one sc in the same stitch that the whole pom started in. (I hope that makes sense!)

You really could do anything on the border to change the whole feel of the blanket!

Allsorts of Love Crochet Baby Blanket

I hope you enjoy this crochet blanket pattern. Please share with me here, or Facebook or on Instagram if you make your own!

Want to share the love? Here’s an image ready to pin!

Allsorts of Love Crochet Baby Blanket

Allsorts of Love Crochet Baby Blanket

Welcome to Our Nursery!

Surprise! I’ve been busy since September on a very important project… Baby boy number two! If you follow me on Facebook or Instagram, you’re already in the know. He could arrive any day now and we couldn’t be more excited!

Welcome to Our Nursery!

We are finally feeling somewhat ready to meet our newest little man. We have a car seat and a pack of diapers, a bit of clothes (mainly from the great thrift stores around here) and our DIY’ed nursery. Allow me to show you around!

The nursery is a small bedroom with both its own door and a door into the master bedroom. It was once Jax’s nursery, then it evolved to a school room and finally a craft room. We’re back full circle with a brand new nursery!

Welcome to Our Nursery!

Furnishings: Jax’s old crib, shelf from Ikea, the rocker my mom nursed me in (painted and cushions sewn), ottoman from Target, rug from Ikea. Walls: thrifted alphabet card, Etsy song quote, DIY penguin painting, DIY Beatles quote, DIY ModPodge “Keep Calm” canvas, DIY penguin chick drawing, Etsy song quote, Beatle album cover and Etsy penguin chick with balloon print.

The room was already Mermaid’s Treasure turquoise with a green rug that Jax no longer needed in his big boy room, so I was excited to find a penguin-themed nursery set with those colors! Jax adores penguins and wanted them to be the nursery theme. I bought the bedding set for under $50 on Zulily, but you can find them on Amazon for more. (I think it is being discontinued, so the prices are going up.)

The wall art is a combination of DIY projects, Etsy downloads that I had printed through VistaPrint and thrifted or Dollar Tree frames. I crocheted a blanket and round cushion with fun, bold patterns to compliment the bedding set. Stay tuned for my instructions on how to make your own!

Welcome to Our Nursery!

Wall: geo penguin Etsy art, DIY pop art penguins, dollar aisle penguin flashcard, DIY Beatles quote, Target mirror and chalkboard. Misc: thrifted/painted diaper basket, hamper from AC Moore, lamp and plant from Ikea, curtains from Ikea.

The room already had a large vintage desk that was in the house when we purchased it. It had been painted white before we inherited it, which was pretty, but I really wanted it to be apple green! After a few sample pots, I went with English Apple by Glidden.

Welcome to Our Nursery!

The closet was on of my biggest projects. A couple years back, my husband built shelves for craft and homeschool supplies that were very much in use still. After a month of sorting, I got all the school stuff organized in bins and hidden behind an old, ripped muslin swaddle (attached with dollar store stick on Velcro.) I removed one of the shelves so baby’s sleepers could have room to hang. He doesn’t have much clothes yet – a few gifts and what I have thrifted so far – so they are just sorted by size on the shelf for now.

Welcome to Our Nursery!      Welcome to Our Nursery!

The room feels fresh and soft, while still having the bright, bold colors I love and plenty of black and white. Hanging sheer, white curtains from Ikea helped with that. How perfect is that Target Threshold ottoman?! And it was 25% off after I’d been eyeing it for 6 months.

Welcome to Our Nursery!

The door to our master bedroom. Upper right photo art: photo printed from Wiki Commons in a thrifted frame.

Here are a few more details from around the nursery.

What are your newborn must-haves? It’s been 6 years (and I donated everything!) so I feel like I have a lot of catching up to do!!

You can find links to our registries in the sidebar for a little while longer.

Welcome to Our Nursery!

Colorful Clay Jewelry Craft for Kids

This holiday season, Jax, who is almost 5, asked to make gifts for his grown up friends. He’s been very interested in play dough lately, so I suggested clay jewelry and trinket bowls. He loved that idea, so we headed to the craft store for some supplies.

Colorful Clay Jewelry Craft for Kids

What We Used:

We used Sculpy oven bake clay so that we wouldn’t have to wait too long for it to harden. I got a large white pack with a 50% off coupon. It left him with plenty to play with. He’s quite fond of making clay Kirbys!

Colorful Clay Jewelry Craft for Kids

To make the beads, Jax rolled various sizes of spheres and I poked holes in them with a bamboo skewer.  We used the skewers to add texture to some of the beads. We made stripes and dots.

Colorful Clay Jewelry Craft for Kids   Colorful Clay Jewelry Craft for Kids

The small bowls started as a larger ball of clay that I had Jax dent and squeeze into a bowl shape. Younger kids will need help with this. In some of them, Jax used a foam snowflake sticker to stamp an impression in the bottom of the bowl.

Colorful Clay Jewelry Craft for Kids

Jax also make a few other fun things with the clay while I poked all the holes and pre-heated the oven (follow your clay’s instructions). I baked ours in two sessions, since the bowls and beads were fairly thick (and bedtime was approaching!)

Colorful Clay Jewelry Craft for Kids

The next day, we spent some of our homeschool time painting all our beautiful beads, bowls and crafts! I stuck the beads on skewers and toothpicks to paint them. Jax found them to be too tricky, so he told me colors and patterns to use while he painted the bowls.

Colorful Clay Jewelry Craft for Kids

We traced Jax’s hand in clay to make this rockin’ ornament for a guy friend!

Colorful Clay Jewelry Craft for Kids

That evening I coated them with glossy Mod Podge to seal in the paint. Any acrylic sealer would work. To coat all sides of the beads, I strung them on cord and painted them while they hung.

Colorful Clay Jewelry Craft for Kids

To make our necklaces, I had Jax choose 3-5 beads to string onto a long cord. I tied on copper-toned lobster clasps and tab rings, then sealed the knots with Fray Check. I think he chose beautiful combinations!

Colorful Clay Jewelry Craft for Kids

We really enjoyed working on this craft together. I think a child just a couple years older would be able to do it all (besides the oven) themselves.

Jax has been so proud to hand out his gifts! He’s been telling everyone that they were made with love.

Colorful Clay Jewelry Craft for Kids

Giveaway: $100 Store Credit from SO Awesome

I have a fun surprise for you all… A giveaway!

$100 SO Awesome Store Credit Giveaway!

Marie-Claire is a momma of twin boys, a graphic designer, the owner of SO Awesome, and the creator of Children’s Wallet Cards. You’ll remember her from our post and giveaway last September. Her wallet cards have so many uses and fit well into your Montessori and homeschool supplies.

Montessori-Inspired Wallet Cards Review & Giveaway

She’s at it again seeking micro-funding from moms and homeschoolers like you on Kickstarter. She has four new sets in development, Emotions, Seasons, House and Pets.

So Awesome Giveaway

Funding pledges start at just $1. Kickstarter is all-or-nothing funding for creative products, supporting new projects is quick and easy. The campaign is open until April 29, 11 am EST.

Montessori-Inspired Wallet Cards Review & Giveaway

So Awesome’s alphabet deck from their previous Kickstarter campaign.

Giveaway

SO Awesome has generously offered a $100 store credit to the winner of this random giveaway. To enter, visit SO Awesome’s Kickstarter page, then leave a comment here letting us know what your favorite new deck is. Then use the Rafflecopter widget below to let us know you’ve commented (email address or Facebook required). There are bonus entries available to anyone who enters. The lucky winner will be randomly chosen on April 29, 2015.

a Rafflecopter giveaway


About SO Awesome

soawesome_logojpgSO Awesome offers gorgeous, educational, non-toxic, extremely durable card sets designed for how kids play and work. Montessori-inspired. Made in the USA. Their cards are perfect to engage children in carseats, strollers, shopping carts, and long airplane rides.

Graphic Designer and mother Marie-Claire Camp created the durable, non-toxic card sets for her twin boys. Using the crowdsource-funding site Kickstarter, Marie-Claire produced five sets of cards and an companion iOS app.

Visit SO Awesome on:
So Awesome WebsiteFacebookTwitterPinterestInstagram

Montessori-Inspired Wallet Cards Review & Giveaway

Thanks for entering, and good luck!


The Nine Minute Pencil Bag

The Nine Minute Pencil Bag
My little man is turning 5! He’s very into his Wii and anything Super Mario, so it was easy to pick his party theme. I always like to include a handmade party favor for our guests. This year, I’m making pencil bags! Since I am making 12 of them and my free time has been so limited lately, I had to make them quickly. And so, the Nine Minute Pencil Bag was born!

I used fabric that I custom designed and ordered through Spoonflower. (If you like my fabrics, you are welcome to order them too! I think I get about $1/yard to spend there if you do.) I made a question box tumble is three colorways: red, green and blue. I ordered one fat quarter of each. I needed a dozen 9″ zippers, so I ended up buying this zipper assortment. It came with a good assortment and only one of them was the wrong size out of 54. I also bought three additional fat quarters in coordinating colors. With 6 fat quarters (3 outer fabric and 3 lining) you can make 12 bags.

The Nine Minute Pencil Bag

What I Used:

  • Two 9″ x  5″ rectangles in my outer fabric
  • Two 9″ x 5″ rectangles in my lining fabric
  • One 9″ zipper
  • Matching thread
  • Iron, sewing machine (with zipper foot) and scissors

The Video:

I don’t talk in this video – turn on CC if you’d like written instructions. And enjoy one of my favorite classical pieces – The Blue Danube!

The Basic Overview:

You start with a “zipper sandwich” – take one rectangle of each of the fabrics and lay then stacked, right sides facing. Place the zipper inside the sandwich facing the outer fabric. Line its edge up with the long side of the fabric on the inside of the sandwich. Sew along the zipper with a zipper foot (moving the zipper pull partway). Flip the two rectangle so their wrong sides are facing and the zipper is sticking out of the sandwich. Make a new sandwich around it, right sides facing in, putting the lining on the lining side and outer fabric on the outer fabric side. Sew the edge with a zipper foot (moving the zipper pull partway).

Open up the rectangles so right sides are out and the zipper is in the center. Iron it smooth, then flip the sides so the linings are together (right sides facing) and the outer fabric pieces are together (right sides facing). Press the zipper/seam towards the lining. Open the zip halfway. Starting on the short side of the lining near the bottom of the zip, carefully sew across the zipper. (Make sure you do not sew over the metal crimp at the base of the zipper. It will break your needle!) Sew all the way around until you get back to your starting side, then stop when you have 3″ left to go. Leave that open for turning.

Clip the tails at both ends of your zipper, then clip all four corners. Flip the bag right side out through the hole, unzipping the zipper the rest of the way when you are able. Make sure you poke all the corners out. With the outer fabric and lining on each side, iron it smooth. Fold in the hems of the lining opening and iron it to crease it. Stitch it closed close to the edge. Push the lining into the bag and iron it inside and out, making sure to iron the fabric away from the zipper.

All done! I’ll be filling ours with Dollar Tree pencils, sharpeners and faux mustaches.

The Nine Minute Pencil Bag
They turned out super fun!

The Nine Minute Pencil Bag
If you make some Nine Minute Pencil Bags, I’d love to see them! Share them on my Facebook page or mention me on Twitter or Instagram ( @iolstephanie ). Enjoy!

Felt Gumball Machine Ornament

I love sewing felt ornaments every year to hang on our tree. This year I picked the theme of sweets! This simple but colorful gumball machine sews up in just one evening but will make a big impact!

Felt Gumball Machine Ornament
I used wool-blend felt and colorful sequins from American Felt and Craft. I chose a color palette that was slightly retro with honeydew, poppy, pink and teal.

Felt Gumball Machine Ornament
What I Used:

Step 1: Layer the honeydew felt dome between the two vinyl dome pieces and sew from A to B with a blanket stitch. Fill each side of the dome with sequins as desired. Sew the top closed.

Felt Gumball Machine Ornament
Step 2:
Sew the curved top to the two poppy cap pieces together with a blanket stitch, then place it over the top of the dome and sew across the cap’s bottom.

Felt Gumball Machine Ornament
Step 3:
Sew a row of red sequins down the side of each poppy machine piece. Sew a pink heart to each side and add sequins. Sew the hatch to the front machine piece and add a silver sequin.

Felt Gumball Machine Ornament
Step 4:
Sew the machine together from C to D with a blanket stitch and fill with stuffing. Stick the dome inside the open end and sew the machine pieces closed.

gumball-ball
Step 5:
Thread a large needle with baker’s twine. Attach the center of the twine to the top of the cap then run the tails through a felt ball or pom. Tie off and enjoy!

gumball-ontree

Gingerbread House Advent Calendar

Last year I had so much fun sewing Jax a Christmas Tree Play Set and 24 Mini Advent Ornaments, but I didn’t have time to make a calendar to put them in. This year I started off my Christmas sewing season by creating a hanging gingerbread house advent calendar.

Gingerbread House Advent Calendar
Thank you to American Felt and Craft for all of the beautiful supplies used in this project!

What I Used:

I started sewing this project before I had the brown background felt, so I began with all the smaller pieces. I will list the tutorial sections in an order that makes sense, but there is definitely some flexibility.

Gingerbread House Advent Calendar   Gingerbread House Advent Calendar

The Roof
I created the advent calendar with the ability to come off the hanger. The roof is a separate piece that sits on top of the hanger like a hat with a hole for the hook. I cut my roof pieces out of 9: x 12″ sheets, so each side is made of two halves sewn together. On the front half, I decorated it with crystal sequins. When sewing the two sides together, I only sewed the tops, leaving a 2″ hole at the center-top for the hanger hook.

Gingerbread House Advent Calendar
The Calendar & Pockets

There is a diagram in the pattern showing how I cut and laid out the calendar body. Once you cut two rectangles that are 31″ x 17″, lay your hanger and the top and trim off the corners, leaving a 0.5″ seam allowance. Set aside one calendar piece to use as the back. (Optional – leave an extra bit at the lower right corner if you want the Christmas tree to extend a bit past the edge. Once the tree is on, you can trim it down. Otherwise, just cut off the extra tree.)

Attach your numbers to the pocket squares. I used adhesive numbers, which saved so much cutting time. If you are cutting them yourself, gluing them on with felt glue will work just fine. On pocket 1 (a rectangle), layer white swirls on top of a red circle to make a peppermint swirl candy. Sew it to the pocket and add red sequins. On pocket 19, sew on the red heart and add some red sequins.

Gingerbread House Advent Calendar

Take your time laying out and pinning all the pockets. I’ve provided measurements for between each row. Unless you have many hours to fill, you probably want to use a sewing machine for all the pockets. I got mine done in under an hour that way. One pocket without a number goes at the center bottom of the calendar. It will be behind the door. (The tree pocket – 23 – is sew separately.)

Snowy Sills
Cut out 8 snowy window sill pieces and sew sequins on them. Using felt glue, tack them on to the bottom of the blue pockets. I glued mine on before sewing on the pockets, but you can do it either way. Sew down the tops of the snow pieces, leaving the bottoms hanging loose.

Gingerbread House Advent Calendar

Fruit Slices
For each fruit slice, tack down the white rind with a light layer of glue (too much and it is hard to sew though) then sew it down. Add matching sequins to the colored parts, then sew them down directly over pockets 3 and 5.

Candy Sticks
For the red and white candy sticks, tack down then sew on the red stripes, added red sequins. Sew them down above pockets 8 and 10. For the pink and red candy sticks, tack down and sew on the thinner red stripes. Using a back stitch, sew a stripe on each side of the red felt stripes. Add a few pink sequins, then sew them down above pockets 18 and 20.

Gingerbread House Advent Calendar

Jelly Beans
I tacked down the jelly beans directly onto the calendar. White sewing them down, I alternated their direction and added matching sequins. Four jelly beans go over pocket 13 and pocket 15.

Gingerbread House Advent Calendar  Gingerbread House Advent Calendar

Door
On the front piece of the door, sew on a green peppermint swirl candy (using the same technique as the red). The number 24 goes below that with room for a pearl button door knob on the right. I added yellow sequins to the door. On the back door piece, I sewing on a piece of hook tape. I sewed it on high enough to be above the pocket on the calendar. On the calendar, I sewed down some loop tape lined up to close the door. I sewed the two sides of the door together starting at the left side of the curved top. When I got around to the straight left side, I stitched both layers down to the calendar to make the hinged side of the door.

Gingerbread House Advent Calendar

Candy Canes
The candy canes are sewn the same way as the red and white candy sticks. I provided a pattern for all of the stripes around the cured part, then one stripe you can repeat down the straight part. I sewed the candy canes down on either side of the door at a slight angle.

Christmas Tree
The tree sticks out a bit past the lower right edge of the calendar. You can either cut your calendar to have a matching bump-out like I did, or trim your tree to fit the corner. Using felt glue I attached my glitter ric rac down and folded the ends behind the tree. It held really well once dry. Once I decided the position of the tree’s pocket, I glued on more ric rac to the pocket square to match what was under it on the tree. I added assorted sequins to the tree and the pocket, stuck the number onto the pocket, then sewed on the pocket and tree by hand. The tip of the tree extends a bit onto pocket 21.

Gingerbread House Advent Calendar

Gumdrops
The stack of gumdrops overlaps the right side of pocket 22. I tacked them down in a tospy turvy pile, sewed them down and added sequins.

Lollipop
The lollipop stick is glued down to the calendar. If you plan to sew it as well, use a light layer of glue. I didn’t bother sewing mine. On the lavender circle, sew a purple sequin to the center. Add sequins in a line making a spiral. (To add sequins in a line, bring your needle up through the felt beside your first sequin and through the hole of sequin 2. Come back down through sequin 1. Repeat, coming up beside sequin 2, through sequin 3 and down through sequin 2. Repeat. The last sequin gets a second stitch to tack it down.]

Gingerbread House Advent CalendarConstruction
When sewing the back on, I used a sewing machine. I sewed the left, bottom and right sides completely, but only sewed halfway up each slope at the top. On either side of where the hanger hook goes, add some hook and loop squares. The snowy roof just slides on top.

Gingerbread House Advent Calendar

All done! I hope you enjoyed this free pattern. You can find the rest of my Christmas projects here. If you make one of my projects, please share a photo! You can find me on Facebook, Twitter, and Instagram.

If you follow me on Facebook but are not getting my post, I apologize! FB is only showing my posts to 10-15% of those of you who have liked the page, and wants me to pay to show it to more. I can’t afford that, but feel terrible that many of you miss out on advanced copies of patterns, sneak peeks and polls for new projects. You can set your account to get notifications when I post (no more than once per day) by clicking the “like” button a second time and setting your notification preferences. Hopefully that will help.

Gingerbread House Advent Calendar

Thank you for all the well wishes for Jax as he recovered from pneumonia. We are finally back to normal here! If you’d like to support this site of send a little surprise to Jax, you can find his wishlist here. We are saving up to surprise him with a Wii U from GameStop.

Halloween Costume Match Quiet Book Page

Halloween Costume Match Quiet Book PageThis is a fun quiet book page that would be a great addition to a holiday, seasonal or month activity book. The free pattern comes with 4 mix and match costumes, and you can easily make you own. There is a jack-o-lantern pocket for storage and two ghost friends that snap off.

Halloween Costume Match Quiet Book Page

Children can sort the costumes into their matching sets or have fun making silly combinations. This page would work great with my Halloween Jack-o-lantern page!

patternWhat I Used:

Halloween Costume Match Quiet Book Page
Are you ready to sew a fun Halloween costume match page?

Halloween Costume Match Quiet Book Page
Background

I started by cutting a 12″ x 4″ strip of denim blue felt into a sloping hill, then I sewed it down to the background. (When adding details to your page, be mindful of the way you bind your books. My way requires 2″ of width on the binding edge.) I then sewed down the moon and two clouds. Sew two snaps down where you want the ghosts to be. Pin the body and undies in place and sew them down. If you’d like to add snaps or Velcro to the backs of your costume pieces, sew them to the head, torso and groin of the body. (If you use Velcro, I recommend the snag-free kind for use with felt.)

Halloween Costume Match Quiet Book PageGhosts
For each ghost: Sew the other half of the snap onto the back of the ghost. On the front, make two French knot eyes and sew down the mouth. Sew the front and back together with a blanket stitch.

Halloween Costume Match Quiet Book PagePumpkin
To make the pumpkin pocket, I cut a scrap of yellow felt large enough to go behind the cut-outs of the pumpkin face. I tacked it behind the face with a bit of felt glue, then sewed it on around the eye and mouth holes. I then layered another pumpkin piece behind the yellow to hide it, and sewed both layers together across the curved top with a blanket stitch. I positioned the pumpkin onto the page and sewed through both it and the background the rest of the way around. This makes a pocket that is open at the top.

Halloween Costume Match Quiet Book PageCostumes
To finish each costume piece: cut out a piece of backing felt to match the shape of your final piece, then sew it on with a blanket stitch, matching your thread colors to the felt. (If you are adding Velcro or snaps, do it before the blanket stitch.) I used the same “wild blueberry” dark blue felt as my costume backings.

Halloween Costume Match Quiet Book Page
Halloween Costume Match Quiet Book PagePrincess:
I started by stitching on her face. I made aqua French knots for her eyes with tiny stitches beside them as shown. I made two peach stitches together for the nose. I used red-brown for her eyebrows and made a long, loose stitch and tacked it down into a curve with a tiny vertical stitch. Using pink I made two small stitches together for the bottom lip, one longer one for the upper lip. On the upper lip, I made a small “v” of stitches in the center as shown. Using a light layer of felt glue, I tacked down her hair and crown. I stitched the hair down around her face. I took a small piece of gold trim and stitched it down to the crown with the ends tucked under. Then it was ready to attach the backing.

For her blouse, I made a series of French knot pearls, then attached the backing. On the skirt, I stitched the skirt puffs on, then stitched more gold trim along the hem. I glued the feet to the back of the skirt after confirming their positions by laying it on the body pattern. I tacked down the shoes with glue then stitched them on. I then attached the backing.

Halloween Costume Match Quiet Book Page
Halloween Costume Match Quiet Book PageWitch
: I started by stitching on her face. I made purple French knots for her eyes with tiny stitches beside them as shown. I made two peach stitches together for the nose. I used lavender for her eyebrows and made a long, loose stitch and tacked it down into a curve with a tiny vertical stitch. Using pink I made two small stitches together for the bottom lip, two longer one for the upper lip. Using a light layer of felt glue, I tacked down her hair, hat and hat band. I stitched the hair down around her face and stitched down the hat band and where her hat meets her hair. Then it was ready to attach the backing.

On her blouse and skirt, I glued and sewed down the two patches using large, uneven stitches. I continued on with the skirt by positioning her stockings using the body pattern and gluing them and her shoes into place. On her stockings, I made long horizontal stitches to add stripes before attaching the backing.

Halloween Costume Match Quiet Book Page
Halloween Costume Match Quiet Book PageCowboy
: I started by stitching on his face. I made brown French knots for her eyes with tiny stitches beside them as shown. I made two peach stitches together for the nose. Using the same dark peach, I made teenie stitches for freckles. Using pink I made two small stitches together for the mouth. Using a light layer of felt glue, I tacked down his hair, hat and hat band, then stitched all the inner edges. Then it was ready to attach the backing.

On his shirt, I tacked down the vest and then the scarf. I sewed down all the inner edges, then attached the backing. On his pants, I layered the jeans and shoes behind the chaps, using the body pattern for positioning, and tacked them with glue. I tacked down the belt buckle, sewed all the inner edges, then attached the backing.

Halloween Costume Match Quiet Book Page
Skeleton
: For all parts of the skeleton, I tacked the bones down into place with a light layer of felt glue and them stitched them down. I added the red heart on top of the ribs because it was easier to see. I then attached all the backings.

Halloween Costume Match Quiet Book Page
And there is something that makes it even more fun… Flocked pumpkin felt on the back of the page! The jack-o-lanterns are fuzzy and a little glittery. Super cute!

Halloween Costume Match Quiet Book Page
I hope you enjoy this free pattern! The commercial license for selling completed products from this pattern will be available in my Etsy shop.

Halloween Costume Match Quiet Book Page

Do you have a special pattern request? Stop by my Facebook Page or my Instagram (@iolstephanie) and let me know! Happy Halloween!

DIY Montessori 3-Part Cards

I get a lot of questions asking how I make my 3-part cards. I’m a graphic designer, so I use Adobe InDesign to do mine. It works well for me, but I’ve had a lot of requests for something more universal for those of you who have your own ideas for 3-part cards.

DIY 3-Part Cards

I recently sat down and worked out a layout in Microsoft Word that is very similar to mine. The main difference is there is no spot for an image credit. Being a graphic designer, I am very big on not using photos without permission. For my free printables, I first look to my own personal photo library, then search on Wikipedia Commons. I always put the required attribution tag under photo I use publicly.

What You Need:

DIY 3-Part Cards

Start by selecting the box you’d like to add a photo to.

DIY 3-Part Cards

Right-click and choose “Change Picture…” I am on a Mac, so your view may be a bit different.

DIY 3-Part Cards

Choose your photo and insert it. If it wasn’t a nice square photo, no worries! We can crop it! I like to make mine square when I can, but sometimes I have to leave them as-is to avoid cropping something important.

DIY 3-Part Cards

Drag a corner of the picture to make it larger. Don’t worry about it getting too big. You want the main area to be a good size for you final square. (In this case, it is the sea turtle.)

DIY 3-Part Cards     DIY 3-Part Cards

DIY 3-Part Cards
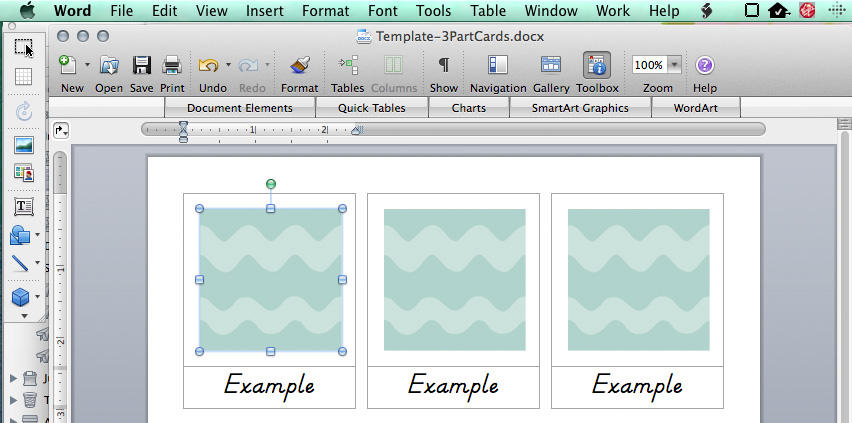
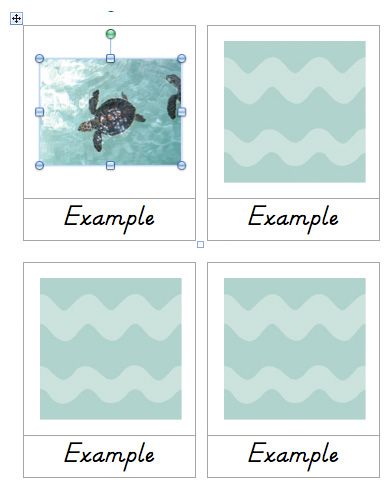
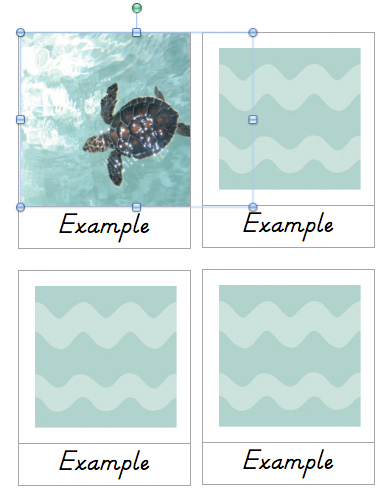
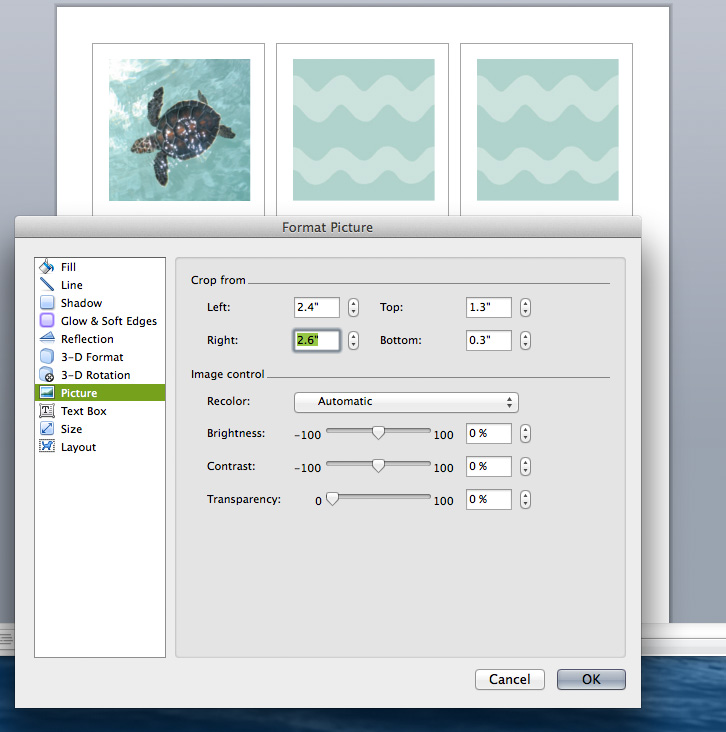
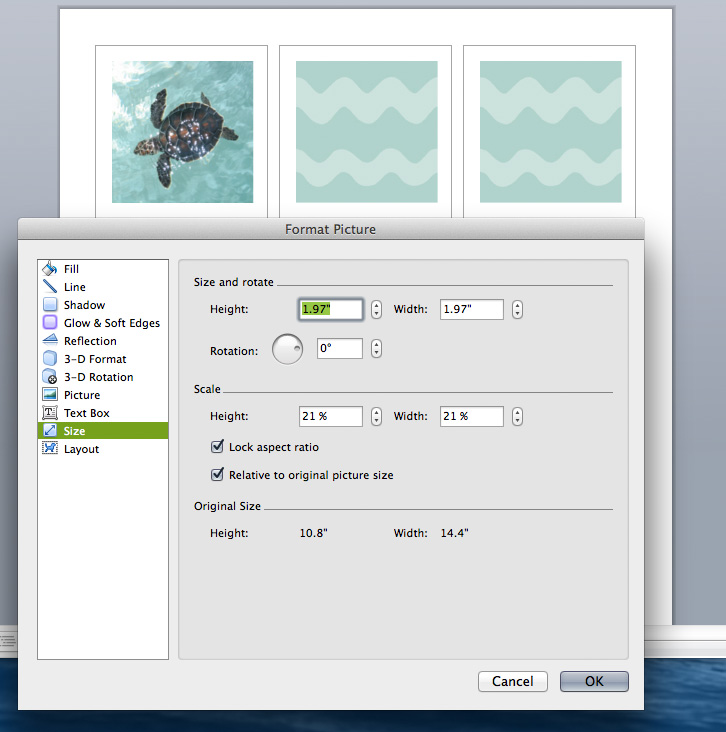
Next you’ll want to open the “Format Picture” window. You can get to it from the menu bar (“Formatting” menu), right-clicking or via the “Formatting Palette” that appears when an image is selected. You will want to go to “Crop” and use the arrows to gradually crop the photo down to a square that you are happy with. Pop over to the “Size” tab to make sure the width and height are the same. If you are going for the size of square I always use, you can set the width to 1.97″ once you have it cropped to a square.

After that, you are ready to change the text. You can also change the font. Do this for each card.

This file is for the cards you cut into two pieces each: pictures only and labels only. In most cases you’ll also want the full labeled card. I recommend you set up your whole sheet as instructed above and then either copy/paste it to a second page or save it as a second file. With that second page or file, you’ll take out the dividing line.

DIY 3-Part Cards     DIY 3-Part Cards

Select the two rows that make up a card’s table. In the Formatting Palette, choose borders. You’ll want to turn off the box with the middle horizontal line (highlighted green here). The line will still be there on your file after you turn it off, but it will be lighter. The light gray line is just to show you where the table is. Remove the line for each card to have a set of full cards.

Once you have your cards printed and cut, use a dab of glue to attach them to card stock. Trim the card stock to have about a 3mm border. I like to match the color of the card stock to the theme of the cards. For my continent cards, I used the color that represents the continent in Montessori. Then I’d make cards for each continent’s animals and use that same continent color for the card stock. Sometimes my choice is arbitrary. I chose gray for music. Whenever I make a new set of cards for music studies, I mount them on gray card stock.

This next step is really what makes the 3-part cards look beautiful and last for ages. Lamination! This is my favorite laminator. I bought it is June of 2013 and it is still going strong. I bought these laminating pouches. I have about a quarter left int he pack after all that time.

My hint for laminating: when laying your cards out on the laminator sheet/pouch, put a dab of glue stick on the back of them. That way, they won’t slide around when you are feeding it through the machine.

DIY 3-Part Cards

Once they are out of the machine, trim them down (I leave about 2mm of clear plastic border). All done!

Here are some links to some of my previous free 3-part cards:

DIY 3-Part Cards

Solar System 3-Part Cards

Find more Montessori-inspired ideas at Living Montessori Now’s Montessori Monday!

Montessori Monday

Recycling Quiet Book Set & Free Printables

Recycling Quiet Book Set & Free Printables
I’m always looking for ways to teach Jax about what we can do to help our planet. I knew a “Reduce, Reuse, Recycle” theme would make a wonderful quiet book theme. Trash and recycle trucks are so much fun for kids to watch, so I had to add one in to expand the project into a fun recycling set.

Recycling Quiet Book Set & Free Printables
This is a pay pattern available in my Etsy shop. Purchasing my pay patterns will let me move towards making a living at crafting and give me more time to devote to both pay and free projects.

Recycling Quiet Book Set & Free Printables
The 6″ square quiet book features 3  double pages: Reduce teaches turning off lights and faucets to save resources. Reuse promotes using reusable cups and bags whenever possible. Recycle introduces sorting recyclables (and compost items!) into their bins. The cover has a recycle symbol and an earth with a heart.

Recycling Quiet Book Set & Free Printables
All of the sorting items can be used with the recycle truck that features a working back hatch. Pull the loop to open the hatch, then pull the ribbon to close it up again. There is also a recycle bin and a felt doll that is compatible with my other dress up felt dolls (fire station and dollhouse.)

I hope you’ll find the pattern files to be beautiful and helpful. A lot of time went into them! The pattern includes a stitch guide and full tutorial with photos and illustrations. You will also receive a coupon for $5 off at American Felt and Craft to help you get started on your felt stash.

Recycling Quiet Book Set & Free Printables
You can purchase this pattern for $8 in my Etsy shop, Imagine Our Life. If you would like to sell the finished product, you can purchase commercial licensed version for $20. This is a one time fee, and you’d be able to sell as many weather charts as you’d like after purchasing it.

Recycling Quiet Book Set & Free Printables
As a free add-on to this felt set, I am providing my matching 3-part cards and recycle sorting game free for educational use! Click here to download the pdf.

Recycling Quiet Book Set & Free PrintablesThe cards and game include the same sorting categories as the felt set, giving you an additional way to teach the new vocabulary. (I include both the North American spelling on “aluminum” and the world spelling of “aluminium”.) The game features illustrations that were hand drawn by me.

Recycling Quiet Book Set & Free Printables

Montessori Monday
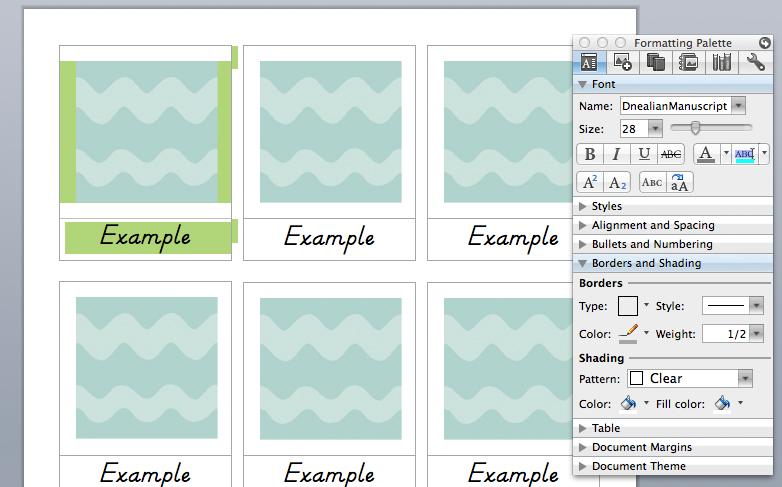
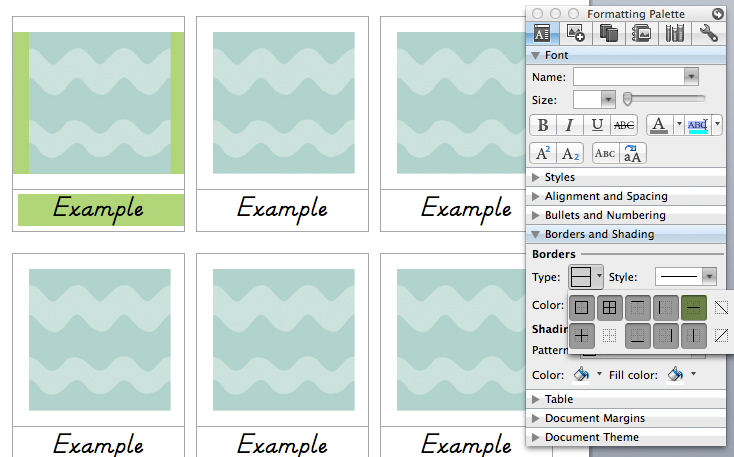
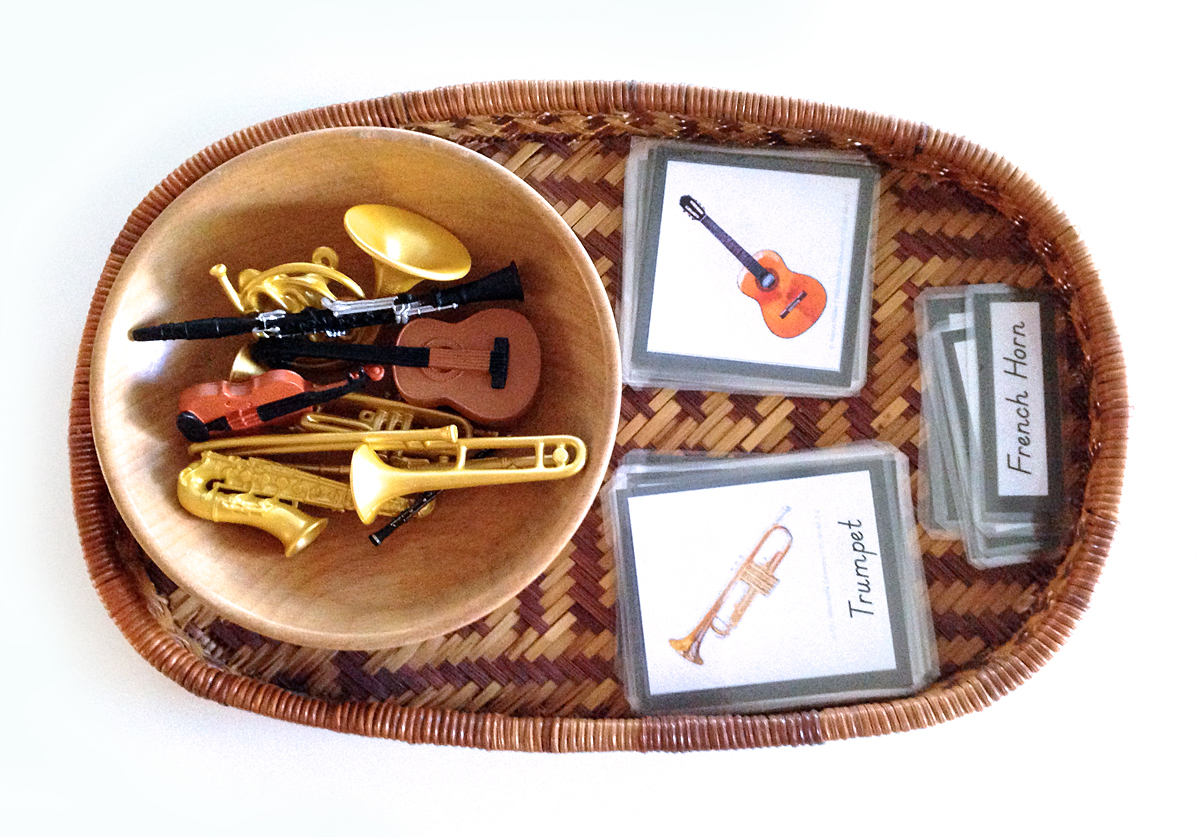
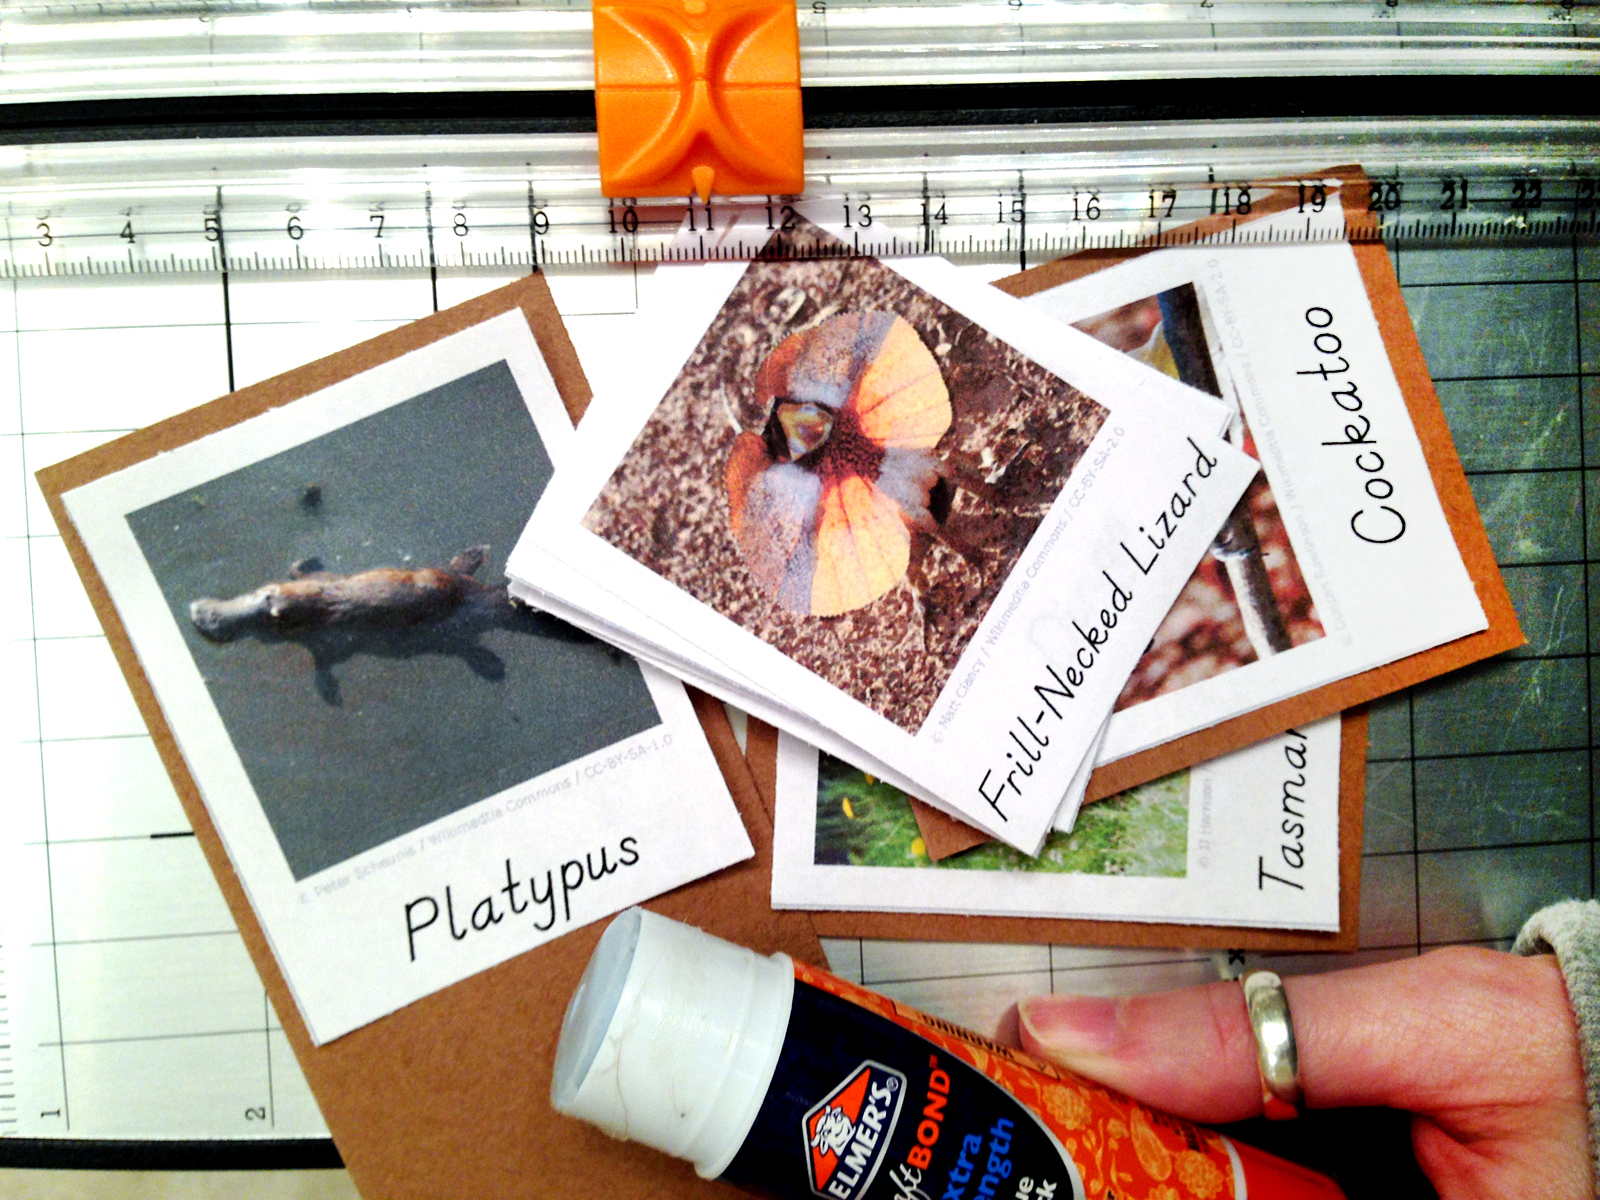
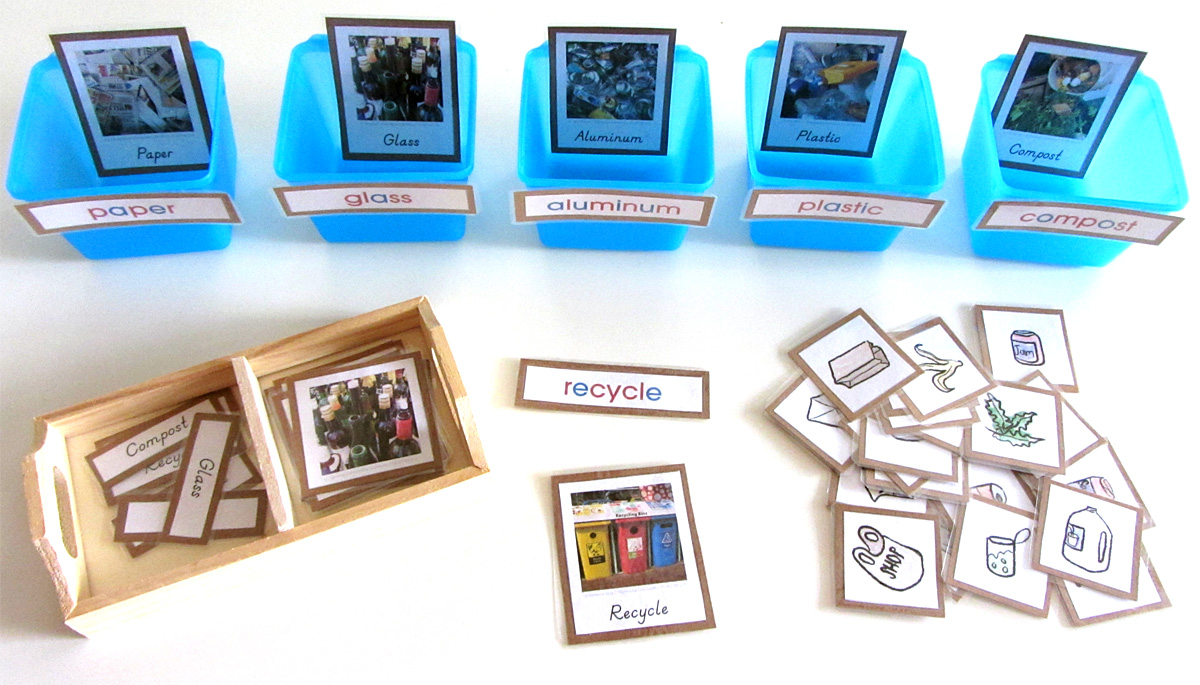
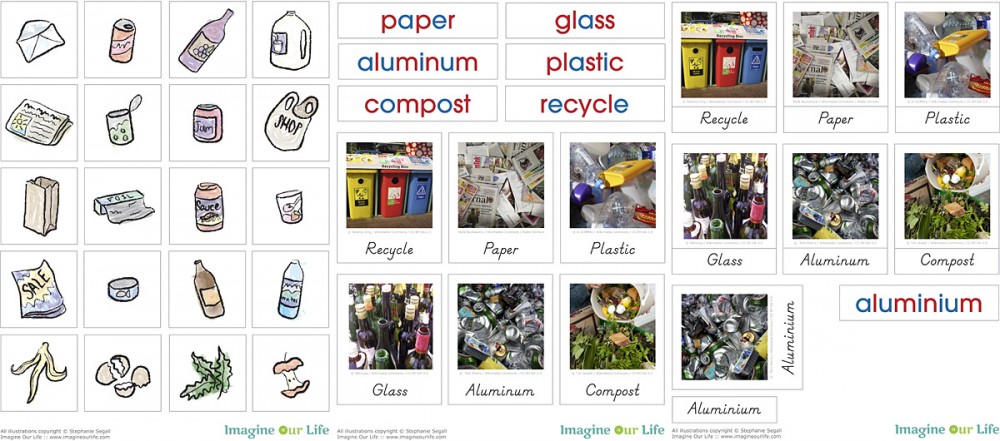
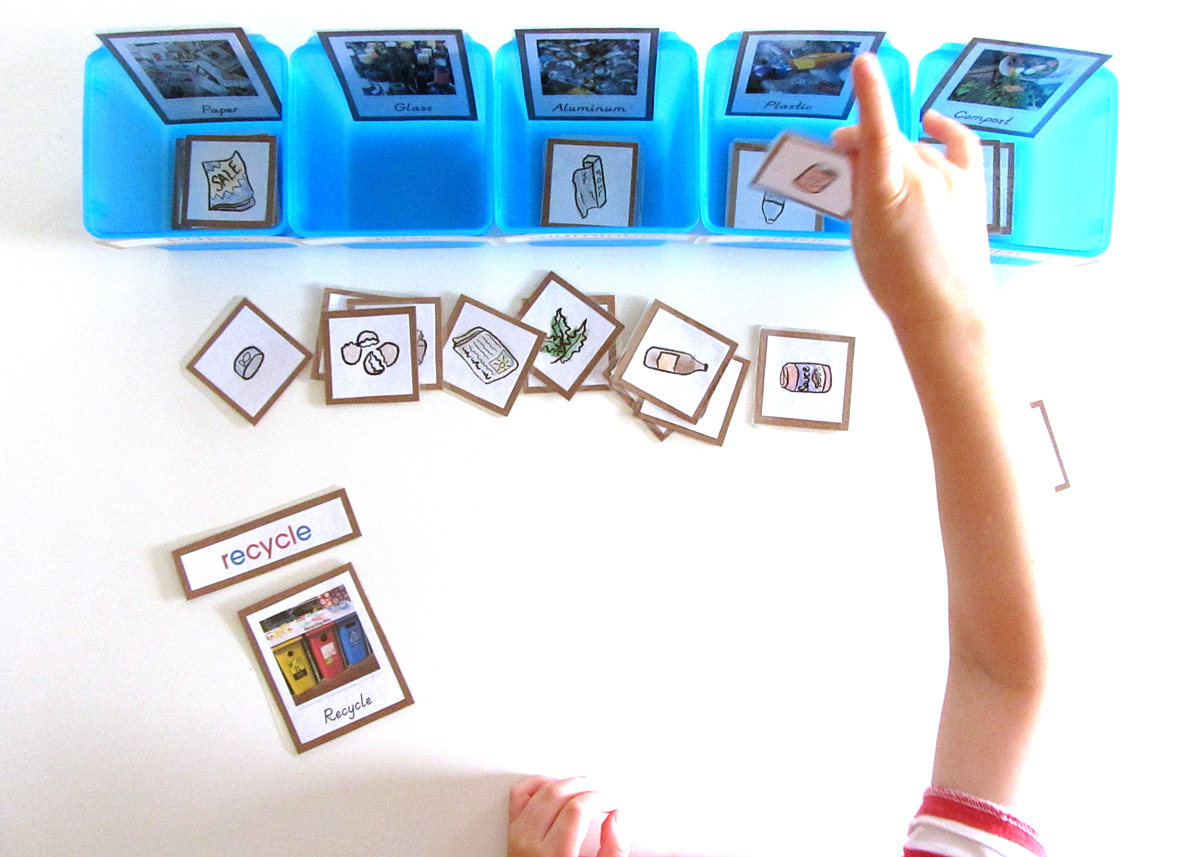
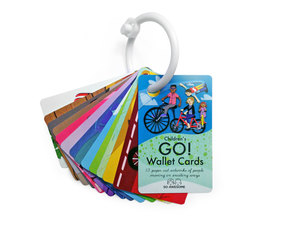
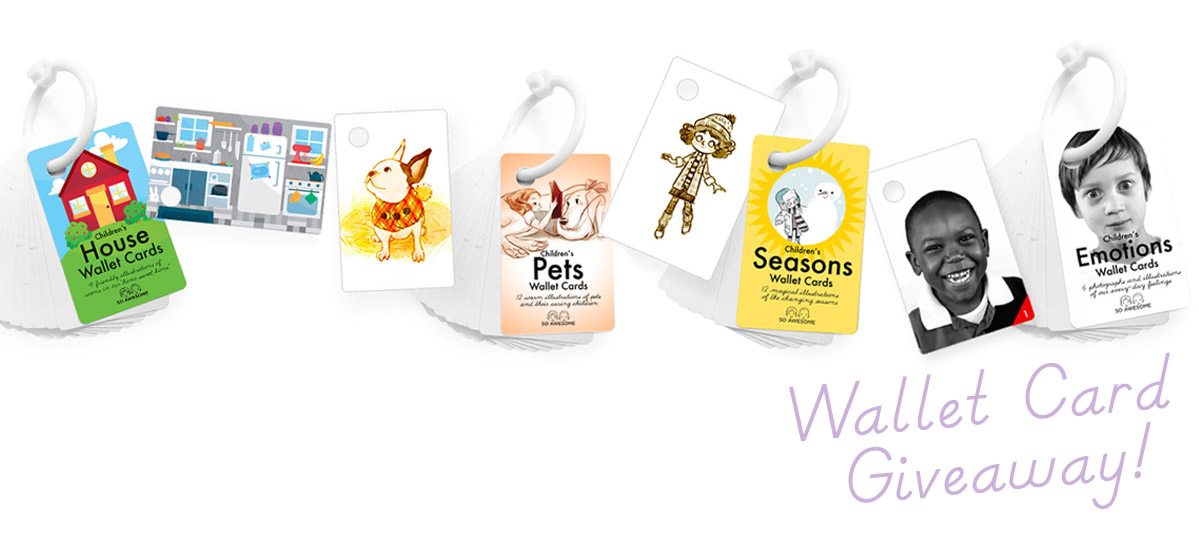
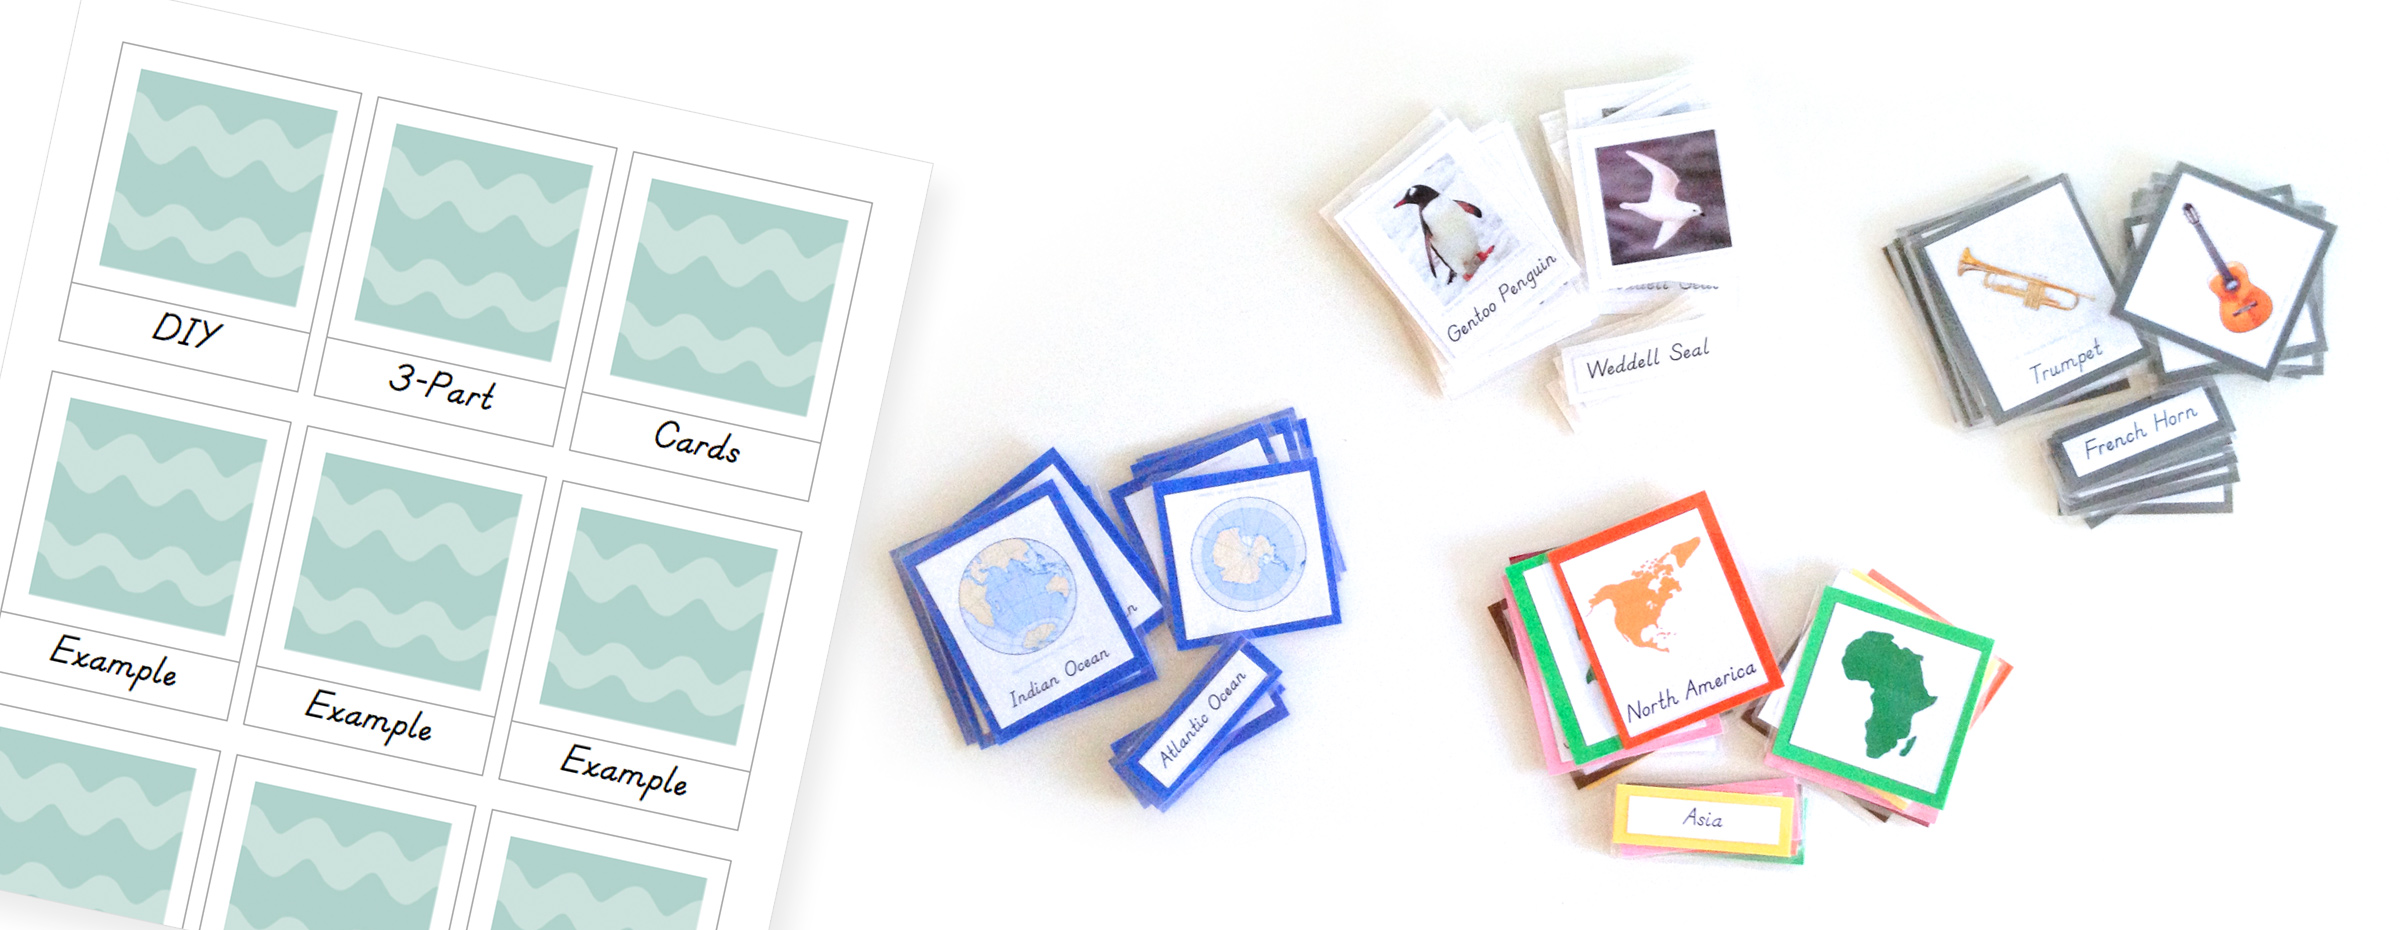
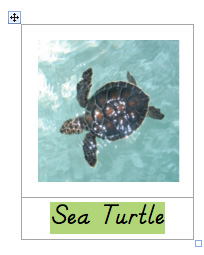
To assemble, print out the cards and cut them out. Glue them to card stock backs, then laminate and trim. I use this laminator. To make laminating a bit easier, you can try adding a dab of glue stick to the cards when you position then in the lamination sleeves. It keeps them from wiggling and overlapping.

I purchased two 3-packs of blue drawer organizers from Dollar Tree to use as my sorting bins.

If you liked this free homeschool printable and want more homeschool ideas, visit Montessori Monday at Living Montessori Now.

I hope you enjoy this pattern! I can’t tell how much your support means to me. Big thank yous to all of you who are a part of our Facebook page. You have given me so much inspiration! Please feel free to comment here or on Facebook if you have suggestions for new projects. I am sketching patterns and ordering felt for all my fall projects this week. I’ll post some sneak peeks on Instagram. Come follow along!

Recycling Quiet Book Pattern

Montessori-Inspired Wallet Cards Review

When Marie-Claire of SO Awesome reached out to us about trying out a few of her wallet card sets, Jax was so excited! He’s been enjoying their free iOS wallet app for some time, and immediately recognized their colorful, modern style.

My love of all things Montessori is well known, but what you may not know is that I am a graphic designer and have a BA in studio art. Combine beautiful art with Montessori-inspired educational materials and I’m in heaven! SO Awesome teams up with talented illustrators to create their card sets, so each one is a treasure.

Montessori-Inspired Wallet Cards Review & GiveawayMy Wallet Card Set

If you come over to our house for a playdate, one of the first things Jax will ask you to play is “store”. We have a beautiful wooden store set, and Jax is finally old enough to have play money. This wallet play set is a perfect addition to our role playing and pretend play.

Montessori-Inspired Wallet Cards Review & Giveaway

The wallet comes with play money, membership and bank cards – even a license! (To see what is included, click here.) At the moment, we are playing with this at home, but how great would it be to toss in your bag to bring along for a toddler to take apart – instead of YOUR wallet?

Montessori-Inspired Wallet Cards Review & Giveaway     Montessori-Inspired Wallet Cards Review & Giveaway

The cards all have reverse sides to explore and realistic details. If I could add anything, it would be a personalized license with Jax’s name and photo. But perhaps that would be a fun DIY project for us to do together.

Montessori-Inspired Wallet Cards Review & GiveawayAlphabet Card Set

Jax was really drawn to the colorful set of alphabet cards. One side features gorgeous illustrations, the other has a large lowercase letter, the word that was illustrated and pictures of other words that begin with the letter.

Montessori-Inspired Wallet Cards Review & Giveaway     Montessori-Inspired Wallet Cards Review & Giveaway

These cards would be great on a stroller or card seat for younger toddlers. The removable ring is an easy way to store the cards together and bring them on the go without losing any. (But if you do, they offer single replacement cards!)

Montessori-Inspired Wallet Cards Review & Giveaway
We have been pairing the cards with out Montessori movable alphabet to make a fun matching game. I put one of every letter in a bowl and Jax matches them up with the correct card.

Montessori-Inspired Wallet Cards Review & Giveaway     Montessori-Inspired Wallet Cards Review & Giveaway     Montessori-Inspired Wallet Cards Review & Giveaway

I asked Jax which card was his favorite. He said he liked them all, but P for Playground was his favorite!

Montessori-Inspired Wallet Cards Review & GiveawayNumber Card Set

The numbers card set features whimsical illustrations depicting quantity on one side and the number and corresponding Montessori beads on the other. The title card has a picture of the Montessori bead stair. Another card features the different base ten quantities in the golden bead materials.

Montessori-Inspired Wallet Cards Review & Giveaway      Montessori-Inspired Wallet Cards Review & Giveaway     Montessori-Inspired Wallet Cards Review & Giveaway

I’ve been working on DIY Montessori bead materials as a long-term project, so these cards fit in so well with our works! Click here to learn how I made my bead set and grab my free printables.

Montessori-Inspired Wallet Cards Review & GiveawayJax has always enjoys how colorful the bead stair is, so he was drawn to the small tray I set up with the number cards 0 – 9.

Montessori-Inspired Wallet Cards Review & Giveaway      Montessori-Inspired Wallet Cards Review & Giveaway

I made another small tray with the 1, 10, 100 and 1,000 cards to reinforce the golden bead materials he’s begun using. It is a quick activity, but it is always good to match physical objects to pictures and writing.

Montessori-Inspired Wallet Cards Review & GiveawaySO Awesome provides a handful of free printable resources and suggested activities as companions to their card sets. You can check them out here.

For free shipping on your next order from SO Awesome’s online store, use code imagineourlife.

Montessori-Inspired Wallet Cards Review & Giveaway

Giveaway

SO Awesome has generously offered a $45 store credit to the winner of this random giveaway. To enter, visit SO Awesome, then leave a comment here letting us know what your favorite product is. Then use the Rafflecopter widget below to let us know you’ve commented (email address or Facebook required). There are bonus entries available to anyone who enters. The lucky winner will be randomly chosen on Wednesday, September 10th.

Congrats to the winner, Andrea, L.!

a Rafflecopter giveaway


About SO Awesome

soawesome_logojpgSO Awesome offers gorgeous, educational, non-toxic, extremely durable card sets designed for how kids play and work. Montessori-inspired. Made in the USA. Their cards are perfect to engage children in carseats, strollers, shopping carts, and long airplane rides.

Graphic Designer and mother Marie-Claire Camp created the durable, non-toxic card sets for her twin boys. Using the crowdsource-funding site Kickstarter, Marie-Claire produced five sets of cards and an companion iOS app.

Visit SO Awesome on: So Awesome WebsiteFacebookTwitterPinterestInstagram

num  abc  color  go  mywallet1


Thanks for entering, and good luck!

Montessori-Inspired Wallet Cards Review & Giveaway

We received these products in exchange for our honest review.
All opinions are our own, I promise! Have something for use to review? Contact me!